Keeping your vacuum cleaner clean is just as important as using it regularly. Many people don’t realize that a dirty vacuum loses suction, spreads dust, and can even break down sooner than expected. If you want your vacuum to last longer, work better, and keep your home truly clean, you need to know how to clean a vacuum cleaner step by step.
This guide will walk you through the complete process, using clear instructions, practical tips, and real examples. You’ll also see where beginners often make mistakes and learn how to avoid them. By the end, you’ll feel confident to tackle any vacuum, whether it’s upright, canister, stick, or handheld.
Why Cleaning Your Vacuum Cleaner Is Essential
A vacuum cleaner is designed to trap dust, dirt, and allergens from your floors and carpets. But as it works, it collects all kinds of debris inside its filters, hoses, and brushes. Over time, this buildup can lead to:
- Reduced suction power: When filters are clogged, air can’t flow freely.
- Bad odors: Trapped dirt and hair start to smell.
- Shorter lifespan: Motors have to work harder, causing wear.
- Allergen spread: Old dust gets pushed back into the air.
Research shows that a neglected vacuum can lose up to 30% of its cleaning power in just six months. Regular cleaning not only makes your machine last longer but also keeps your home healthier.
Many people don’t realize how much dust hides inside a vacuum. For example, if you vacuum pet hair, dander can get stuck deep in the filters, making the machine smell and reducing its ability to trap tiny particles. If you live in a humid area, moisture mixed with dust can create clumps that block airflow and encourage mold growth.
This is especially important for families with allergies, as a dirty vacuum can actually release allergens back into the room.
Another overlooked issue is the way a dirty vacuum impacts carpet cleaning. When suction drops, the vacuum leaves more dirt behind, meaning you need to clean more often, and your carpets wear out faster. Keeping your vacuum clean means you get the most out of every pass, saving time and energy in the long run.
What You’ll Need Before You Start
Gathering the right tools will make cleaning your vacuum easier and safer. Here’s what you’ll need:
- Screwdriver (for opening parts)
- Small cleaning brush (an old toothbrush works well)
- Microfiber cloths
- Mild dish soap
- Scissors (for tangled hair)
- Compressed air canister (optional, for dusting tight spots)
- Gloves (for messy jobs)
- Bucket (for soaking parts)
- Replacement filters or bags (if needed)
- Your vacuum’s manual (for model-specific instructions)
Having everything ready stops you from getting stuck mid-process.
If your vacuum is older, you may want to have a flashlight handy to check inside dark areas like hoses and compartments. Some vacuums use special screws, so check your manual for the right size. If you have a pet, keep extra cleaning cloths nearby, as pet hair tends to stick to parts and may require more wiping.
For people who don’t have a compressed air canister, a hairdryer on cool setting can help blow dust out of tight spots. However, avoid using high heat, as it can melt plastic or damage components. Gloves are useful not just for keeping your hands clean, but also for protecting against sharp edges or broken plastic inside older vacuums.
Another useful item is a small bowl to collect screws and small parts. Beginners often lose these during cleaning, which makes reassembly harder.
Safety First: Preparing To Clean
Before you open anything, always:
- Unplug the vacuum from the wall. Even if it’s turned off, unplug it to avoid shocks.
- Let the vacuum cool down if you just used it. Some parts can get hot.
- Read your vacuum’s manual. Some brands have special cleaning rules or parts you shouldn’t wash.
A little care at this stage prevents accidents and damage.
If your vacuum has a battery, remove it before cleaning, especially for stick or robot vacuums. Some models can store a charge even when unplugged, so double-check the instructions.
For robot vacuums, look for any blinking lights or error messages before starting. These often indicate which part needs attention first. If you have allergies, wear a mask to avoid inhaling dust.
Some vacuums have sharp metal clips or springs inside. Use your screwdriver carefully and avoid pulling too hard on parts that feel stuck. If you’re unsure about removing a part, check the manual or look for a video guide online before proceeding.
Step 1: Empty And Clean The Dustbin Or Bag
Every vacuum has a place where dirt collects. For bagless models, this is the dustbin; for bagged models, it’s the disposable bag.
Bagless Vacuums
- Remove the dustbin and empty it into your trash.
- Use a damp cloth to wipe the inside. For sticky dirt, use a little dish soap and rinse with water. Make sure it’s 100% dry before putting it back.
If your dustbin has corners or seams where dirt gets stuck, use your small brush to loosen debris. Some dustbins have a release button for easier emptying—check your manual if you’re unsure. If your vacuum is used for cleaning up after pets or young children, you may find crumbs or hair stuck to the sides.
Scrub gently to avoid scratching the plastic.
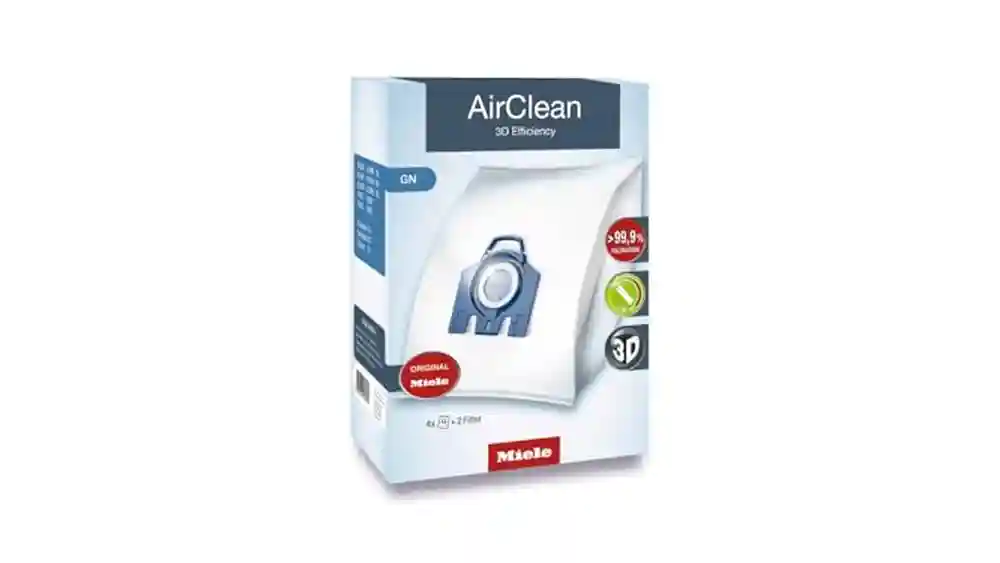
Bagged Vacuums
- Remove the old bag and throw it away. Never try to reuse disposable bags—they lose filtration power.
- Wipe the bag compartment with a damp cloth.
If your vacuum uses reusable cloth bags, check for holes or worn spots. Wash the bag according to the manufacturer’s instructions, and let it dry fully. If the compartment smells bad even after cleaning, leave it open for an hour to air out.
Pro Tip: If you notice a musty smell, sprinkle some baking soda in the dustbin or bag compartment before using your vacuum again.
Sometimes, food crumbs or liquids spill inside the dustbin or bag compartment. If this happens, clean as soon as possible to prevent mold or bacteria from spreading. For stubborn odors, a few drops of lemon juice mixed with water can help neutralize smells.
Step 2: Clean Or Replace Filters
Filters are critical for trapping dust and allergens. Most vacuums have at least one, but many have two or three (pre-motor, exhaust, and sometimes HEPA).
- Find all filters: Check your manual or look for mesh or sponge-like pieces.
- Remove filters gently. Don’t force them.
- Tap loose dust into the trash.
- Wash washable filters under lukewarm water (no soap unless the manual says it’s okay).
- Air dry completely (at least 24 hours) before replacing.
- Replace non-washable filters as recommended (usually every 3–6 months).
Common Mistake: Putting a wet filter back in the vacuum can cause mold or damage the motor. Always let filters dry fully.
Some vacuums use HEPA filters, which are designed to trap tiny particles like pollen and dust mites. These can clog faster if you vacuum fine dust or pet dander. When cleaning, gently rub the filter surface with your brush to loosen stuck particles, but never press hard or twist the filter.
If your filter is foam or sponge, squeeze it gently under running water, but avoid wringing it out, as this can tear the material. Place filters on a towel in a sunny spot to help them dry faster, but avoid direct heat.
If you’re unsure whether a filter is washable, look for a water drop symbol on the filter or check the manual. Paper filters must never be washed. For washable filters, washing them monthly can keep your vacuum running efficiently, especially in homes with pets or lots of dust.
Non-obvious insight: Many beginners forget to clean the secondary filter—often hidden behind the main filter or near the exhaust. This filter can collect fine dust and must be cleaned or replaced regularly.
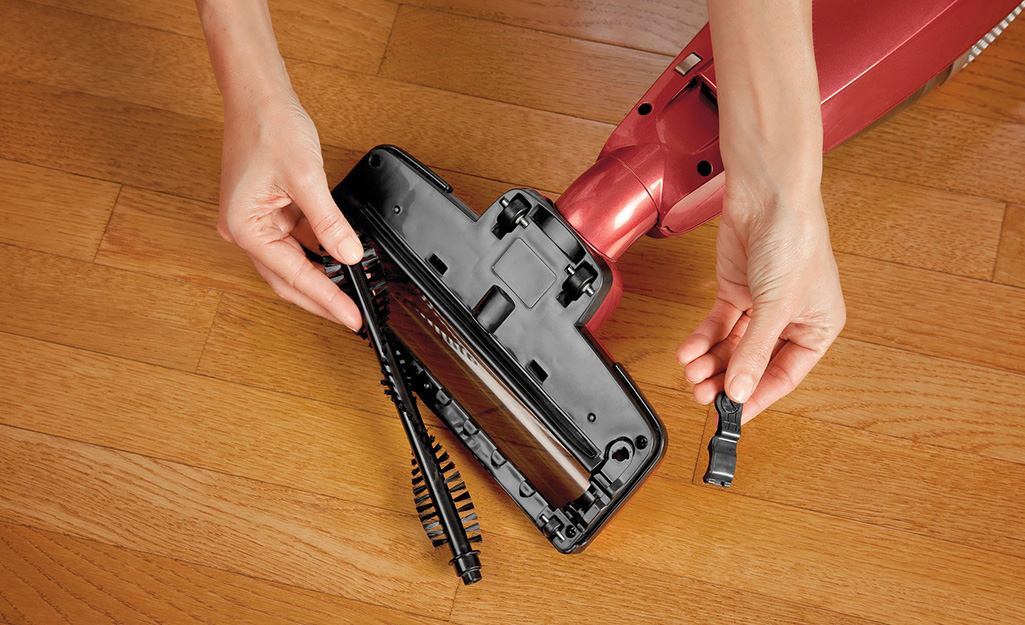
Step 3: Detangle And Clean The Brush Roll
The brush roll (or beater bar) is what sweeps dirt into the vacuum. It often collects hair, string, and debris that can slow it down.
- Lay the vacuum flat so you can see the underside.
- Remove the brush roll (usually by unlocking end caps or unscrewing small bolts).
- Cut away hair with scissors—work carefully to avoid cutting bristles.
- Pull off any debris with your hands or a comb.
- Wipe the brush roll with a damp cloth.
If your vacuum has a belt, check if it’s stretched or cracked. Replace it if needed.
Insider Insight: Most people forget to check the ends of the brush roll. Hair can get trapped there and make the roller squeak or stop spinning.
Some vacuums have dual brush rolls—one with bristles and one with rubber blades. Clean both types thoroughly, as rubber blades can collect sticky dirt that reduces efficiency. If your brush roll is removable, take out both end caps and clean inside.
You might find dust or hair wound around the spindle, which is easy to miss.
If your vacuum is used on thick carpets, check the brush roll more often. Hair and carpet fibers can wrap tightly, slowing the roll. For pet owners, brush rolls can clog quickly with fur. Use a comb to pull out stubborn hair.
If your vacuum uses a brush roll with LED lights, wipe the light covers as well. Dust buildup here can reduce visibility and make it harder to spot dirt while vacuuming.
Credit: www.eufy.com
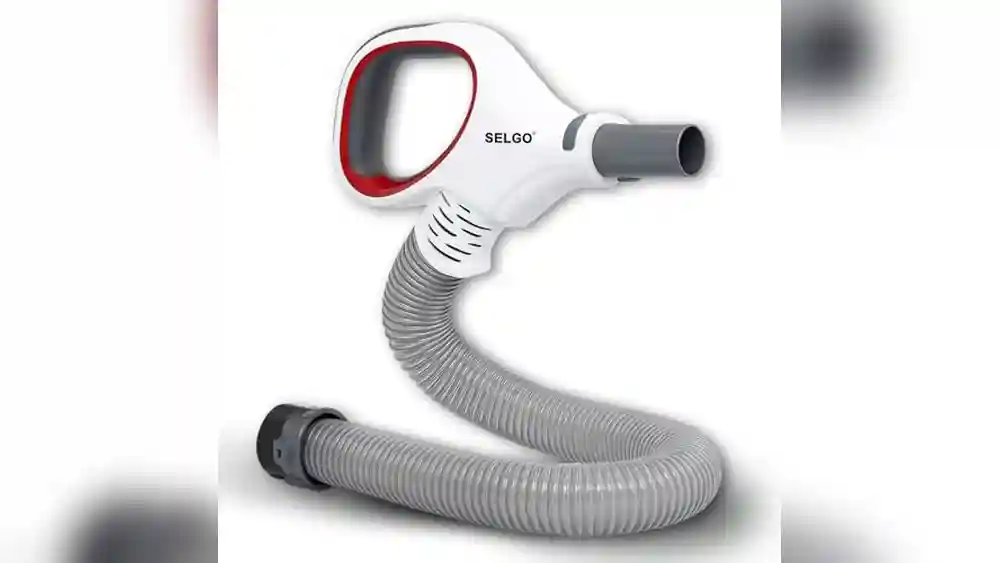
Step 4: Clean Hoses And Tubes
Clogs in hoses are a top reason vacuums lose suction. Here’s how to clean them:
- Detach hoses from the vacuum.
- Check for blockages by looking through the hose or running a flashlight inside.
- Push out clogs using a broomstick or similar tool.
- Wash with soapy water if the hose is washable (check manual).
- Rinse and let dry completely before reattaching.
Advanced Tip: Use a compressed air canister to blast out fine dust from inside the hose.
If you notice a sudden drop in suction, check the hose first. Toys, coins, or large pieces of debris can get stuck inside, especially if you vacuum near children’s play areas. If you see a blockage, gently push it out from the opposite end, but avoid forcing it—this can damage the hose.
Some hoses have bends or ridges where dirt collects. Use your brush or cloth to clean these areas. After washing, hang the hose vertically to drain and dry.
Non-obvious insight: If your vacuum has telescoping tubes or extension wands, clean inside these as well. Dust builds up in the joints, and blockages can reduce suction even if the main hose is clear.
If your hose has a strong odor after cleaning, rinse it with a solution of water and vinegar (50/50 mix) to remove smells. Rinse well and let it dry fully before use.
Step 5: Wipe Down The Exterior
A clean outside helps prevent dust from getting back inside.
- Use a damp microfiber cloth to wipe the body, handle, and wheels.
- Pay special attention to the air vents—dust can build up here and block airflow.
If your vacuum has touch controls or screens, wipe them gently with a dry cloth first, then with a lightly damp cloth if needed. Avoid using too much water near buttons or electronics.
For vacuums with rubber wheels, clean them well, as hair and dirt can stick and scratch floors. If you notice sticky spots or stains on the body, use mild soap and water. Avoid harsh cleaners, which can fade the color or damage plastic.
If your vacuum has a cord, wipe it down as well. Dust can stick to cords and get dragged around the house.
Credit: www.homedepot.com
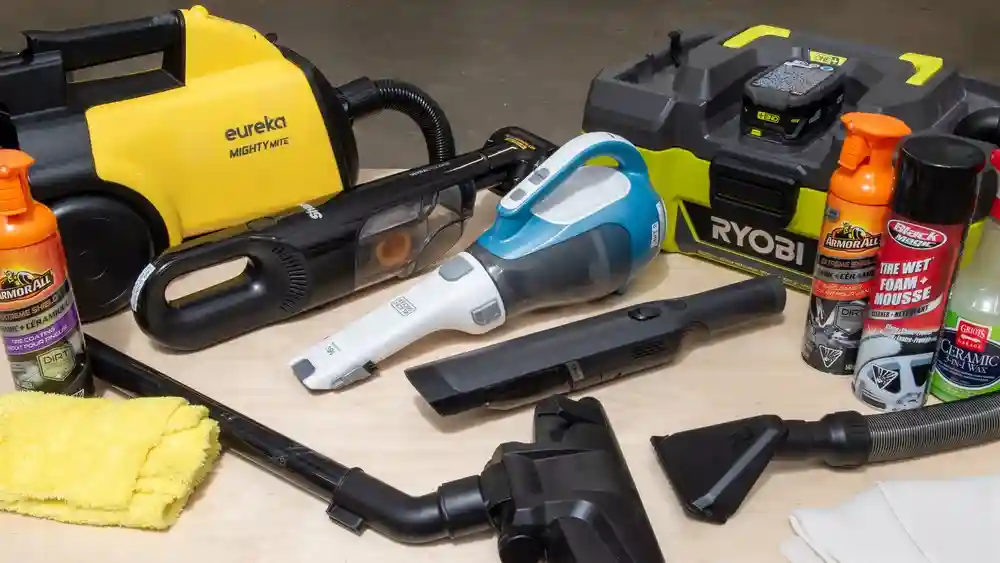
Step 6: Clean Attachments And Accessories
Don’t forget the tools you use most:
- Detach each accessory (crevice tool, upholstery brush, etc. ).
- Wash with mild soap and water if possible.
- Use a brush to remove hair or fibers.
- Let everything dry before use.
If you have a turbo brush or motorized attachment, check for a small filter or brush roll inside. Clean these as you would the main brush roll. For crevice tools, use a pipe cleaner or cotton swab to remove stuck dirt.
For pet tools, hair tends to wrap around the rollers—check and clean these more often. If your attachments have rubber or silicone surfaces, rinse them with water and let them dry fully.
If you use attachments for cleaning wet messes, disinfect them after washing to kill germs.
Step 7: Reassemble And Test
Once all parts are completely dry, put the vacuum back together:
- Insert filters
- Attach hoses and brush roll
- Replace dustbin or bag
Plug in your vacuum and run it for 1–2 minutes. Listen for odd noises and check that suction is strong.
If you notice rattling, check that all parts are fitted tightly. If the vacuum vibrates more than usual, the brush roll may not be seated properly. Stop and recheck before using.
If the vacuum smells fresh and the suction feels strong, your cleaning was successful. If problems persist, review each step and check for missed areas.
Visual Guide: Step-by-step Pictures
A picture is worth a thousand words. The process below describes what you should see at each step, so you can compare your progress.
- Unplug and lay out tools: You see the vacuum, cloths, brush, and tools ready.
- Remove and empty dustbin/bag: Hold the bin over a trash can, dirt falling out.
- Take out filters: Filters shown separately, looking dusty.
- Wash filters: Rinsing under water, dust washing away.
- Lay filters to dry: Filters spread on a clean towel, air drying.
- Remove brush roll: Vacuum upside down, brush roll out, tangled hair visible.
- Cut and remove hair: Scissors cutting away hair, leaving clean bristles.
- Clean hose: Hose held up, broomstick pushing out a blockage.
- Wipe vacuum body: Cloth wiping the handle and body.
- Wash attachments: Tools soaking in a bucket with soapy water.
- Reassemble: All parts lined up, then clicked back into place.
- Test run: Vacuum plugged in and running, with strong suction.
When you follow these steps and compare with your machine, cleaning becomes much simpler.
If you want more help, many vacuum brands offer video tutorials for your model. Watching a video or looking at pictures can make each step clearer, especially for beginners.
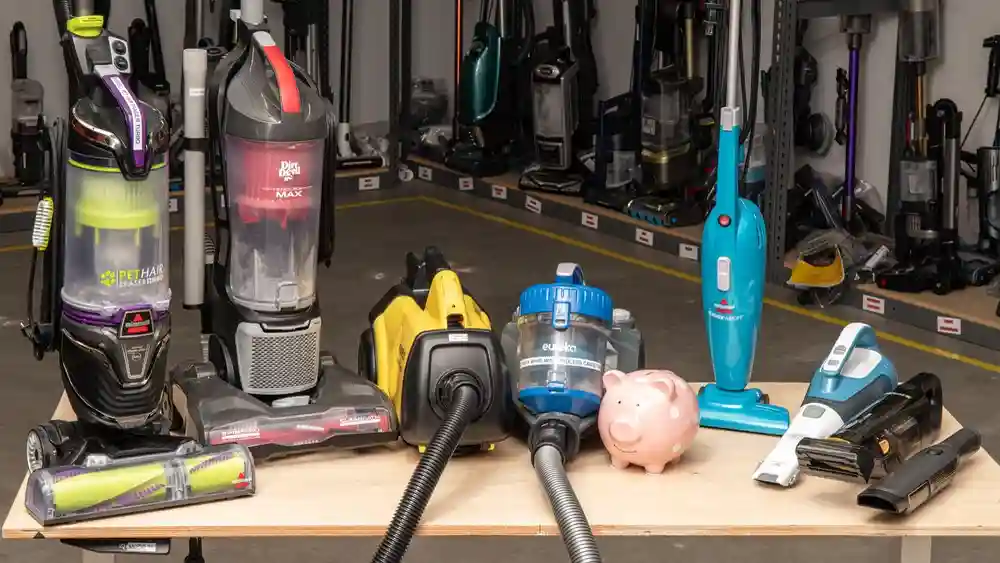
Special Instructions For Different Types Of Vacuums
Not all vacuums are the same. Here’s how some popular types differ in cleaning:
| Vacuum Type | Main Cleaning Differences |
|---|---|
| Upright | Usually has a large brush roll, easy-to-remove dustbin or bag; filters often at the side or top. |
| Canister | Longer hose, separate body; filters and bin/bag often in the main canister. |
| Stick | Compact; smaller dustbin; filters may be in the handle; brush roll often not removable. |
| Handheld | Small bin and filter; easy to wash parts, but needs frequent emptying. |
| Robot | Small dustbin and HEPA filter; brush roll and wheels gather lots of hair. |
Pro Insight: Always check the manual for your specific model, as some brands use unique filter systems or have non-washable parts.
For robot vacuums, pay special attention to cleaning the wheels and sensors. Dust can block sensors and cause navigation errors. For stick vacuums, filters in the handle can be tricky to reach—use a small brush to loosen dust before removing.
Canister vacuums tend to have more hoses and attachments, so check all connections for blockages. Handheld vacuums are easy to take apart, but their filters get dirty quickly and need frequent cleaning.
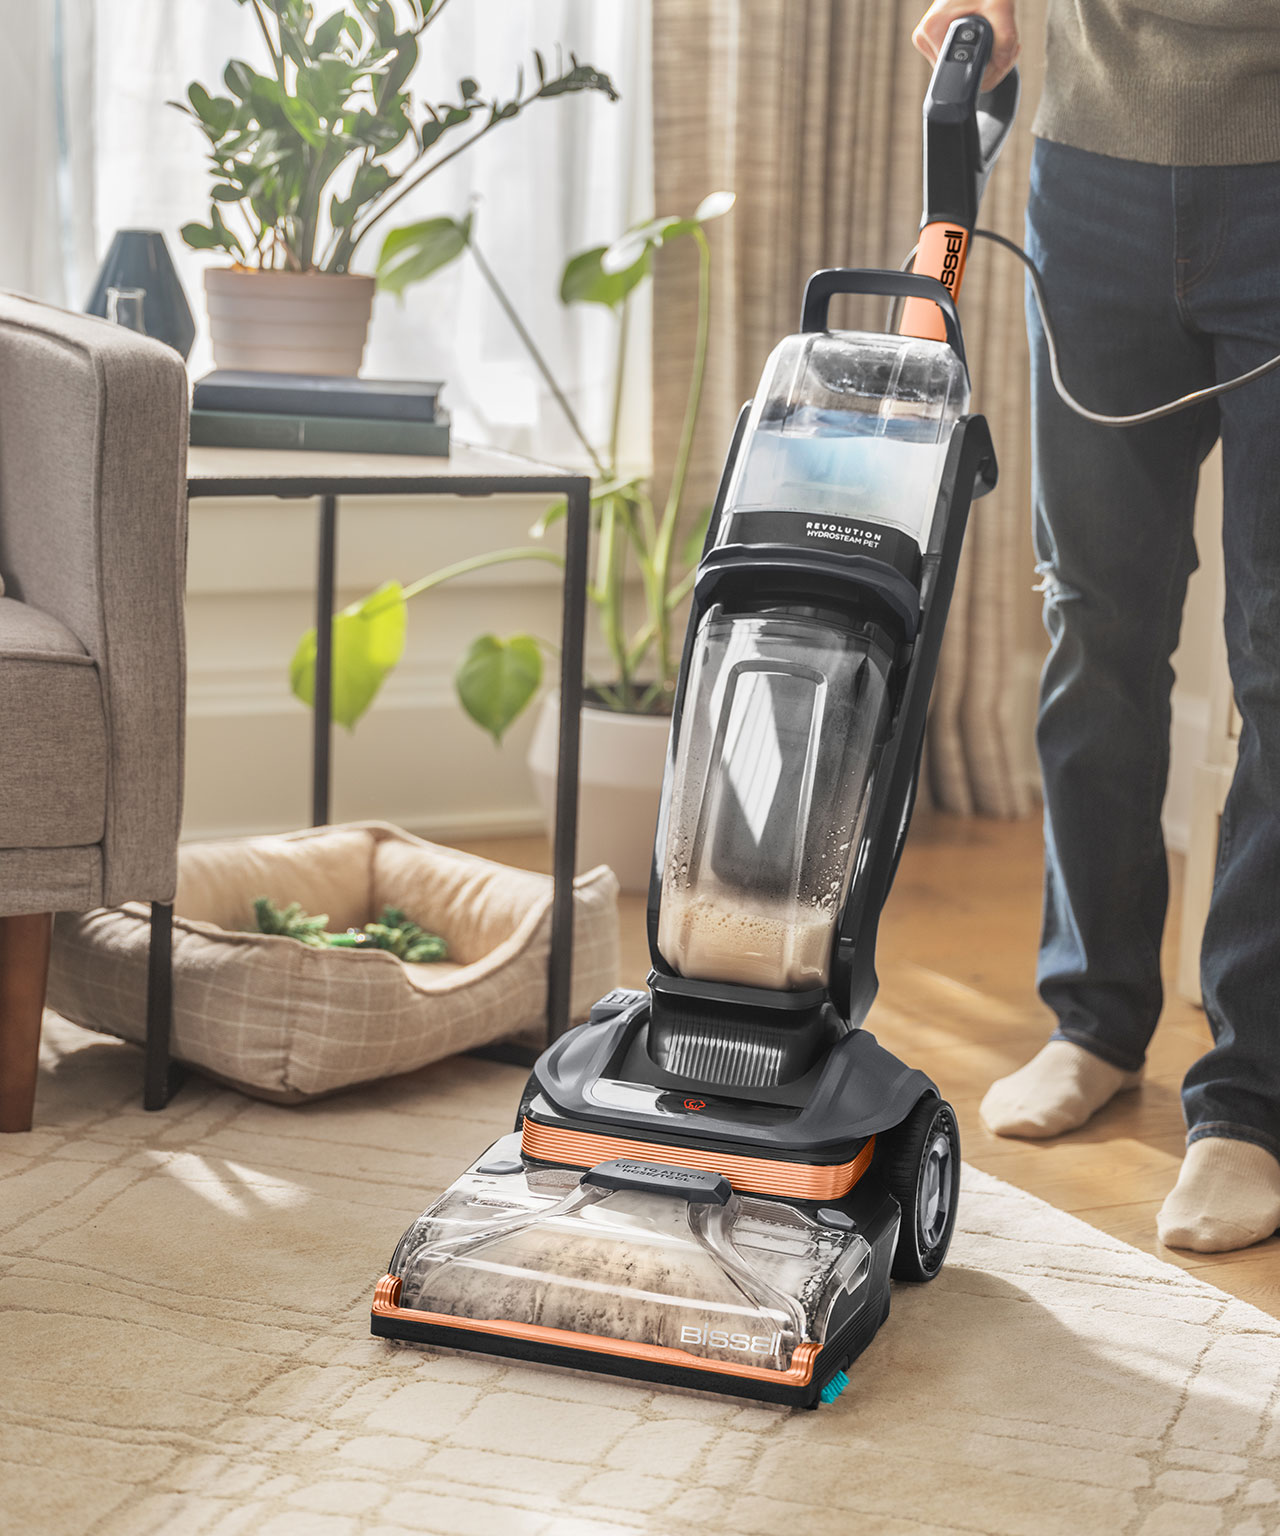
Credit: www.bissell.com
How Often Should You Clean Your Vacuum?
Frequency depends on how often you use your vacuum and if you have pets or allergies. Here’s a simple guide:
| Cleaning Task | Recommended Frequency |
|---|---|
| Empty dustbin/bag | Every use or when 2/3 full |
| Wash filters | Monthly (or as needed) |
| Replace filters | Every 3–6 months |
| Clean brush roll | Monthly (more for pet owners) |
| Wipe exterior | Monthly |
| Clean attachments | Every 2–3 months |
| Deep clean hoses | Every 3–6 months |
If you notice a loss of suction, bad smell, or strange sounds before these times, clean sooner.
If you have pets or allergies, clean more often. For example, homes with cats or dogs should clean the brush roll and filters at least twice a month. If you vacuum sand, sawdust, or other fine particles, check filters every two weeks.
If your vacuum is used for cleaning up after spills, wash the dustbin and attachments right away to prevent bacteria and odors.
Common Mistakes To Avoid
- Skipping filter cleaning: This is the #1 reason for weak suction.
- Not drying parts fully: Damp filters or hoses can cause mold.
- Forgetting hidden clogs: Hoses and airways can hide blockages that aren’t visible.
- Using harsh chemicals: Stick to mild soap; strong cleaners can damage plastic and rubber.
- Ignoring the brush roll ends: Hair buildup here can jam the roller.
- Overfilling the dustbin or bag: This strains the motor and reduces cleaning power.
- Not replacing worn parts: Old belts, torn filters, or cracked hoses need changing for best performance.
Another mistake is cleaning only the visible parts. Many beginners forget to check the air vents or exhaust port, where dust can build up and reduce airflow. Also, using too much water when cleaning can cause electrical problems if water drips into the motor area.
If you’re unsure about a part, always check your manual or look for a guide from your vacuum’s brand. Forcing parts back together can break clips or seals.
Real-world Example: Cleaning A Popular Vacuum Brand
Let’s look at how to clean a Dyson upright vacuum—a common choice in many homes.
- Unplug and remove the dustbin.
- Empty and wash the bin with mild soap and water. Dry fully.
- Remove the HEPA filter (usually under the top handle).
- Rinse the filter under cold water. Dyson says no soap is needed.
- Let filter dry for at least 24 hours.
- Check brush roll for tangled hair. Remove with scissors.
- Detach hose and check for clogs. Wash if needed.
- Wipe the vacuum body.
- Reassemble everything and test the machine.
Many brands follow similar steps, but always check your model’s guide for details.
If your Dyson has a washable pre-motor filter, rinse it until water runs clear. If your vacuum has a ball mechanism, wipe it clean and check for hair around the wheel. For pet models, clean the pet tool as well.
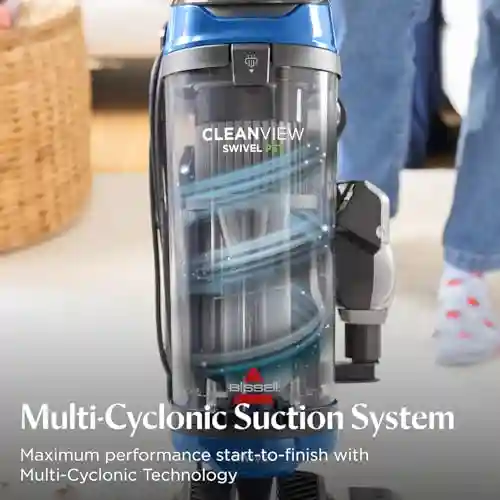
If your vacuum still smells after cleaning, check inside the cyclone assembly (the spinning part) for hidden debris. Some models allow you to rinse this part, but always check the manual.
The Hidden Benefits Of Regular Vacuum Cleaning
Keeping your vacuum clean isn’t just about better suction. Here are two benefits that many people overlook:
- Cleaner air quality: Fresh filters capture more allergens and dust, helping people with asthma or allergies breathe easier.
- Energy savings: A clean vacuum uses less electricity because the motor doesn’t have to work as hard.
These benefits add up over time, making the small effort of cleaning very worthwhile.
Another hidden benefit is noise reduction. When your vacuum is clean, the motor and brush roll work smoothly, creating less noise. This can make vacuuming less stressful for pets or young children.
Regular cleaning also prevents bad smells from spreading in your home. If your vacuum picks up food crumbs or pet messes, cleaning prevents bacteria from growing and causing odors.
Troubleshooting: If Your Vacuum Still Smells Or Has Weak Suction
Sometimes, even after a full clean, you might notice issues. Here’s how to troubleshoot:
- Still smells bad? Try sprinkling a little baking soda into the dustbin or bag. Also, check for trapped pet hair or food in hidden areas.
- Weak suction? Double-check that all parts are dry and correctly fitted. Look for clogs in hoses and the air path.
- Strange noises? Make sure the brush roll spins freely and is not rubbing against anything.
- Filter light won’t turn off? Many modern vacuums have a sensor—reset it by turning the vacuum on and off after cleaning.
If these steps don’t help, it may be time to replace a worn filter, belt, or hose.
If your vacuum suddenly stops working, check for a reset button—many models have this near the cord or handle. If you see sparks or smell burning, unplug immediately and consult a repair technician.
If suction is still weak, try vacuuming a small pile of flour or fine dust and check if the vacuum picks it up fully. If not, the issue may be deeper—a cracked hose, damaged motor, or blocked internal airway.
When To Replace Instead Of Clean
Vacuums are built to last, but some parts have a limit. Here are signs you should replace, not just clean:
- Filters: If they stay dirty, torn, or smell even after washing.
- Belts: If they look stretched, cracked, or make the brush roll slip.
- Hoses: If there are holes or tears.
- Dustbin or bag: If cracked or won’t close properly.
Don’t wait for a complete breakdown—replacing these parts restores performance and prevents bigger problems.
If your vacuum’s wheels stick or wobble after cleaning, check for cracks and replace if needed. For robot vacuums, replace worn brushes and wheels for best results.
Eco-friendly Vacuum Cleaning: Tips For Less Waste
Caring for your vacuum can be greener, too:
- Use washable filters when possible.
- Buy biodegradable dust bags for bagged vacuums.
- Clean parts with natural soaps instead of harsh chemicals.
- Recycle old filters and belts if facilities exist in your area.
- Donate or recycle your vacuum at end-of-life instead of throwing it out.
These small choices help protect your home and the environment.
If your vacuum is still working but you want to upgrade, consider donating it to a local charity or repair shop. Some brands offer recycling programs for old vacuums—check their websites.
Use vinegar and baking soda for cleaning instead of chemical sprays. This reduces indoor air pollution and keeps your vacuum safe from damage.
Quick Reference: Vacuum Cleaning Checklist
For those who like a simple reminder, keep this checklist handy:
- [ ] Unplug the vacuum
- [ ] Empty and clean dustbin or replace bag
- [ ] Remove and wash/replace filters
- [ ] Clean brush roll, remove hair
- [ ] Check and wash hoses
- [ ] Wipe body and handle
- [ ] Clean attachments
- [ ] Let all parts dry
- [ ] Reassemble and test
Following this regularly means fewer surprises and better cleaning results.
If you prefer digital reminders, set a calendar alert for filter replacement or deep cleaning. This helps you stay on track and avoids forgetting important steps.
How To Make Cleaning Your Vacuum Easier Next Time
A few habits can save you time:
- Empty the dustbin/bag after every use.
- Pull visible hair from the brush roll weekly.
- Check the filter schedule and put reminders on your calendar.
- Store the vacuum in a dry place to avoid mold and rust.
These steps make deep cleaning faster and extend your vacuum’s life.
If your vacuum comes apart easily, keep the manual and cleaning tools together in a box for convenience. For families, teach everyone how to empty the dustbin and check for blockages—this helps share the cleaning load.
Where To Find More Help
Some vacuums have unique needs. For detailed instructions, visit the manufacturer’s website or check trusted sources like Consumer Reports for reviews and care tips.
If your vacuum is still under warranty, check if cleaning steps affect coverage. Some brands require proof of regular maintenance for repairs.
Frequently Asked Questions
What Happens If I Never Clean My Vacuum?
If you never clean your vacuum, it will lose suction, stop picking up dirt well, and may start to smell bad. Over time, the motor can overheat, leading to expensive repairs or even total breakdown.
Can I Wash All Vacuum Filters With Water?
No, not all filters are washable. Some HEPA or paper filters must be replaced instead of washed. Always check your vacuum’s manual before washing any filter.
How Do I Clean A Vacuum If I Have Allergies?
Wear a mask and gloves to avoid touching dust. Clean the vacuum outside if possible, and use a damp cloth to trap dust instead of letting it go into the air. Replace filters more often to reduce allergens.
Why Does My Vacuum Still Smell After Cleaning?
Hidden dirt or pet hair might be trapped inside hoses or brush rolls. Try cleaning all parts again, and sprinkle a little baking soda in the dustbin or bag to absorb odors.
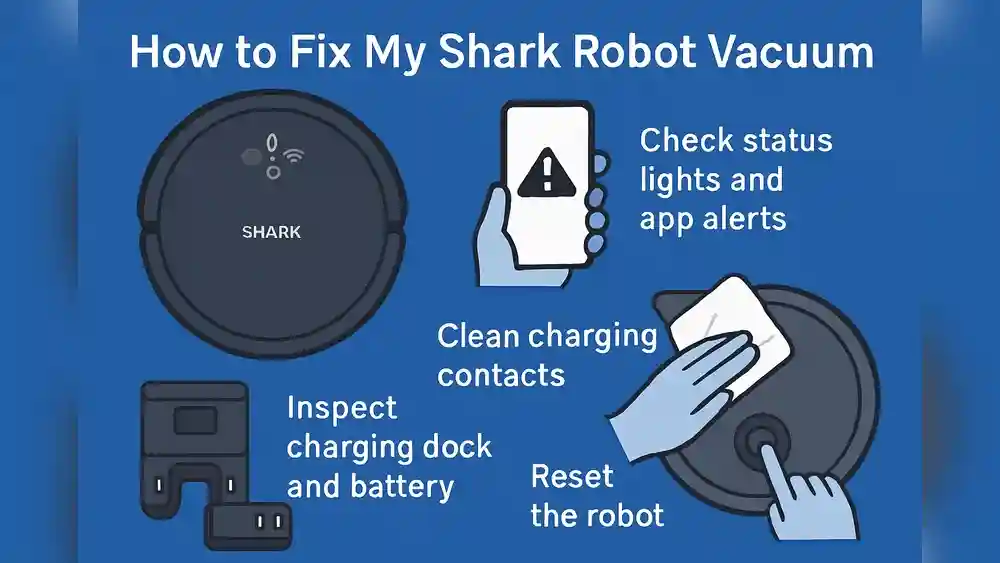
What’s The Best Way To Clean A Robot Vacuum?
Remove and empty the dustbin, clean the filter, detangle the brush roll and wheels, and wipe the sensors. Most robot vacuums have parts that can be rinsed, but always check the manual first.
Keeping your vacuum cleaner in top shape doesn’t have to be difficult. A little regular care means better cleaning, fewer repairs, and a healthier home. Start today, and you’ll notice the difference with every pass across your floor.