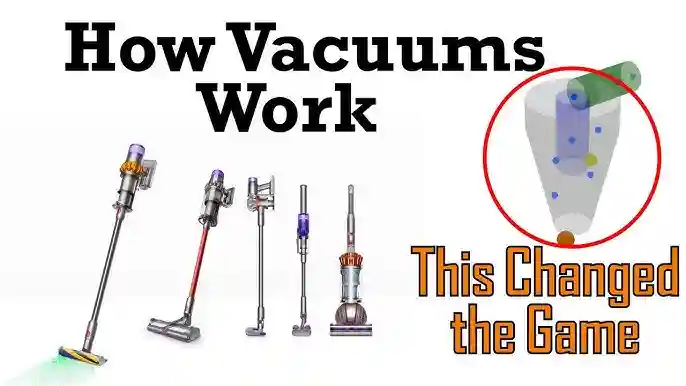
Cleaning your Shark Pet Cordless Vacuum may seem simple, but doing it right can make a big difference. If your vacuum loses suction, smells bad, or the brush roll stops spinning, it’s often because of dust, pet hair, or debris stuck inside. Many pet owners struggle with these problems, but regular cleaning can solve them and even extend the life of your vacuum. Learning the full cleaning process helps you avoid common mistakes and keeps your home cleaner—especially if you have pets that shed a lot.
This guide covers everything you need to know. Whether you use the Shark Pet Cordless for carpets, hard floors, or furniture, you’ll find step-by-step instructions, practical tips, and answers to common questions. You’ll also discover smart tricks that many people miss, like how to clean hard-to-reach places and which parts need special care.
Let’s get started and make your vacuum work like new again.
Why Regular Cleaning Matters
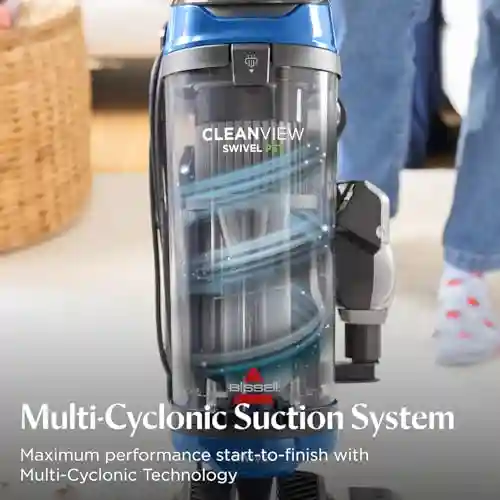
A vacuum is a big help in a home with pets, but it can quickly become less effective if you don’t clean it often. Dirt, dander, and hair can block airflow and wear out parts. Regular cleaning keeps suction strong, removes odors, and prevents mechanical problems.
It also helps keep your indoor air healthier by reducing allergens. Some owners only clean the dustbin, but a full clean includes filters, brush rolls, and even the attachments. Doing this every 1-2 months, or more often with heavy use, makes a noticeable difference.
Many people don’t realize that a dirty vacuum can spread bacteria and mold back into your home. If you have kids or someone with allergies, this matters even more. By keeping your Shark Pet Cordless Vacuum clean, you protect your investment and your family’s health.
Safety First: Preparing To Clean
Before you start, make sure your vacuum is turned off and unplugged from the charger. This prevents any accidents or electric shocks. If the battery is removable, take it out. Place the vacuum on a towel or mat, especially if you’re working indoors, to catch dirt or water. Gather a few tools: a soft brush, a microfiber cloth, scissors, mild dish soap, and access to warm water. If you have compressed air, it can help with dust in small spaces.
It’s easy to forget that water and electronics don’t mix. Never submerge the main body or battery in water. Always let washed parts dry completely before reassembling. Some cleaning steps may feel unnecessary, but skipping them can lead to bigger problems later.
Take your time and follow each step—this protects you and the vacuum.
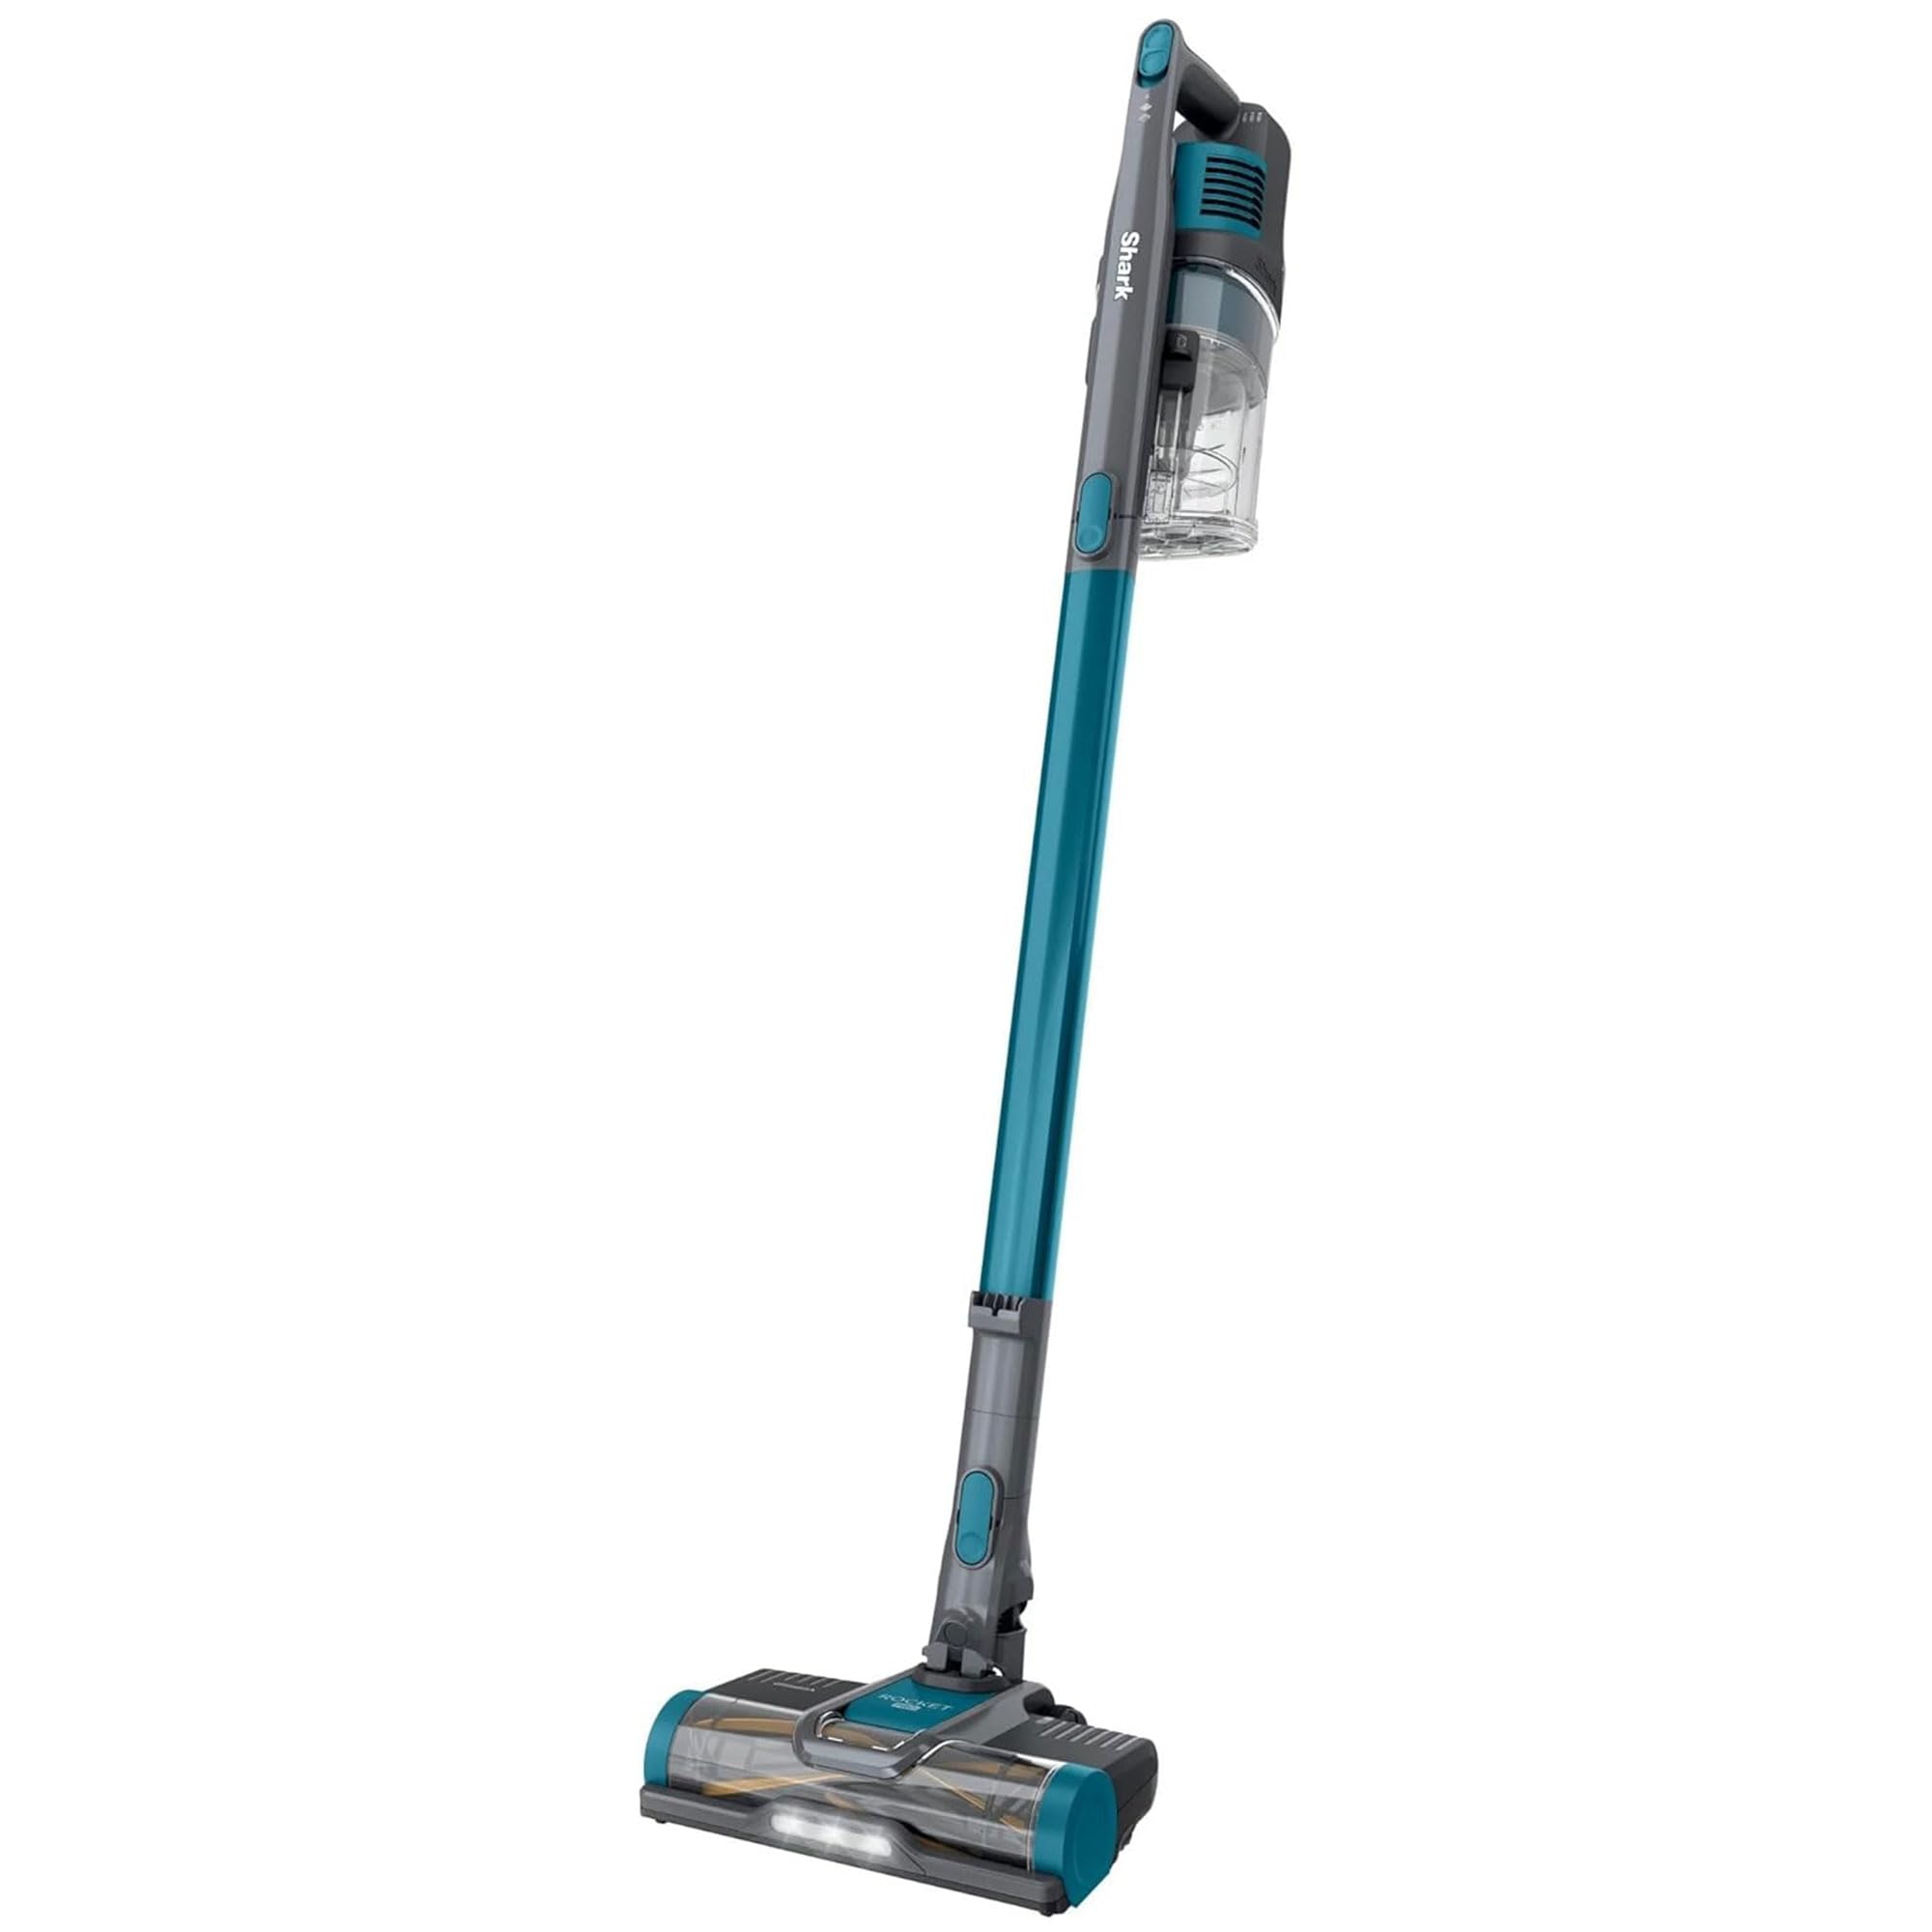
Main Parts Of The Shark Pet Cordless Vacuum
Understanding your vacuum helps you clean it better. The Shark Pet Cordless Vacuum has several parts that need attention:
- Dustbin (Canister): Collects dirt and debris.
- Filters: Usually a foam filter and felt or HEPA filter.
- Brush roll: Rotating brush under the floorhead that picks up dirt and hair.
- Floorhead: The main cleaning attachment.
- Wand: Connects the floorhead to the handle.
- Battery: Removable in some models.
- Attachments: Tools like crevice tool, upholstery brush, or pet multi-tool.
Each part collects dirt differently. Pet hair, for example, tends to wrap around the brush roll, while dust clogs the filters. Knowing where to focus saves time and effort.
Step-by-step Cleaning Process
The cleaning process works best in a certain order. Here’s how to do it right:
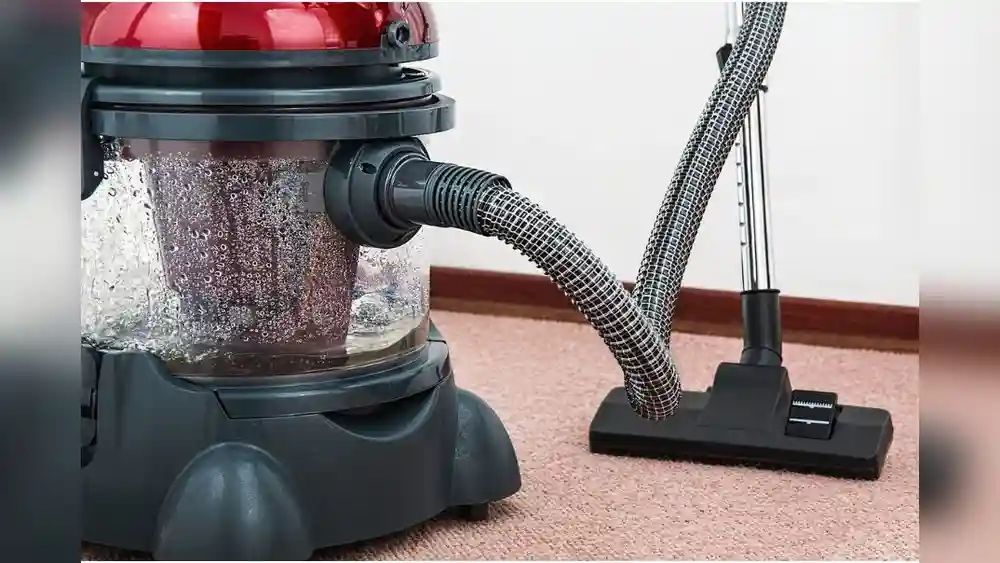
1. Empty And Clean The Dustbin
Every time you vacuum, empty the dustbin. Even if it’s not full, dust can build up on the walls. Press the release button to remove the bin. Hold it over a trash can and open the bottom lid. Tap gently to remove stuck debris.
For a deeper clean, rinse the bin with warm water and a drop of mild dish soap. Scrub with a soft brush if needed.
Let the dustbin air dry completely (at least 24 hours) before putting it back. Moisture left inside can cause mold or damage the vacuum. Some users try to speed this up with a hairdryer, but this can warp plastic—be patient.
2. Clean Or Replace The Filters
Filters are the heart of your vacuum’s suction and air quality. Most Shark Pet Cordless models have two main filters: a foam filter and a felt or HEPA filter. Check your manual to find their location—usually under the dustbin or in the motor housing.
Remove the filters and tap them gently over a trash can to get rid of loose dust. Rinse foam filters with warm water (no soap unless the manual says it’s safe). Squeeze out excess water and let them air dry for at least 24 hours.
Felt and HEPA filters should not always be washed—some are replace-only. Check your model’s instructions.
Never put wet filters back in the vacuum. This is a top mistake and can ruin the motor or lead to mold growth. Filters should be cleaned every month and replaced every 6-12 months, or sooner with heavy pet use.
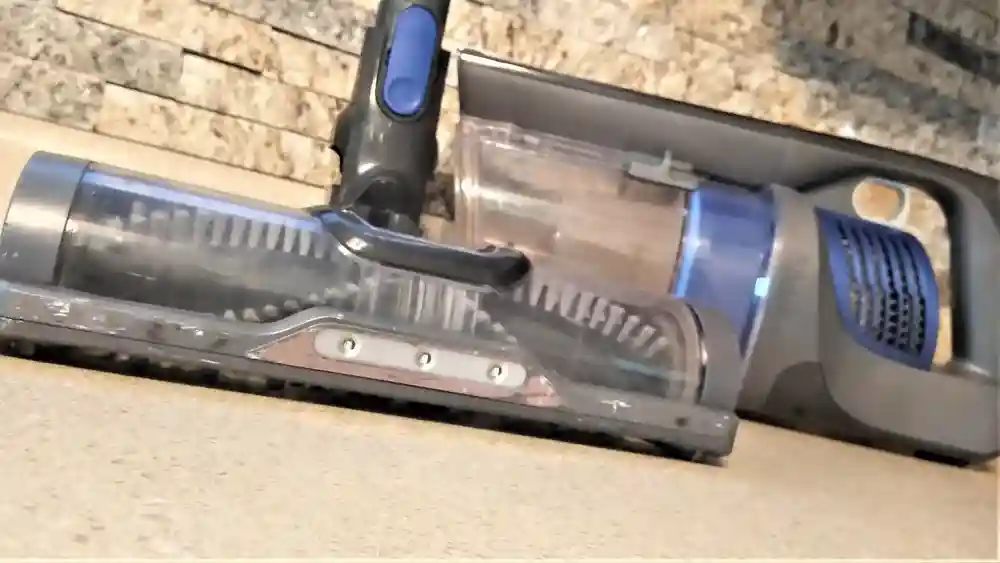
3. Remove And Clean The Brush Roll
Pet hair wraps tightly around the brush roll, reducing cleaning power and sometimes causing the brush to stop spinning. Unclip or unscrew the brush roll from the floorhead. Use scissors or a seam ripper to cut away hair and fibers—be careful not to damage the bristles.
Check the ends of the brush roll, as hair can get stuck here and block rotation. Some Shark models have a “self-cleaning” brush roll, but you still need to check for blockages. Wipe the brush roll with a damp cloth and let it dry.
Don’t soak the brush roll unless the manual says it’s safe.
Reattach the brush roll, making sure it clicks securely in place. If you hear strange noises or see uneven spinning, check for hair or debris you missed.
4. Clean The Floorhead And Wand
The floorhead collects dust in corners and around the brush roll. Wipe it with a damp cloth and use a soft brush to clean crevices. If you see clogs in the airway, use a thin brush or compressed air to remove them.
Detach the wand and check inside for blockages. Run a broomstick or flexible brush through the wand to clear debris. Never use water inside the wand—just dry cleaning tools.
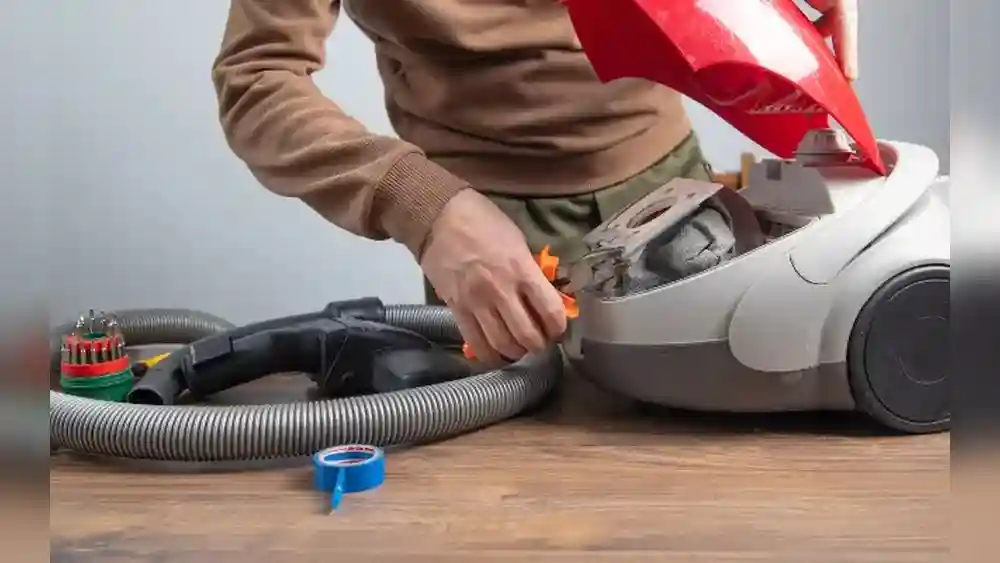
5. Wash And Check Attachments
Attachments like the crevice tool, dusting brush, or upholstery tool can get clogged with pet hair and dust. Remove each tool and check for blockages. Wash plastic attachments with warm, soapy water and rinse well. Let them dry before putting them back.
For tools with moving parts or brushes, use a dry brush to remove hair. Never soak any tool with electrical contacts or moving metal parts.
6. Wipe The Exterior
Dust and fingerprints can make your vacuum look old. Use a damp microfiber cloth to wipe the handle, body, and battery area. Dry with a clean towel. Don’t use harsh cleaners—these can fade or scratch the surface.
7. Inspect And Clean The Battery
If your Shark Pet Cordless has a removable battery, take it out and wipe the contacts with a dry cloth. Check for corrosion or dirt. Do not use water or cleaning sprays on the battery. If you notice swelling, overheating, or damage, replace the battery immediately.
8. Reassemble And Test
When all parts are completely dry, reassemble your vacuum. Attach the filters, brush roll, dustbin, and battery. Run the vacuum for a minute to make sure everything works smoothly. Listen for new noises or weak suction—these can signal that something needs attention.

Credit: www.youtube.com
Special Tips For Pet Owners
Pet hair and dander are harder to clean than regular dust. Here are some extra steps for homes with cats or dogs:
- Clean more often: Pet hair builds up fast. Clean filters and brush roll every 1-2 weeks if you vacuum daily.
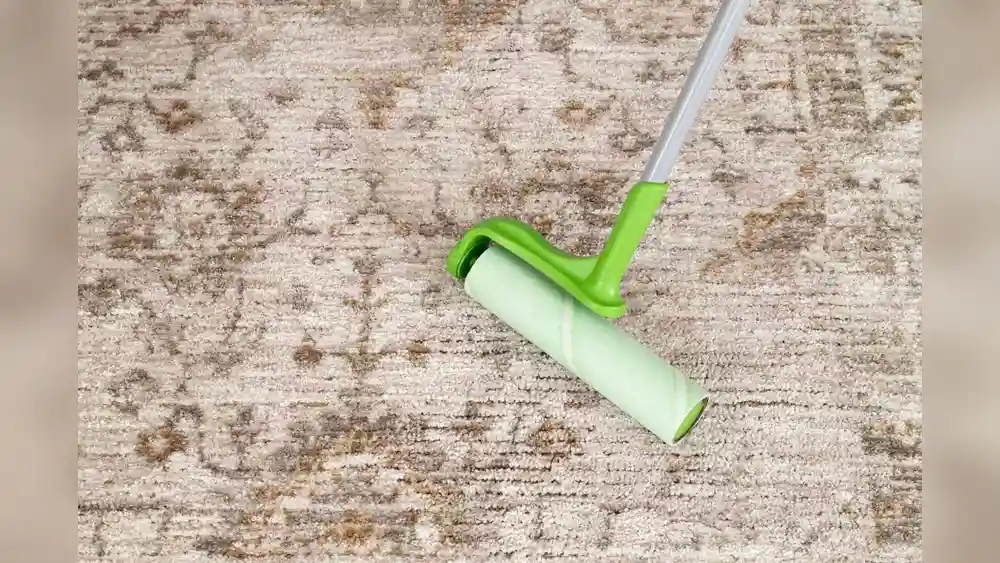
- Use a lint roller: Before washing, use a lint roller on the brush roll to remove loose hair. This prevents clogs and speeds up cleaning.
- Check for odors: Pet dirt can make the vacuum smell. Wash the dustbin and clean filters with a drop of baking soda if odors persist.
- Keep spare filters: Having a second set allows you to keep cleaning while the first set dries.
- Vacuum pet beds and furniture: Use the pet multi-tool attachment to keep these areas clean and reduce hair in the main vacuum.
How Often To Clean Each Part
Cleaning schedules depend on how much you use your vacuum and how many pets you have. Here’s a quick overview:
| Part | Cleaning Frequency | Replacement (if needed) |
|---|---|---|
| Dustbin | After every use | As needed (cracks or odors) |
| Filters | Every 1-2 months | Every 6-12 months |
| Brush Roll | Every 2-4 weeks | When worn or damaged |
| Attachments | Every 1-2 months | When broken or clogged |
| Wand/Floorhead | Every 1-2 months | As needed |
| Battery | Wipe monthly | 2-5 years (if issues) |
Some parts, like filters, wear out faster with heavy pet use. Keep an eye on performance and replace parts as soon as you notice problems.

Credit: www.walmart.com
Common Mistakes And How To Avoid Them
Even careful owners make mistakes when cleaning their Shark Pet Cordless Vacuum. Here are some to watch out for:
- Reassembling with wet parts: Moisture damages motors and grows mold.
- Using harsh cleaners: Bleach and strong chemicals can destroy plastic and filters.
- Forgetting hidden clogs: Debris can hide in the wand or floorhead and reduce suction.
- Pulling hair with force: This can break the brush roll’s bristles.
- Ignoring battery care: Dirty or wet battery contacts can cause charging problems.
By following the steps in this guide, you avoid these problems and save money on repairs.
Comparing Shark Pet Cordless To Other Brands
Many pet vacuums claim to be easy to clean, but not all are equal. Here’s how the Shark Pet Cordless compares to two popular competitors:
| Feature | Shark Pet Cordless | Dyson V8 Animal | Bissell ICONpet |
|---|---|---|---|
| Dustbin Design | Easy release, washable | Push-button, washable | Slide-off, rinseable |
| Filter Access | Simple pull-out | Twist to remove | Open side panel |
| Brush Roll Cleaning | Removable, self-cleaning | Removable, manual | Removable, tangle-free |
| Pet Hair Handling | Very good | Excellent | Excellent |
| Odor Control | Good (with filter cleaning) | Good | Very good (Febreze filter) |
The Shark Pet Cordless Vacuum stands out for its simple filter access and brush roll cleaning, making it a top choice for busy pet owners.
Troubleshooting After Cleaning
Sometimes, your vacuum might not work perfectly after cleaning. Here’s what to check:
- No suction: Make sure all parts are dry and properly assembled. Check for clogs in the wand or floorhead.
- Strange noises: Look for debris stuck in the brush roll or motor area.
- Brush roll not spinning: Check the ends for hair, and make sure the roll is locked in place.
- Battery won’t charge: Wipe battery contacts and try a different outlet. If it still fails, the battery may need replacing.
If these tips don’t help, consult your user manual or visit the official Shark Support site for help.
Deep Cleaning For Allergies And Odors
If someone in your home has allergies or if you notice pet odors, a deeper cleaning may be needed. Wash all washable parts with a solution of water and mild dish soap. Rinse filters more often, and consider replacing HEPA filters every 3-6 months.
Sprinkle a little baking soda inside the dustbin before vacuuming to help absorb smells.
For persistent odors, wipe the inside of the dustbin with a vinegar solution (1 part vinegar, 2 parts water), then rinse and dry. Never use strong chemicals or air fresheners inside the vacuum—they can damage parts and cause irritation.
When To Replace Parts
Some parts of your Shark Pet Cordless Vacuum are designed to wear out. Here’s when to replace them:
- Filters: If they stay dirty after washing or you notice reduced suction, it’s time for new filters.
- Brush roll: Replace if bristles are missing, bent, or the roll makes loud noises.
- Battery: Replace if it won’t charge fully or runs out quickly, even after cleaning contacts.
- Dustbin: If cracked, doesn’t close tightly, or smells even after washing.
- Attachments: If they’re clogged, broken, or no longer work as intended.
Buying genuine Shark parts is best. Off-brand replacements might not fit or could damage your vacuum.
Storing Your Shark Pet Cordless Vacuum
Proper storage keeps your vacuum in top shape. Always empty the dustbin and clean the filters before long-term storage. Store the vacuum upright in a dry, cool place. Don’t leave the battery in a hot area or plugged into the charger for weeks—this reduces battery life.
If you don’t plan to use the vacuum for several weeks, remove the battery and store it separately. This prevents slow drain and keeps your battery healthy.
Troubleshooting Performance Issues
If your vacuum still isn’t cleaning well after a full cleaning, check these areas:
- Power settings: Make sure you’re using the right mode for carpet or hard floors.
- Airway blockages: Even a small clog can cut suction.
- Battery age: Old batteries lose power and affect performance.
- Filter type: Some models use special HEPA filters—make sure you have the right one.
A tip many miss: if you vacuum up damp debris (like pet food or litter), clean the dustbin and filters immediately. Moist dirt can harden and block airflow.
Signs Your Vacuum Needs Service
Most problems are easy to fix at home, but some need professional service:
- Burning smell: Unplug and stop using the vacuum.
- Loud grinding noises: Could be a broken motor or brush roll.
- Error lights: Check your manual—sometimes this means a serious problem.
Don’t try to repair electrical parts yourself if you’re not experienced. Take your vacuum to an authorized service center for any major issues.
Maximizing Your Vacuum’s Life
With the right care, your Shark Pet Cordless can last 5-8 years. Here are two non-obvious ways to add years to its life:
- Rotate your cleaning tools: If you have extra attachments or brush rolls, swap them every few months. This reduces wear on any one part.
- Charge the battery in short bursts: Instead of leaving the battery on the charger for hours after it’s full, unplug it. This prevents overcharging and keeps the battery healthier.
By following these small steps, you avoid costly repairs and replacements.
Environmental Impact: Disposing Of Old Parts
When it’s time to replace filters, batteries, or the vacuum itself, dispose of them responsibly. Many cities offer battery recycling programs—never throw batteries in regular trash. Old filters and plastic parts can sometimes be recycled; check local guidelines.
Responsible disposal helps protect the environment and keeps harmful chemicals out of landfills. For more on recycling small electronics and batteries, visit the EPA’s recycling page.
Advanced Maintenance: Cleaning Hard-to-reach Areas
Over time, dust can settle in corners you rarely notice. Here’s how to reach them:
- Motor vents: Use compressed air to blow dust out of the motor vents. Do this outside to avoid spreading dust indoors.
- Tiny crevices: A soft, dry paintbrush works well for loosening dust in buttons and seams.
- Under the brush roll: With the roll removed, use a flashlight to check for hidden debris.
Many people never clean these spots, but they can affect suction and cause overheating if blocked.
User Experiences: Real-world Cleaning Challenges
Pet owners often share creative solutions. For example, some wrap a dry towel around the brush roll for a few seconds to pick up loose hair before starting the vacuum. Others make a habit of checking the brush roll after every use, not just during cleaning days.
One user found that keeping a cleaning chart (with dates for filter changes and deep cleans) helped maintain strong suction and avoid surprise breakdowns. These small habits build up over time and keep your vacuum working better.
Cost Of Maintenance Vs. Replacement
Is it worth cleaning your vacuum, or should you just buy a new one? Here’s a quick cost comparison:
| Maintenance Task | DIY Cost (per year) | Professional Service | Buying New Vacuum |
|---|---|---|---|
| Cleaning filters/brushes | $10-$20 (supplies) | $50-$80 | $250-$400 |
| Replacing filters | $20-$40 | $40-$60 | - |
| Replacing battery | $60-$100 | $80-$120 | - |
Regular cleaning and part replacement cost much less than buying a new vacuum. Even if you pay for professional service once a year, you still save hundreds over the life of the vacuum.
Frequently Asked Questions
How Often Should I Clean My Shark Pet Cordless Vacuum?
Clean the dustbin after every use, wash the filters and brush roll every 1-2 months, and check the attachments monthly. Pet owners should clean more often, especially the brush roll and filters.
Can I Wash All Parts Of My Shark Pet Cordless Vacuum?
Most plastic parts like the dustbin and attachments are washable. Foam filters can be rinsed, but check your manual for felt or HEPA filters—some can only be replaced. Never wash the main body or battery.
Why Does My Vacuum Smell Bad Even After Cleaning?
Odors usually come from trapped pet hair or dirty filters. Wash all washable parts thoroughly and replace filters if smells persist. Adding a small amount of baking soda in the dustbin can help control odors.
What Should I Do If Suction Is Still Weak After Cleaning?
Check all airways for blockages, including the wand, floorhead, and attachments. Make sure the filters are completely dry and correctly installed. If suction is still weak, the filter or battery may need replacing.
Is It Safe To Use Third-party Filters Or Batteries?
Genuine Shark parts are safest. Some third-party filters fit, but they may not filter as well or could damage your vacuum. Always avoid off-brand batteries—they can be unsafe or void your warranty.
Keeping your Shark Pet Cordless Vacuum clean may take a little extra time, but it pays off with better cleaning, fewer repairs, and a fresher home. With these detailed steps and tips, you can handle any cleaning challenge—no matter how many pets you have or how much hair they shed. Your vacuum will thank you with years of reliable service.
Credit: www.amazon.com