A vacuum cleaner is a must-have for keeping your home clean, but like any machine, it can stop working well or break down. Many people throw away their vacuum and buy a new one, but most problems are easy to fix if you know how.
Learning how to repair a vacuum cleaner not only saves money but also helps the environment by reducing waste. With a bit of time and some simple tools, you can solve most issues on your own—even if you’re not an expert in repairs.
This guide will show you how to fix common vacuum cleaner problems step by step. You’ll learn how to spot what’s wrong, which parts you might need, and how to get your vacuum running like new again. Whether your vacuum has lost suction, smells bad, won’t turn on, or is making strange noises, you’ll find practical solutions here.
Even if you’ve never fixed anything before, you’ll be surprised how much you can do with just a screwdriver and a little patience.
Basic Safety Before Repairing A Vacuum Cleaner
Before you start, remember that vacuums use electricity and have moving parts. Always unplug the vacuum before opening or handling any parts inside. If you see sparks, smell burning, or see damaged wires, stop and think about whether you can safely continue. If you’re unsure, it’s better to get help from a professional.
Tools And Supplies You’ll Need
Most vacuum cleaner repairs need only a few basic tools:
- Screwdrivers (Philips and flathead)
- Needle-nose pliers
- Scissors or utility knife
- Replacement belts, filters, or bags (specific to your vacuum model)
- Compressed air can (for cleaning dust)
- Soft brush (for cleaning parts)
Common Vacuum Cleaner Problems And How To Fix Them
Vacuum cleaners can fail in many ways, but some problems happen much more often than others. Below are the most frequent issues, how to spot them, and how to fix them.
1. Vacuum Cleaner Won’t Turn On
If your vacuum does nothing when you press the power button, check these steps:
- Check the power source. Plug another device (like a lamp) into the same outlet to be sure the outlet works.
- Check the power cord. Look for cuts, frays, or exposed wires. A damaged cord can be very dangerous.
- Test the power switch. Sometimes, the switch itself wears out. If you feel no “click” or it feels loose, it may need replacing.
- Overheating protection. Many vacuums have a safety switch that shuts them off if they get too hot. Wait 30 minutes and try again.
If none of these work, the motor or internal wiring may be the problem. Replacing a motor is more advanced and may need professional help.
2. Loss Of Suction
This is the most common issue. Your vacuum sounds normal but doesn’t pick up dirt.
Causes And Fixes:
- Full dustbin or bag. Empty it. Even a half-full bag can reduce suction.
- Clogged hose or wand. Remove the hose and push a broom handle through it to clear any blockages.
- Dirty or clogged filters. Wash or replace filters as recommended (usually every 3–6 months).
- Broken or worn belt. If the brush isn’t spinning, the belt may be loose or snapped.
- Air leaks. Make sure all parts are clicked or screwed in tightly.
Here’s a quick comparison of causes and solutions:
| Problem | How to Check | How to Fix |
|---|---|---|
| Full bag/dustbin | Look inside bag/bin | Empty or replace |
| Clogged hose | Remove and inspect | Clear blockage |
| Dirty filter | Remove filter, look for dirt | Wash or replace |
| Broken belt | Check if brush spins | Replace belt |
3. Vacuum Smells Bad
A bad smell is usually from dirty filters, pet hair, or something stuck inside. To fix:
- Wash or replace filters. Foam and HEPA filters can often be washed.
- Check for stuck food or debris. Sometimes food or wet dirt gets stuck inside.
- Clean the brush roll. Remove hair and string with scissors.
- Add a scented vacuum granule to the bag or dustbin for a fresh smell.
4. Brush Roll Not Spinning
The spinning brush (or beater bar) helps lift dirt. If it stops, your vacuum won’t clean carpets well.
What To Do:
- Unplug the vacuum.
- Lay the vacuum down and remove the bottom plate. This is usually held by a few screws.
- Remove the brush roll. Clean off hair, string, and debris.
- Check the belt. If it’s broken, stretched, or missing, replace it with the correct size.
A new belt often costs less than $10 and can make your vacuum work like new.
5. Strange Noises
Rattling, grinding, or whining sounds mean something is wrong inside.
- Rattling: Usually something small (like a coin) is inside the hose or brush area.
- Grinding: The bearings in the brush roll may need oil, or the belt is slipping.
- Whining: The motor could be struggling due to a blockage or worn bearings.
If you hear a burning smell with the noise, unplug the vacuum immediately.
6. Vacuum Shuts Off Mid-use
If your vacuum runs for a minute, then shuts off, it’s probably overheating.
- Check for clogs in the hose, wand, or filter.
- Clean the filters.
- Let it cool down for 30 minutes before restarting.
- Check the thermal cut-off switch (a small button under the vacuum on some models).
7. Vacuum Won’t Pick Up Dirt From Carpet
If your vacuum works on hard floors but not on carpet:
- Adjust the height setting. Make sure it’s set for your carpet type.
- Check the brush roll. It must spin freely and be clear of debris.
- Check for suction at the base when the vacuum is on carpet.
8. Vacuum Leaves Dirt Behind
When your vacuum leaves a trail of dirt, check:
- Brush roll. If it’s covered in hair or not spinning, dirt won’t be picked up.
- Worn belt. A loose belt can’t spin the brush fast enough.
- Full dustbin. An overfilled bin can block airflow.
9. Burning Smell
A burning smell usually means the belt is slipping or broken, or something is stuck in the brush.
- Unplug the vacuum.
- Open the brush area and look for stuck objects.
- Replace the belt if it looks melted or stretched.
10. Air Blowing Out Instead Of Sucking In
If your vacuum is blowing air instead of sucking, it’s probably clogged.
- Check for full bag or dustbin.
- Clean or replace filters.
- Clear all hoses and pathways.
Credit: home.howstuffworks.com
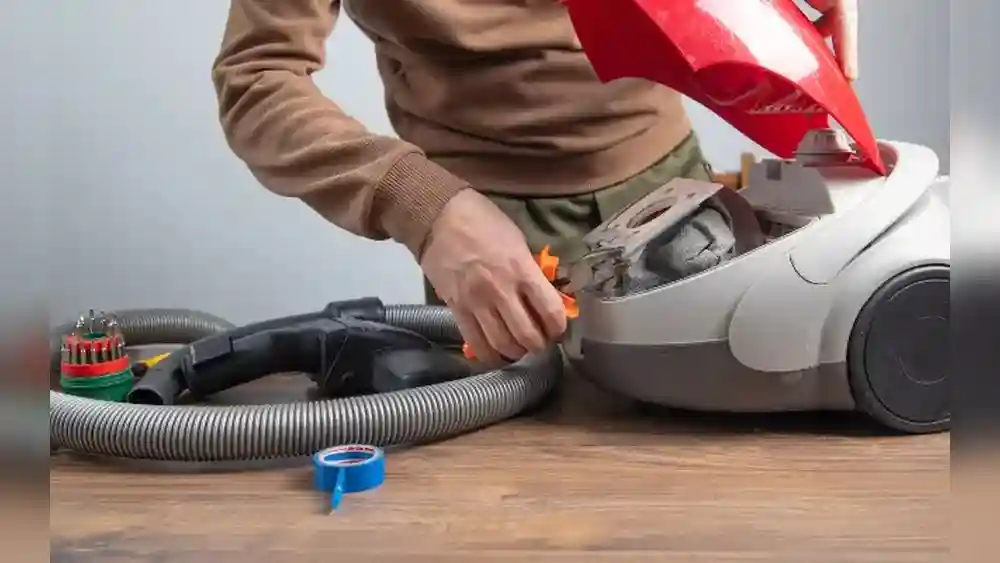
Replacing Key Vacuum Cleaner Parts
Most vacuum repairs involve changing simple parts. Here’s how to replace the most common ones.
Replacing A Vacuum Belt
- Unplug the vacuum.
- Remove the bottom cover.
- Take out the brush roll.
- Slip off the old belt, put on the new one.
- Reinstall the brush and cover.
A key tip: Always use the right size and type of belt for your model. Too tight or too loose can damage the motor.
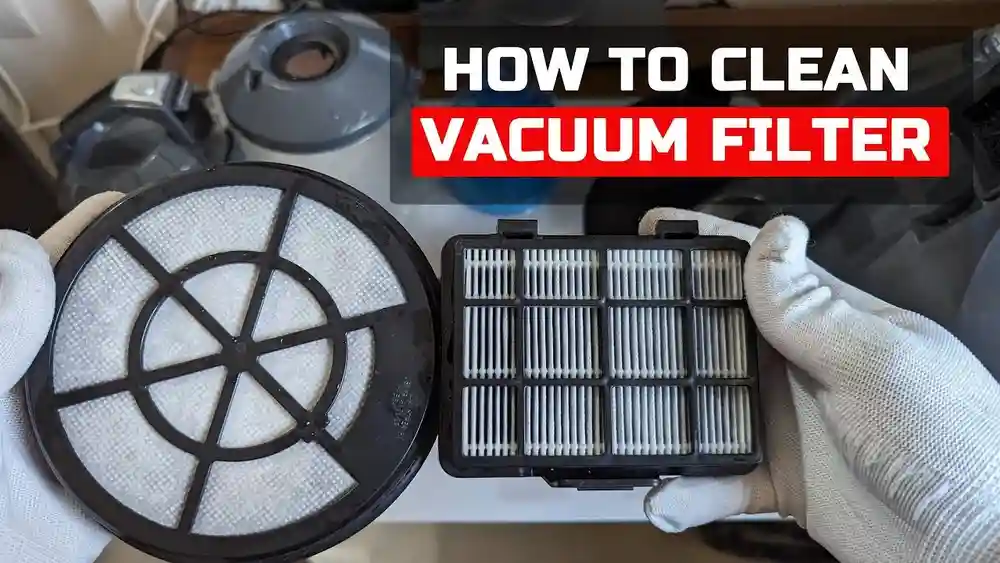
Changing Filters
Most vacuums have at least one filter, often two (pre-motor and HEPA).
- Remove the old filter. Usually, it slides or snaps out.
- Clean if washable. Dry completely before replacing.
- Insert the new filter. Make sure it fits snugly.
Check your manual for filter locations and replacement schedules.
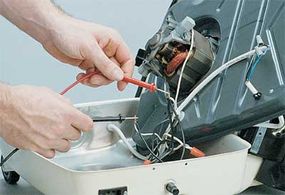
Replacing A Power Cord
This is more advanced, but possible if you’re careful.
- Unplug the vacuum.
- Open the vacuum body (usually with screws).
- Remove the old cord from the terminals.
- Install the new cord, matching the wire colors.
- Secure everything tightly and close the body.
If you’re not confident, consider professional help for this repair.
Preventive Maintenance Tips
Preventing problems is easier than fixing them. With regular care, your vacuum will last much longer.
- Empty the dustbin or bag often. Don’t wait until it’s full.
- Check for clogs each month. Run a broom handle through the hose.
- Clean or replace filters regularly.
- Check the brush roll for tangled hair or string.
- Listen for unusual noises. Catching small problems early prevents big repairs.
Here’s a quick maintenance schedule for most vacuums:
| Task | Frequency | Notes |
|---|---|---|
| Empty dustbin/bag | After every use | Don’t overfill |
| Clean filters | Monthly | Or as needed |
| Check for clogs | Monthly | More often with pets |
| Inspect belt | Every 3 months | Replace if worn |
| Clean brush roll | Every 2 weeks | Remove hair, string |

Credit: www.wikihow.com
Non-obvious Tips For Better Vacuum Repair
Some helpful ideas that beginners often miss:
- Label screws and small parts. Use a piece of tape or a small cup so you don’t lose anything.
- Take photos as you go. If you’re unsure how something fits, a quick photo on your phone can help you put it back together.
- Check for warranty. Many vacuums have a 1–5 year warranty. Attempting your own repair may void this, so check before starting.
When To Call A Professional
Some problems are too risky or advanced for DIY repair, such as:
- Motor replacement
- Electrical faults or sparking
- Major body cracks or broken wheels
If you feel unsure, or your repair doesn’t solve the problem, a professional can help. Sometimes, the cost of repair is close to the price of a new vacuum. It’s wise to compare prices before you decide.

Credit: www.eufy.com
Finding Replacement Parts
You can buy most vacuum parts online. Search using your vacuum’s model number for best results. Many brands sell parts directly from their websites, or you can use large retailers like Amazon or specialty stores. For more information about vacuum parts, you can check Wikipedia’s vacuum cleaner page.
Frequently Asked Questions
Why Did My Vacuum Suddenly Lose Suction?
The most common reasons are a full dustbin or bag, a clogged hose or filter, or a broken belt. Check these first—usually, cleaning or replacing one of these parts solves the problem.
How Often Should I Change My Vacuum Cleaner Filter?
Most filters should be cleaned or replaced every 3–6 months. If you have pets or allergies, do it more often. Always check your vacuum’s manual for the best schedule.
Is It Worth Repairing An Old Vacuum Cleaner?
If your vacuum is less than 7 years old and the problem is minor (like a belt or filter), repair is usually worth it. But if the motor is broken or the body is badly damaged, buying a new vacuum may be better.
Can I Use My Vacuum Without A Filter?
No, never use a vacuum without its filter. The filter protects the motor and keeps dust from coming back into your home. Running without a filter can damage your vacuum and lower air quality.
What Should I Do If My Vacuum Smells Burnt?
Unplug the vacuum immediately. A burnt smell often means the belt is slipping or something is stuck in the brush. Let the vacuum cool, then check and replace the belt if needed. If the smell continues, have a professional check the motor.
Repairing a vacuum cleaner can be simple and rewarding. With the right steps, even beginners can solve most problems quickly. Regular maintenance and a little care will keep your vacuum running well for years, making your cleaning easier and your home healthier.