If you own a Shark Robot vacuum, you know how much time and energy it saves you. But what happens when your trusty device stops working and flashes “Error Number 7”? This error can be frustrating, especially if you’re not sure what it means or how to fix it. The good news is that you can often resolve this problem yourself at home, without waiting for expensive repairs or technical support.
In this guide, you’ll find everything you need to know about fixing Error Number 7 on your Shark Robot. You’ll learn what this error code means, why it happens, and how to troubleshoot it step by step. We’ll cover every possible cause, show you how to avoid common mistakes, and share tips that even experienced users sometimes miss. If you want your Shark Robot running again quickly, keep reading—you’re in the right place.
Understanding Error Number 7 On Shark Robot
Before jumping into solutions, it’s important to know what Error Number 7 actually means. On most Shark Robot models, this error code indicates a problem with the main brushroll. The robot detects that the brush is not spinning as expected. This can stop the vacuum from cleaning properly, or even make it stop altogether.
Here’s why this error matters:
- The main brush is crucial for picking up dirt, dust, and debris.
- If the brush isn’t working, your robot can’t clean floors effectively.
- Ignoring the error may lead to more serious mechanical problems over time.
Many users mistake Error Number 7 for a battery or navigation issue. In reality, it’s almost always related to the brushroll or something directly connected to it. Understanding this saves you time and helps you focus on the right fixes.
Common Causes Of Error Number 7
Error Number 7 can appear for several reasons. Some are simple, others need a closer look. Here are the most common causes:
- Brushroll is jammed by hair, threads, or debris.
- Brushroll motor has failed or is not getting power.
- Brushroll is not installed correctly after cleaning or maintenance.
- Broken or worn brushroll that cannot spin freely.
- Faulty sensors that detect brushroll movement.
- Battery is too weak to power the brushroll motor.
- Internal electronics issue affecting the brushroll circuit.
Each cause requires a specific approach, which we’ll cover step by step.
How To Fix Error Number 7 On Shark Robot: 7 Essential Steps
Let’s dive into the seven key steps to fix Error Number 7. Each step targets a possible cause. Don’t skip any steps—even small details can make a big difference.
1. Power Cycle The Robot
The first thing to try is a simple power cycle. Sometimes, the error is caused by a glitch in the software or a temporary sensor issue.
- Turn your Shark Robot off using the physical power switch.
- Remove the robot from its charging dock (if it’s docked).
- Wait at least 60 seconds. This allows any stored energy in the circuits to discharge.
- Turn the robot back on and place it on the floor, not on the dock.
Test the robot to see if the error message is gone. If it’s still showing Error Number 7, move to the next steps.
Why this matters: Many users overlook the importance of a full power cycle. This simple reset can clear memory glitches or false error signals that aren’t caused by hardware problems.
2. Inspect And Clean The Main Brushroll
The main brushroll is the heart of your Shark Robot’s cleaning system. Over time, hair, string, or debris can wrap around the brush, causing it to jam or spin with difficulty.
How to clean the brushroll:
- Flip the robot upside down on a towel.
- Locate the brushroll compartment (usually in the center).
- Open the brushroll cover using the release tabs or screws.
- Carefully lift out the brushroll.
Check for:
- Tangled hair or threads (especially at the ends)
- Dirt or dust packed into the brush housing
- Objects wedged under the brush
Remove as much debris as possible. Use scissors to cut away hair, but be gentle to avoid damaging the brush bristles.
Tip: Many Shark Robot models include a cleaning tool—use it for best results.
Extra Insight: Even small amounts of hair at the brushroll ends can cause Error Number 7. Make sure the ends are completely clear. A tiny blockage can stop the brush from spinning, even if the rest looks clean.
3. Check For Brushroll Installation Problems
Sometimes, Error Number 7 appears after you’ve cleaned the brushroll and put it back. If the brush isn’t seated correctly, the robot can’t detect it or spin it properly.
To check installation:
- Remove and reinsert the brushroll, making sure both ends click firmly into place.
- The brush should spin freely when you turn it by hand.
- Close the brush cover securely.
Test the robot again.
Mistake to avoid: Forcing the brushroll into place or leaving it slightly off-center can damage the motor shaft or the brush itself. Take your time and make sure everything lines up.
4. Examine And Clean The Brushroll End Caps
The ends of the brushroll—called end caps—often collect dust, hair, or grime. This buildup can block the brush from spinning smoothly.
Steps:
- With the brushroll removed, check both end caps.
- Pull off any hair or debris.
- If possible, gently pry off the end caps (some models allow this; check your manual first).
- Clean inside the cap area with a dry cloth.
Replace the brushroll and test again.
Non-obvious tip: End caps can sometimes hide problems you can’t see from outside. If your brushroll feels stiff or won’t turn by hand, focus on cleaning this area even if it looks clean.
5. Test The Brushroll Motor
If the brushroll and end caps are clean and installed correctly, but Error Number 7 remains, the issue may be with the brushroll motor.
How to check:
- Turn the robot on with the brushroll removed.
- Start a cleaning cycle.
- Listen for the motor noise where the brushroll would be.
If you hear no sound, the motor may not be running. If you hear a whirring sound but the brush won’t spin when installed, the motor is likely fine and the problem is elsewhere.
Important: Never force the brushroll to spin if the motor seems stuck. This can cause permanent damage.
Extra Insight: Motors can become weak over time, especially if the brushroll is often jammed. If your Shark Robot is older or used heavily, motor wear is a possible culprit.
6. Check Battery Health And Charging
A weak or failing battery can also trigger Error Number 7. The brushroll motor needs more power than the wheels or sensors, so a low battery can cause the brush to stall.
How to check battery health:
- Fully charge your Shark Robot (let it charge for at least 3 hours).
- Try running a short cleaning cycle.
- If Error Number 7 appears quickly, or the robot stops and returns to the dock, the battery may be too weak.
Some models have a battery indicator light. If your battery never reaches a full charge, or drains rapidly, consider replacing it.
Comparison of battery symptoms:
| Battery Issue | Robot Behavior | Likely Solution |
|---|---|---|
| Won’t hold charge | Robot stops mid-clean, error appears | Replace battery |
| Charges slowly | Long charging time, short run time | Check charger, replace battery |
| Normal charging | Error Number 7 only during heavy use | Check brushroll and motor first |
Practical tip: Batteries lose capacity over time. If your robot is more than two years old and you notice shorter run times, a new battery may prevent Error Number 7 and other random shutdowns.
7. Inspect Internal Sensors And Connections
If none of the above steps fix Error Number 7, the issue might be internal. Shark Robots have sensors that detect brushroll movement. If a sensor is dirty, loose, or broken, the robot may think the brush isn’t working—even if it is.
To check sensors:
- Look for a small sensor near the brushroll compartment (check your manual or the Shark website for your model).
- Gently clean the sensor area with a dry cotton swab.
- Inspect for loose wires, especially if your robot suffered a hard drop or impact.
If you’re comfortable, open the robot’s bottom cover (use a small screwdriver). Carefully check for:
- Disconnected wires
- Dust or dirt buildup on circuit boards
- Burned or damaged components
Warning: If your robot is under warranty, opening it may void your coverage. When in doubt, contact Shark support for help.
Non-obvious insight: Internal sensor issues are rare, but they’re often missed. If you’ve tried everything else and Error Number 7 persists, a sensor or circuit problem is likely.
What To Do If Error Number 7 Persists
If you’ve completed all seven steps and your Shark Robot still shows Error Number 7, it’s time to consider professional help.
- Contact Shark Customer Support: Explain all the steps you’ve tried. Be specific about your model and the problem.
- Check your warranty: Many Shark Robots have a 1-2 year warranty covering motor or sensor failures.
- Ask about repair or replacement: Sometimes, Shark will offer a discounted replacement or free repair if the problem is due to a known defect.
- Don’t ignore the error: Using the robot with a persistent error can make things worse, leading to higher repair costs.
Tip: Keep your proof of purchase and note down all troubleshooting steps. This can speed up warranty service.

Credit: www.ebay.com
Preventing Error Number 7 In The Future
Once you’ve fixed Error Number 7, you’ll want to keep your Shark Robot running smoothly. Here are some best practices:
- Clean the brushroll weekly: Regular cleaning prevents jams and reduces motor strain.
- Remove hair and threads: Pay attention to the brush ends and wheels.
- Charge the battery fully: Avoid partial charges, which shorten battery life.
- Store the robot correctly: Keep it on its dock in a dry, dust-free area.
- Avoid wet floors or sticky spills: Liquids can damage the brush motor and sensors.
Maintenance schedule example:
| Task | Frequency | Why It Matters |
|---|---|---|
| Brushroll cleaning | Weekly | Prevents jams and errors |
| Check end caps | Monthly | Keeps brush spinning smoothly |
| Battery check | Every 3 months | Ensures enough power for cleaning |
| Sensor cleaning | Every 6 months | Prevents false errors |
Pro insight: Many users only clean the brush when the robot stops working. Regular maintenance is faster and reduces repair costs in the long run.
Troubleshooting: Real-world Scenarios
Let’s look at a few examples of how Error Number 7 appears and how it can be fixed.
Case 1: “My robot stops and shows Error Number 7 after cleaning for 10 minutes.”
- Likely cause: Hair buildup at brush ends or weak battery.
- Fix: Clean brushroll ends, fully charge battery, retest.
Case 2: “Error Number 7 appeared after I cleaned the brushroll and put it back.”
- Likely cause: Brushroll not installed correctly.
- Fix: Reinstall brushroll, make sure both ends click into place.
Case 3: “I cleaned everything, but Error Number 7 is still there.”
- Likely cause: Faulty sensor or motor.
- Fix: Contact support, especially if under warranty.
Case 4: “Robot shows Error Number 7 only on thick carpet.”
- Likely cause: Brushroll is struggling, possibly due to worn bristles or weak motor.
- Fix: Replace brushroll, check motor function.
Case 5: “Error Number 7 happens randomly, but robot works fine otherwise.”
- Likely cause: Loose internal wire or dirty sensor.
- Fix: Gently tap the robot to see if error appears. If yes, internal inspection needed.
These examples show that the same error code can have many causes. The key is to go through the steps methodically and not jump to conclusions.

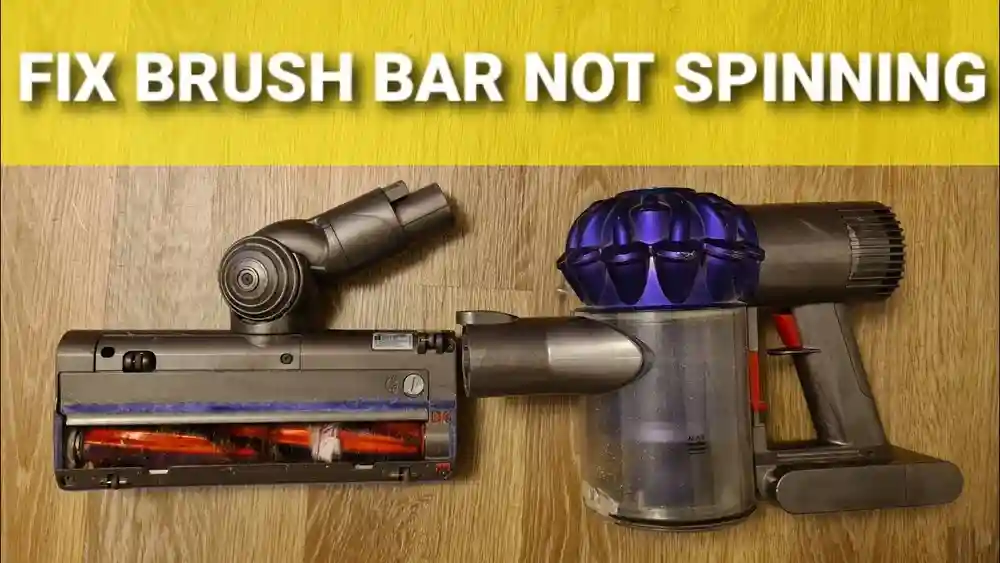
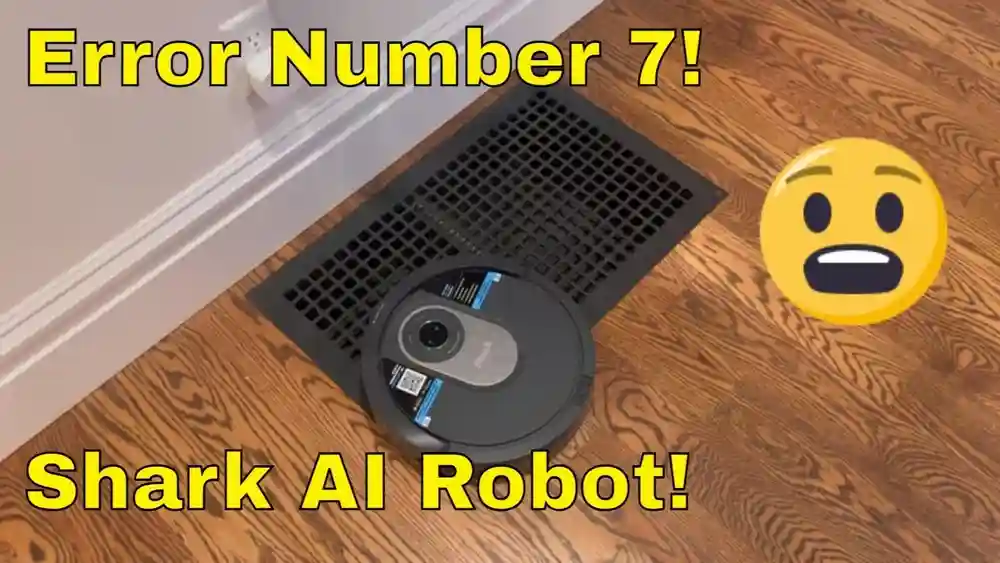
Credit: www.youtube.com
Comparing Shark Robot Models And Error 7 Frequency
Different Shark Robot models may experience Error Number 7 more or less often. Here’s a quick comparison of popular models and their common issues:
| Model | Brushroll Error Frequency | Unique Brushroll Features |
|---|---|---|
| Shark IQ Robot | Low to moderate | Self-cleaning brushroll |
| Shark ION Robot | Moderate | Standard brushroll, manual cleaning |
| Shark AI Ultra | Low | Advanced sensors, improved motor |
| Older Shark models | High | Basic brush design, fewer sensors |
Practical takeaways:
- If you own a model with a self-cleaning brushroll, jams are less common but still possible.
- Standard brushroll models need more frequent cleaning.
- If you’re buying a new Shark Robot, look for models with improved motor and sensor technology to reduce errors.
For more details on Shark Robot models and troubleshooting tips, you can check the official Shark Customer Support website.
When To Replace Parts Vs. Repair
It’s not always clear when you should replace a part or try to repair it. Here’s some guidance:
- Replace the brushroll if: Bristles are worn, the shaft is bent, or it doesn’t spin freely after cleaning.
- Replace the battery if: The robot won’t hold a charge, or run time is much shorter than before.
- Repair the motor or sensors if: You’ve tried all cleaning and replacement, but Error Number 7 stays.
- Professional repair needed if: You’re not comfortable opening the robot, or if the robot is still under warranty.
Cost comparison (approximate):
- New brushroll: $20–$40
- New battery: $30–$60
- Professional repair: $80–$150
Replacing simple parts is often cheaper and faster than a full repair. But for motor or sensor issues, expert help is safer and can prevent further damage.

Credit: www.ebay.com
Frequently Asked Questions
What Does Error Number 7 Mean On My Shark Robot?
Error Number 7 means the robot’s main brushroll is not spinning as it should. This can be due to jams, motor issues, or sensor errors. It’s a safety feature to protect the motor from burning out.
Can I Fix Error Number 7 Myself, Or Do I Need A Technician?
In most cases, you can fix Error Number 7 at home by cleaning and checking the brushroll, battery, and sensors. Only seek a technician if these steps don’t work, or if your robot is under warranty.
How Often Should I Clean The Brushroll To Prevent This Error?
For best results, clean the brushroll at least once a week, or more often if you have pets or long hair at home. Regular cleaning is the best way to avoid Error Number 7.
Will Replacing The Battery Solve Error Number 7?
Replacing the battery can help if the error is caused by low power. However, if the brushroll or motor is blocked or damaged, a new battery alone will not fix the error.
Is Error Number 7 Covered Under Shark’s Warranty?
Usually, yes. If Error Number 7 is caused by a motor or sensor defect, Shark’s warranty should cover repairs or replacement within the coverage period. Check your warranty terms and contact Shark support for help.
---
Error Number 7 on your Shark Robot can be annoying, but it’s rarely a reason to panic. With the right steps and regular care, you’ll keep your robot cleaning effectively for years. If you ever feel stuck, remember that support and spare parts are available—so your floors stay clean, and your robot stays happy.