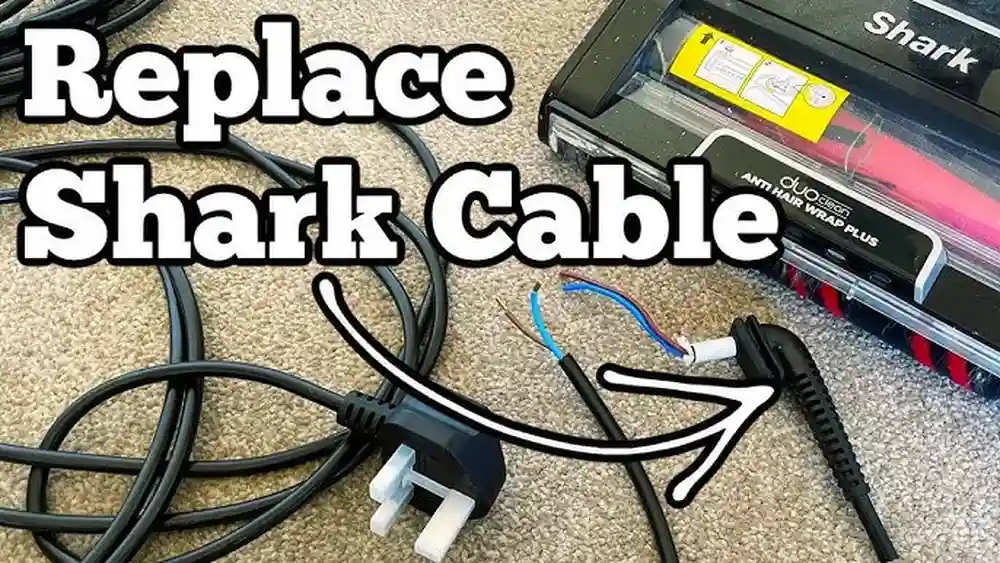
Replacing the belt on your Bissell vacuum cleaner might seem complicated at first, but with the right guidance, it’s a task you can do at home. Over time, vacuum belts wear out, stretch, or break. If your vacuum’s brush isn’t spinning, or you notice a burning smell, it’s probably time for a new belt. Many people avoid this repair because they fear making a mistake, but the truth is, it’s straightforward and takes less than an hour. Understanding how to replace the belt helps you save money, extend the life of your vacuum, and maintain cleaning performance. This guide walks you through every step, explains the tools you need, and highlights important details beginners often miss.
Why The Vacuum Belt Matters
The belt is a small but crucial part. It connects the vacuum’s motor to the brush roll, making the brush spin and lift dirt from the carpet. When the belt is damaged, the vacuum loses suction and struggles to pick up debris. According to Bissell, most belts last between 6–12 months, depending on usage and carpet type. If your vacuum cleans less effectively or the brush doesn’t rotate, check the belt first.
A worn belt leads to:
- Reduced cleaning power
- More dust left behind
- Strain on the motor
- Possible overheating
Replacing the belt is not only about performance—it prevents costly repairs later. Many users think the vacuum is broken when it’s just the belt. So, keeping an eye on this part saves trouble.
Signs Your Bissell Vacuum Belt Needs Replacement
Before you start, it’s important to know the common signs of a bad belt. These clues help you diagnose the problem quickly.
- Brush not spinning: If the brush roll stays still when the vacuum is running, the belt may be broken or slipped off.
- Burning smell: A burning rubber odor means the belt is stretched or stuck.
- Poor pickup: The vacuum leaves dirt behind, especially on carpets.
- Unusual noises: Clicking or squealing sounds indicate belt issues.
- Visible damage: When you inspect the belt, you see cracks, stretching, or missing pieces.
If you notice two or more of these signs, it’s time to change the belt.
Tools And Supplies Needed
You don’t need expensive equipment. Most tools are already in your home. Here’s what you need:
- Replacement belt: Check your vacuum’s model number. Bissell uses different belt sizes for different models.
- Screwdriver: Usually a Phillips head or flathead, depending on the vacuum.
- Scissors: For removing hair or debris from the brush roll.
- Clean cloth: To wipe dust and dirt.
- Gloves: Optional, for safety and cleanliness.
Tip: Buy the belt from an authorized dealer or Bissell’s website. Generic belts can fit poorly and cause problems.
How To Find The Right Belt For Your Bissell Vacuum
Bissell vacuums use several belt types: flat, round, or cogged. The belt type affects performance and durability. Using the wrong belt can damage the vacuum or reduce cleaning ability.
Check these steps to find the correct belt:
- Locate the model number. It’s usually on a sticker near the base or back of the vacuum.
- Visit the official Bissell website or your user manual.
- Match your model to the recommended belt type.
- Note the belt number (e.g., Bissell Style 7/9/10 or Style 12).
If you’re unsure, contact Bissell customer support. Always double-check before purchasing.
Here’s a comparison table for common Bissell belt types:
| Belt Style | Compatible Models | Average Lifespan | Ease of Replacement |
|---|---|---|---|
| Style 7/9/10 | CleanView, PowerForce | 6–9 months | Easy |
| Style 12 | Lift-Off, Pet Hair Eraser | 9–12 months | Moderate |
| Style 8 | Older Bissell models | 6–8 months | Easy |
Most belts cost between $5–$12. Buying two at once saves time when the next replacement is due.
Step-by-step Guide To Replacing The Belt
Changing the belt is simple if you follow these steps carefully. Always unplug the vacuum before starting.
Step 1: Prepare Your Workspace
Clear a flat area, like a kitchen floor or large table. Lay down a towel to protect surfaces and catch small parts.
- Unplug the vacuum cleaner.
- Remove the dust bin or bag for easier access.
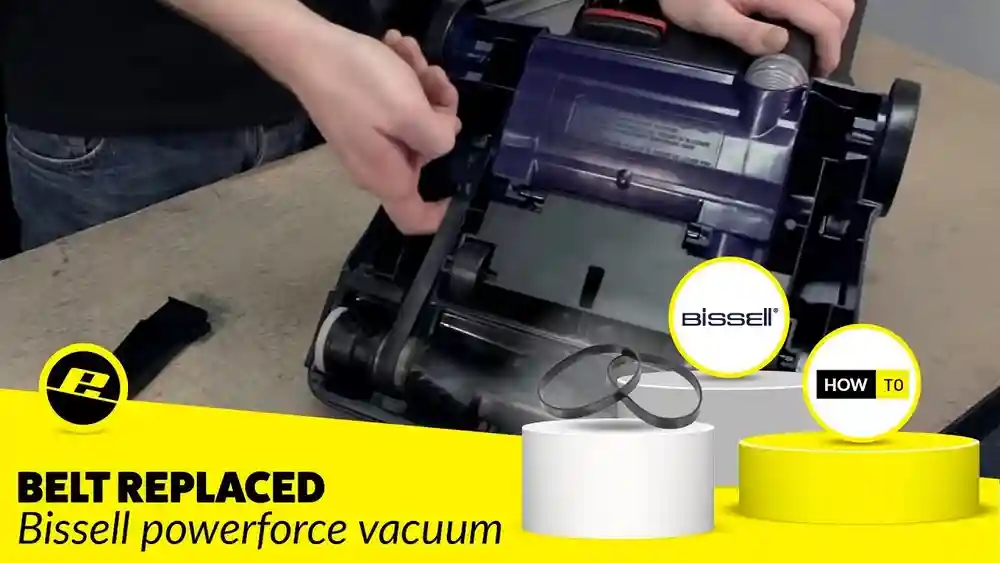
Step 2: Remove The Bottom Plate
Most Bissell vacuums have a bottom plate held by screws. Some models use clips.
- Turn the vacuum upside down.
- Use your screwdriver to remove 2–6 screws (depending on model).
- Set screws aside in a small container.
Tip: Don’t force the plate. If it’s stuck, check for hidden screws or tabs.
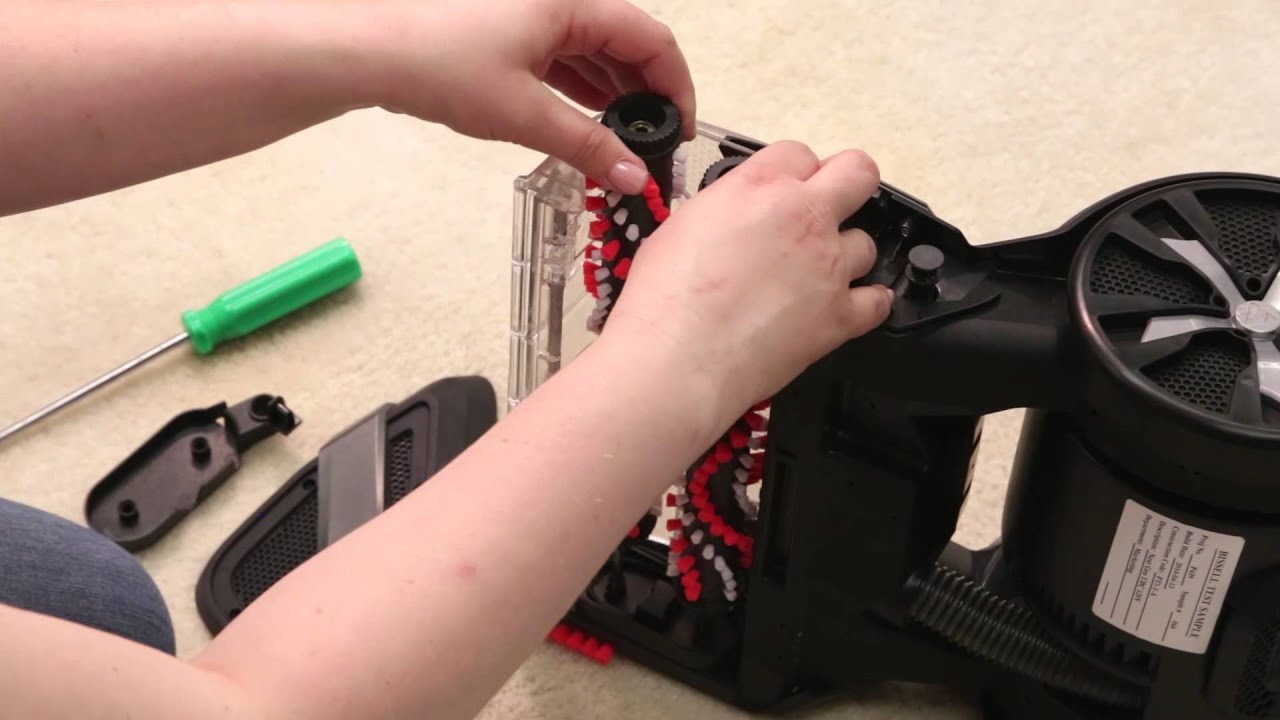
Step 3: Access The Brush Roll
Once the plate is off, you’ll see the brush roll and the belt.
- Gently lift the brush roll out of its slots.
- The belt may be attached or broken.
If the belt is snapped, remove it. If it’s stretched, slide it off the brush roll.
Step 4: Clean The Brush Roll And Area
Before installing the new belt, clean the brush roll.
- Remove hair, string, or debris with scissors.
- Wipe the roll and area with a clean cloth.
This prevents future clogs and keeps the vacuum running smoothly.
Step 5: Install The New Belt
Place the new belt around the motor shaft (a small metal rod) and then slip it over the brush roll.
- Stretch the belt slightly (it may feel tight).
- Push the brush roll back into its slots, making sure the belt is centered.
Tip: The belt must sit in the groove on the brush roll. Misalignment causes wear or noise.
Step 6: Reattach The Bottom Plate
Replace the bottom plate and secure it with screws.
- Tighten screws firmly but don’t over-tighten.
- Flip the vacuum upright.
Step 7: Test The Vacuum
Plug the vacuum in and turn it on.
- Check if the brush roll spins.
- Listen for smooth operation.
- If you hear odd noises or the brush doesn’t spin, recheck the belt’s placement.
If everything works, you’ve successfully replaced the belt.
Common Mistakes And How To Avoid Them
Many beginners make small errors that reduce vacuum performance. Here are the most frequent mistakes:
- Using the wrong belt size: This causes slippage or damage. Always match the model number.
- Not cleaning the brush roll: Dirt and hair block the brush, making the new belt fail faster.
- Incorrect belt placement: If the belt isn’t centered, it wears out quickly.
- Forgetting screws: Leaving out screws makes the vacuum unstable.
- Over-tightening: Screws should be snug, not forced. Too much force cracks the plastic.
A non-obvious tip: After installing the belt, spin the brush roll by hand. It should move freely but with resistance. If it’s too loose or too tight, adjust the belt.
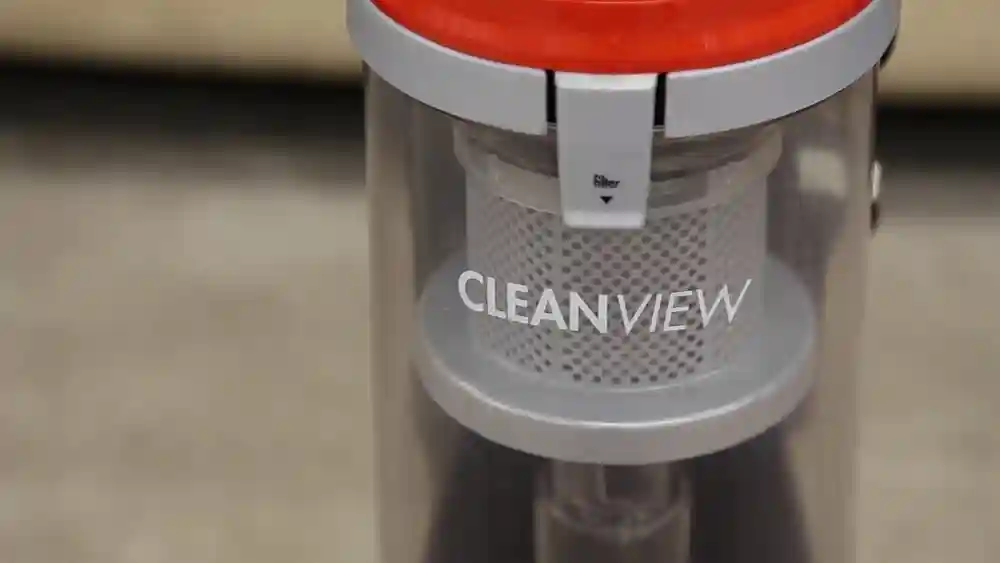
Real-world Example: Replacing Belt On Bissell Cleanview
Let’s use the Bissell CleanView 9595A as a practical example. This popular model uses the Style 7/9/10 belt.
Steps:
- Unplug the vacuum and lay it on its back.
- Remove five screws from the bottom plate.
- Lift the plate and pull out the brush roll.
- Slide the old belt off the motor shaft and brush roll.
- Clean the brush roll thoroughly.
- Place the new belt on the motor shaft, then stretch it onto the brush roll.
- Push the brush roll into place, ensuring the belt is centered.
- Replace the bottom plate and screws.
- Plug in and test the vacuum.
This process takes about 25 minutes and improves cleaning instantly.
How Often Should You Replace The Belt?
The frequency depends on usage and carpet type. Heavy users or homes with pets need to replace the belt every 6 months. For lighter use, once a year is enough.
Here’s a comparison table for replacement intervals:
| Usage | Recommended Interval | Signs to Watch |
|---|---|---|
| Heavy (daily, pet hair) | Every 6 months | Brush slow, burning smell |
| Moderate (weekly) | Every 9–12 months | Reduced suction |
| Light (monthly) | Every 12–18 months | Visual wear |
Replace belts sooner if your vacuum cleans thick carpets or you notice performance drops.
Maintenance Tips After Belt Replacement
Changing the belt is part of vacuum maintenance. To keep your Bissell vacuum cleaner working well:
- Clean the brush roll every month.
- Check the belt for stretching or cracks.
- Empty the dust bin regularly.
- Wipe sensors and filters if your model has them.
Regular checks prevent sudden breakdowns and make the belt last longer.
A tip many miss: Vacuuming large debris like coins or paper clips damages the belt. Avoid sucking up hard objects.
Safety Precautions During Belt Replacement
Safety is important, even for simple tasks.
- Always unplug the vacuum before starting.
- Wear gloves to avoid cuts from sharp parts.
- Keep screws and small parts away from children and pets.
- Work in a clean, well-lit area.
If you have allergies, wear a mask to avoid dust inhalation.

Credit: www.amazon.com
Troubleshooting: If The Brush Roll Doesn’t Spin After Replacement
Sometimes, the brush roll refuses to spin even after a new belt is installed. Here’s what to check:
- Belt alignment: Make sure the belt sits in the correct groove.
- Brush roll placement: It must be fully seated in both end slots.
- Obstructions: Remove any debris from the brush roll area.
- Motor shaft: The shaft should turn freely; if stuck, clean or lubricate.
If these steps fail, the vacuum may have a motor issue. Contact Bissell support or a professional.
Are All Bissell Vacuum Belts The Same?
No, Bissell uses different belts for different models. Using the wrong type reduces performance or damages the vacuum. Always check the model number and buy the recommended belt.
For example:
- Style 7/9/10 fits CleanView and PowerForce models.
- Style 12 fits Lift-Off series.
Some older models use round belts, while newer ones use flat or cogged belts.

Credit: www.amazon.com
Cost Of Professional Belt Replacement
If you prefer professional help, many appliance stores offer belt replacement.
- Average cost: $30–$60 (including labor and belt)
- Time: 1–2 days
DIY replacement costs $5–$12 for the belt and takes less than an hour. Doing it yourself saves money and helps you learn basic maintenance.
Environmental Impact: Replacing Vs. Repairing
Replacing the belt extends the vacuum’s life, reducing electronic waste. Many people throw away vacuums for small issues like a broken belt. Repairing keeps your appliance running and supports sustainability.
A non-obvious insight: Some cities offer recycling for old belts. Check local recycling programs before discarding.
Credit: www.youtube.com
Where To Buy Genuine Bissell Belts
Buy belts from official sources for best performance:
- Bissell website
- Authorized dealers
- Major retailers (Walmart, Amazon)
Avoid cheap, unbranded belts—they often fail quickly.
Here’s a resource for official parts: Bissell Parts
Frequently Asked Questions
How Do I Know Which Belt Fits My Bissell Vacuum?
Check the model number on your vacuum (usually near the base or back). Look up the model in your manual or on Bissell’s website. Use only the recommended belt for your specific model to avoid damage.
Is It Safe To Replace The Belt Myself?
Yes, replacing the belt is safe if you unplug the vacuum and follow basic safety steps. Wear gloves to protect your hands and keep small parts away from children.
Can I Use A Generic Belt Instead Of A Bissell Belt?
Generic belts may fit, but they often wear out faster or slip. It’s best to use a genuine Bissell belt for reliable performance and longer life.
What If The Brush Roll Still Doesn’t Spin After Replacing The Belt?
Check the belt’s alignment and the brush roll placement. Remove any debris blocking movement. If problems continue, the motor may need repair. Contact Bissell support for help.
How Long Does It Take To Replace A Bissell Vacuum Belt?
For most models, replacing the belt takes 20–40 minutes. Prepare your tools, follow the steps, and test the vacuum afterward to confirm success.
Taking care of your Bissell vacuum cleaner keeps your home clean and your appliance running longer. Replacing the belt is a simple task that saves money and improves cleaning power. With the steps above, you can handle this repair confidently—no need for professional help or expensive maintenance.
Remember, regular checks and careful cleaning make your vacuum last for years.