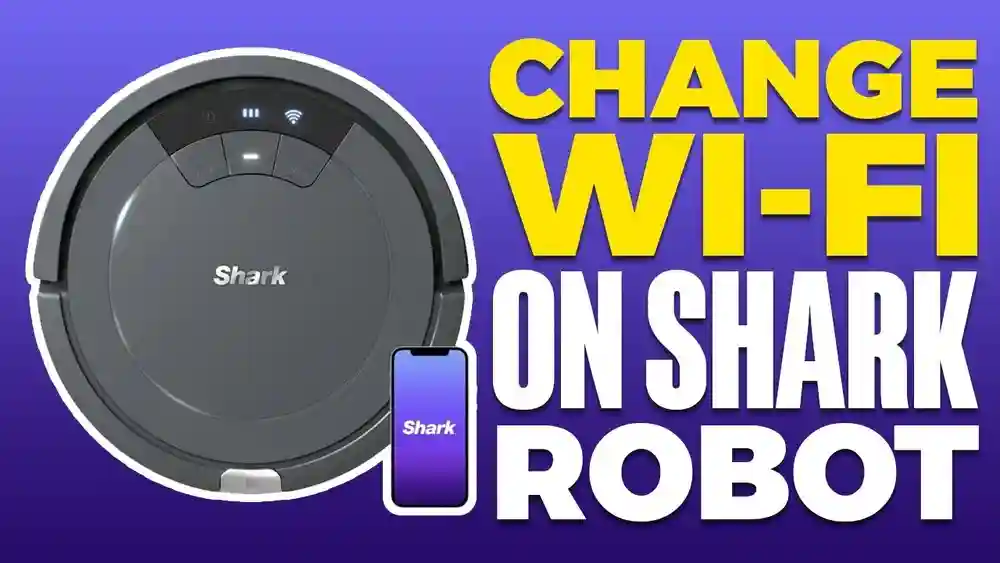
Changing the WiFi for your Shark Robot vacuum might sound simple, but many users find themselves stuck at some point. Maybe you’ve changed your router, moved to a new house, or updated your network name and password. Suddenly, your Shark Robot can’t connect, and you’re left with a device that won’t clean on schedule. If you’ve faced this, you’re not alone. Many Shark Robot owners struggle with WiFi changes, but the good news is: you don’t need to be a tech expert to solve this.
This guide will walk you through every step to change the WiFi for your Shark Robot, from preparation to common troubleshooting. You’ll also learn why WiFi connection matters, what mistakes to avoid, and how different models may require different steps.
Even if you’re new to robot vacuums or smart home devices, you’ll find clear, practical advice to get your Shark Robot back online and working smoothly.
Why Changing Wifi Matters For Shark Robot
Your Shark Robot depends on a stable WiFi connection for most of its smart features. Here’s why the WiFi setup is important:
- Remote control: You can start, stop, or schedule cleaning sessions from anywhere using the SharkClean app.
- Firmware updates: The robot receives important software updates that improve performance and fix bugs.
- Smart home integration: WiFi allows your robot to connect with Alexa, Google Assistant, and other smart systems.
- Notifications and reports: You get cleaning history, maintenance alerts, and error notifications on your phone.
When your WiFi changes, your Shark Robot cannot connect until you update its settings. Without this, you lose almost all the smart features, and sometimes, even basic scheduled cleaning.
Understanding Shark Robot Wifi Requirements
Before you start, it helps to know what kind of WiFi your Shark Robot supports. Most models only connect to 2.4 GHz WiFi networks. This is a common place where users make mistakes.
Supported Wifi Types
- 2.4 GHz networks: Almost all Shark Robot models support this frequency.
- 5 GHz networks: Most Shark Robots do NOT support this. If your home uses only 5 GHz, your robot will not connect.
Network Name And Password
- Simple SSID and password: Use short, simple network names and passwords without special characters. Some robots can’t handle complex symbols.
- No guest networks: Don’t use networks that require web-based logins or temporary access.
Router Settings
- WPA2 security: This is recommended for most devices.
- No MAC filtering: If your router blocks unknown devices, turn this off during setup.
Tip: If you have a dual-band router, make sure you connect to the 2.4 GHz band during setup.
When Should You Change Your Shark Robot's Wifi?
You might need to change the WiFi on your Shark Robot in several situations:
- New router or internet provider: If you install a new router or change providers, your network name and password will change.
- Moved to a new home: New address means new WiFi.
- Updated network details: Even a small change in your WiFi name or password requires a new setup.
- Network issues: If the robot keeps disconnecting, sometimes re-adding it to WiFi helps.
- Connecting to a better network: Switching from a weak signal to a stronger one in your home.
Not updating your robot’s WiFi leads to missed cleanings and lost smart features.
What To Do Before Changing Wifi
A smooth WiFi change starts with preparation. Here’s what you should do before you begin:
- Charge your Shark Robot: Make sure it’s fully charged or sitting on the dock.
- Update your SharkClean app: Install the latest version from the App Store or Google Play.
- Have your new WiFi details ready: Write down the SSID (network name) and password.
- Stay near your router: Bring your robot close to the router for best signal during setup.
- Check internet connection: Test your phone and other devices to make sure WiFi is working.
- Know your Shark Robot model: Different models (like RV750, IQ, AI, etc.) May have small differences in steps.
Non-obvious tip: Some users forget to uninstall or reset the robot in the app. If you’re moving to a new WiFi with a different phone, you may need to delete and re-add the robot.
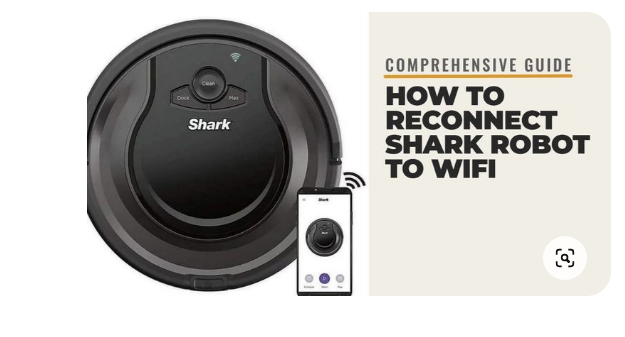
Step-by-step Guide: How To Change Wifi For Shark Robot
Now, let’s get into the core steps. These instructions work for most Shark Robot models, including Shark IQ, AI, and the older RV series.
1. Open The Sharkclean App
- Download and install the SharkClean app from the App Store (iOS) or Google Play (Android).
- Log in with your Shark account. If you don’t have one, create it.
2. Remove The Robot From The Old Network (if Necessary)
- Open the app and select your robot.
- Tap Settings (gear icon).
- Choose Remove Device or Delete Robot. This step may vary by app version.
- Confirm removal.
Why this matters: If the robot is still linked to an old network, it can block new setup attempts.
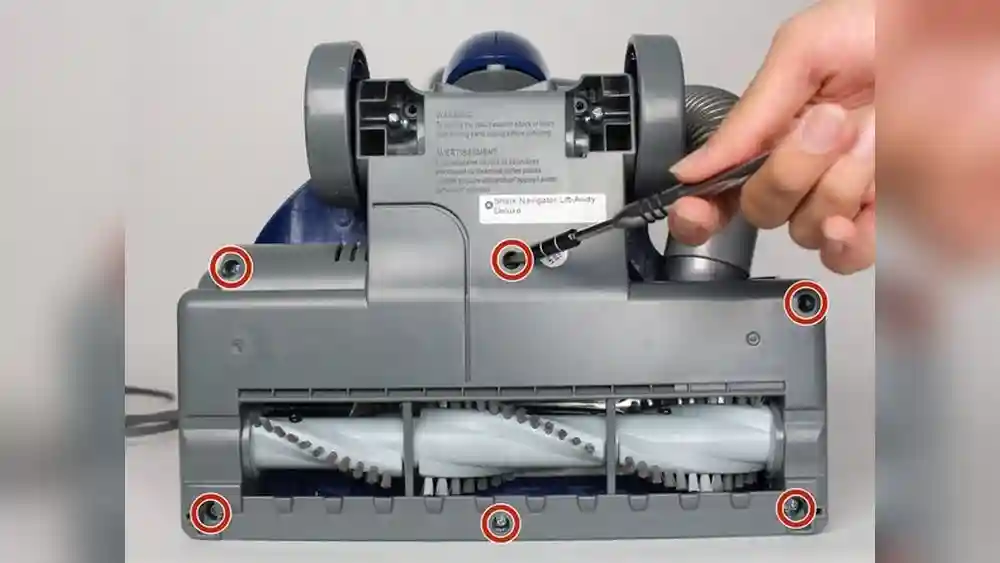
3. Reset Wifi On The Shark Robot
Most models use a simple button combination to reset WiFi:
- Locate the WiFi or Dock and Clean button on your robot.
- Hold down both buttons together for about 10 seconds.
- Listen for a beep or watch for the WiFi light to start flashing (usually blue or white).
Note: If your model has a different button, check your user manual.
4. Start New Wifi Setup In The App
- In the SharkClean app, tap Add Robot or Set Up a New Device.
- Follow the on-screen instructions.
You’ll be asked to:
- Select your Shark model.
- Name your robot.
- Confirm your WiFi network.
5. Connect Your Phone To The Robot’s Wifi
This step is easy to miss. Your robot creates its own temporary WiFi network (often called “Shark_Robot_XXXX”).
- When prompted, go to your phone’s WiFi settings.
- Connect to the robot’s WiFi network.
- Return to the SharkClean app.
The app will transfer your home WiFi details to the robot.
Non-obvious tip: Some phones will ask if you want to “stay connected” even without internet—say YES. If you don’t, setup can fail.
6. Enter Your New Wifi Details
- The app will ask for your WiFi SSID and password.
- Enter them carefully. Remember, only 2.4 GHz networks are supported.
- Tap Continue or Connect.
7. Wait For Connection
- The robot will try to connect to your WiFi.
- The WiFi light should turn solid (blue/white) when successful.
- The app will confirm the robot is online.
If setup fails, check your WiFi password and try again.
8. Test The Connection
- Try starting a cleaning job from the app.
- Check if you receive status updates.
- If all works, you’re done!
Tip: If your robot doesn’t show up, restart your phone, the app, and the robot.
Common Issues And How To Solve Them
Changing WiFi sounds easy, but many users hit roadblocks. Here are common problems and solutions:
Robot Won’t Connect To New Wifi
- Wrong frequency: Check your router is set to 2.4 GHz.
- Wrong password: Double-check for typos.
- Special characters in SSID/password: Use only letters and numbers.
- Robot too far from router: Move closer during setup.
App Can’t Find Robot
- Didn’t reset WiFi: Hold down Dock and Clean buttons to reset.
- Phone not connected to robot’s WiFi: Go to WiFi settings and connect manually.
- Bluetooth off: Some setups need Bluetooth enabled.
Robot Offline After Setup
- Weak signal: Move the dock closer to the router.
- Router settings: Turn off MAC filtering or parental controls.
- Network changes: Reboot the router and try again.
Sharkclean App Crashes Or Freezes
- Outdated app: Update to the latest version.
- Old phone OS: Make sure your phone’s software is up to date.
Non-obvious tip: Some users have to “forget” the robot’s WiFi on their phone after setup to avoid interference.
Differences By Shark Robot Model
Not all Shark Robots use the same method. Here’s a quick comparison of how popular models handle WiFi changes:
| Model | WiFi Reset Method | Supports 5 GHz? | App Required |
|---|---|---|---|
| Shark IQ (RV1001AE) | Hold Dock + Clean (10s) | No | Yes (SharkClean) |
| Shark AI (RV2001) | Hold Dock + Clean (10s) | No | Yes (SharkClean) |
| Shark ION (RV750) | Hold Dock + Max (10s) | No | Yes (SharkClean) |
| Shark EZ (RV915S) | Hold Dock + Clean (10s) | No | Yes (SharkClean) |
Note: Always check your manual for exact button combinations.
How To Check If Your Shark Robot Is Connected
After changing WiFi, you’ll want to confirm the robot is really online. Here’s how:
- Solid WiFi light on robot: Means a successful connection.
- App shows robot as online: You can see cleaning status and controls.
- Robot responds to app commands: Try starting or stopping a job.
- Receives updates and notifications: The app notifies you of cleanings and errors.
If these signs are missing, repeat the setup or check your network.
Credit: medium.com
What To Do If You’re Still Stuck
Sometimes, even after following all steps, the Shark Robot won’t connect. Here are extra solutions:
- Factory reset your Shark Robot: This erases all settings and starts fresh. Usually, you hold the Dock and Clean buttons for 15-20 seconds until you hear a chime.
- Reset your router: Power off for 1 minute, then restart. Some routers need to be reset to allow new devices.
- Try a different phone or tablet: Sometimes, another device works better.
- Use a simple guest network: Set up a 2.4 GHz guest network with a simple name and password.
- Contact Shark support: If all else fails, Shark’s customer support is helpful.
Non-obvious tip: Some routers block smart devices by default. Logging into your router’s admin page and disabling advanced security features (just for setup) can help.
Advanced Tips For A Smooth Wifi Change
If you want to avoid problems and keep your Shark Robot working well, consider these advanced tips:
Use A Separate 2.4 Ghz Network
Many smart home users create a dedicated 2. 4 GHz network just for devices like Shark Robots. This avoids interference from gaming consoles, TVs, and other gadgets.
Assign A Static Ip Address
In your router’s settings, you can set a static IP for your robot. This helps prevent random disconnections.
Avoid Mesh Networks For Setup
Mesh WiFi systems (like Google Nest or Eero) sometimes confuse smart devices during setup. If you use mesh, try connecting the robot near the main router or using a temporary non-mesh network.
Keep Robot And App Updated
Firmware updates bring new features and fixes. Check for updates in the app after connecting to new WiFi.
Change Wifi During Off-peak Hours
WiFi setup is smoother when fewer devices are using your network. Avoid setup during busy times when everyone is streaming or gaming.
Credit: kismac-ng.org
Comparing Shark Robot Wifi Setup With Other Brands
If you’ve used other robot vacuums (like Roomba or Roborock), you might notice some differences. Here’s a quick comparison:
| Brand | WiFi Reset Method | App Setup Process | Common Issues |
|---|---|---|---|
| Shark | Button combo (Dock + Clean) | Robot WiFi, then enter home network | 2.4 GHz only, app bugs |
| iRobot Roomba | Button combo (Home + Spot) | Direct, easy app flow | 5 GHz confusion |
| Roborock | Reset button | Uses Mi Home or Roborock app | Region lock, app language |
| Eufy | WiFi button | Similar to Shark | App connection issues |
Insight: Shark’s process is similar to most brands, but strict 2.4 GHz requirements and app glitches are the most common hurdles.
What If You Move To A New Home?
If you’re relocating, changing WiFi is only part of the process. Here’s what to remember:
- Delete old maps: Your robot remembers your old floor plan. Reset mapping in the app for the new home.
- Set up new schedules: Update cleaning schedules for your new routine.
- Check for firmware updates: Connect to WiFi and update as soon as possible.
- Clean sensors and wheels: Moving can add dust. Clean your robot before first use.
Tip: If you have pets or different floor types, update the cleaning settings for better results.
Mistakes To Avoid When Changing Wifi
Many users repeat the same errors when updating their Shark Robot WiFi:
- Forgetting to reset the robot’s WiFi: Always reset before trying to connect to a new network.
- Using a 5 GHz network: Most Shark Robots won’t connect. Stick to 2.4 GHz.
- Wrong password or SSID: Even small mistakes will block connection.
- Too far from the router: Stay close during setup, then move the dock later.
- Not updating the app: Old app versions may not work with new robots or WiFi.
- Router security settings too strict: Turn off MAC filtering, VPNs, or parental controls during setup.
Non-obvious tip: If you move your robot to a new WiFi, old schedules and maps may need to be re-programmed.
How To Maintain A Stable Wifi Connection For Your Shark Robot
Changing WiFi is only the first step. For smooth operation, keep your robot’s connection healthy:
- Keep the dock in a central location: Avoid basements or closets.
- Minimize obstacles: Thick walls, microwaves, and cordless phones can block WiFi.
- Restart your router monthly: This helps prevent random disconnects.
- Update firmware regularly: New software can improve WiFi performance.
- Label your network clearly: If you have guests or kids, don’t let them change the SSID or password.
When Should You Contact Shark Support?
If you’ve tried every step and your robot still won’t connect, it’s time to reach out for help. Contact Shark support if:
- The robot’s WiFi light never turns on or stays red.
- The app always says “offline” or “not found.”
- You’ve tested with multiple phones and routers with no success.
- The robot has hardware issues (won’t turn on, errors on the screen).
Shark’s support team can walk you through advanced solutions or arrange for repairs if needed. You can find more help and manuals at the official Shark support page.
Frequently Asked Questions
How Do I Know If My Shark Robot Supports 5 Ghz Wifi?
Most Shark Robots only support 2.4 GHz WiFi. Check your model’s manual or the Shark website. If your home network is only 5 GHz, you’ll need to create a 2.4 GHz guest network for setup.
Do I Need To Re-install The Sharkclean App After Changing Wifi?
No, you usually don’t need to reinstall the app. Just update to the latest version. If you see errors or crashes, reinstalling can sometimes help.
What Should I Do If The Wifi Setup Keeps Failing?
Double-check you are on a 2.4 GHz network, your password is correct, and you’re close to the router. Reset the robot’s WiFi, restart your phone, and try again. Sometimes using a different phone or creating a simple guest network helps.
Will Changing Wifi Erase My Cleaning History Or Maps?
Changing WiFi does not always erase maps or cleaning history. But if you factory reset or move to a new home, you’ll need to remap and set new schedules.
Can I Use The Shark Robot Without Wifi?
Yes, but with limited features. You can press the physical Clean button to start a job, but you lose scheduling, app control, notifications, and updates.
Changing WiFi for your Shark Robot is a simple process once you know the steps and common pitfalls. With the right preparation and careful attention to details like network frequency, password, and app version, you’ll have your robot back online quickly.
Remember, every model is a bit different—so always check your manual if you’re unsure. Keeping your Shark Robot’s WiFi updated ensures a cleaner, smarter home with less hassle.
Credit: www.youtube.com