To get your Shark robot to map, ensure your Wi-Fi is active and run an initial Explore Run.
Mapping your home might sound like a technical chore, but after years of setting up various smart home devices, I have learned that the process is mostly about preparation. When I first tried to get my Shark robot to map, I made the mistake of leaving clutter everywhere. The robot got confused, bumped into chair legs, and failed to finish its job. By cleaning the floor and setting the stage, you turn a frustrating experience into a seamless one. This guide will help you understand the nuances of the Shark mapping process so your device can navigate your home with precision.

Why Proper Mapping Matters for Shark Robots
When you want to get your Shark robot to map your home effectively, you are essentially helping it build a digital brain of your floor plan. If the map is accurate, the robot knows exactly where it has been and where it needs to go next. This leads to efficient cleaning cycles and prevents your vacuum from getting stuck under furniture.
I have found that the most common reason users fail to get their Shark robot to map correctly is poor Wi-Fi signal or lighting conditions. These robots rely on sensors and cameras to orient themselves. If your home is too dark, the robot may struggle to recognize landmarks. Taking the time to prepare your home is an investment in the long-term performance of your device.

Essential Steps to Prepare for Mapping
Before you trigger the first mapping run, you need to clear the environment. Think of it like preparing for a guest; you would want the floors clear of shoes, cords, and small toys. These objects can trick the robot into thinking there is a wall where there is actually just an open space.
- Open all doors to the rooms you want the robot to map.
- Turn on the lights in every room to assist the robot sensors.
- Remove any low-lying cables or loose rugs that might tangle the brushes.
- Ensure the docking station is placed against a flat wall with clear space on both sides.
Once the environment is ready, you are ready to get your Shark robot to map the space. I personally suggest running the process during the day when natural light is abundant, as this helps the robot define boundaries more clearly.

How to Initiate the Mapping Run
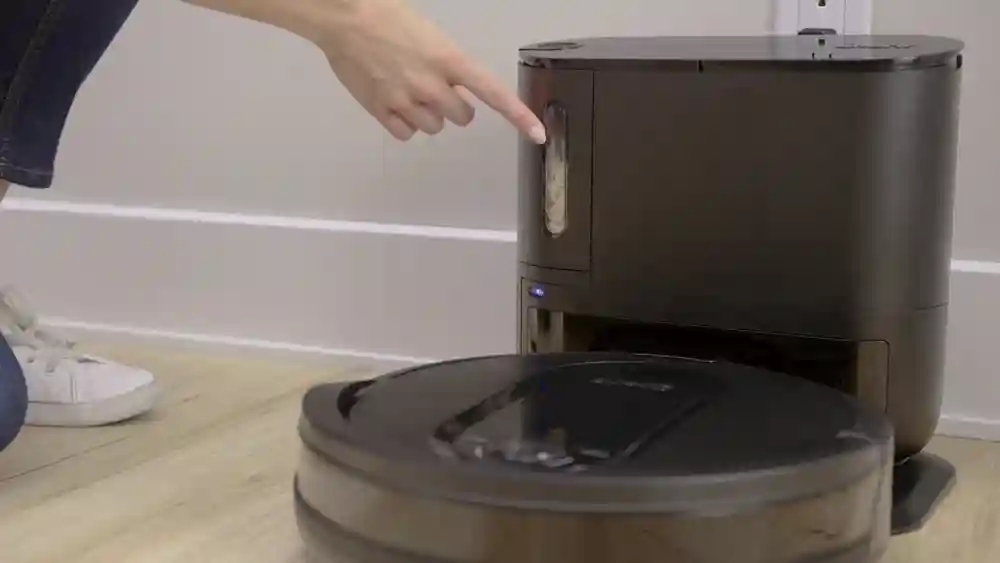
Getting your Shark robot to map is usually handled through the official SharkClean app. Open the app on your smartphone and ensure it is synced with your vacuum. You will often see an option labeled Explore Run or Map Creation. By selecting this, you command the robot to move around the home without necessarily vacuuming deeply.
During this session, the robot travels to every accessible corner to create the map. You might notice it bumping into things gently; this is normal as it detects walls and obstacles. Do not pick up the robot during this process, as moving it manually can corrupt the data it is currently collecting. Let it finish the cycle completely, and it will eventually return to the dock to save its progress.

Troubleshooting Common Mapping Issues
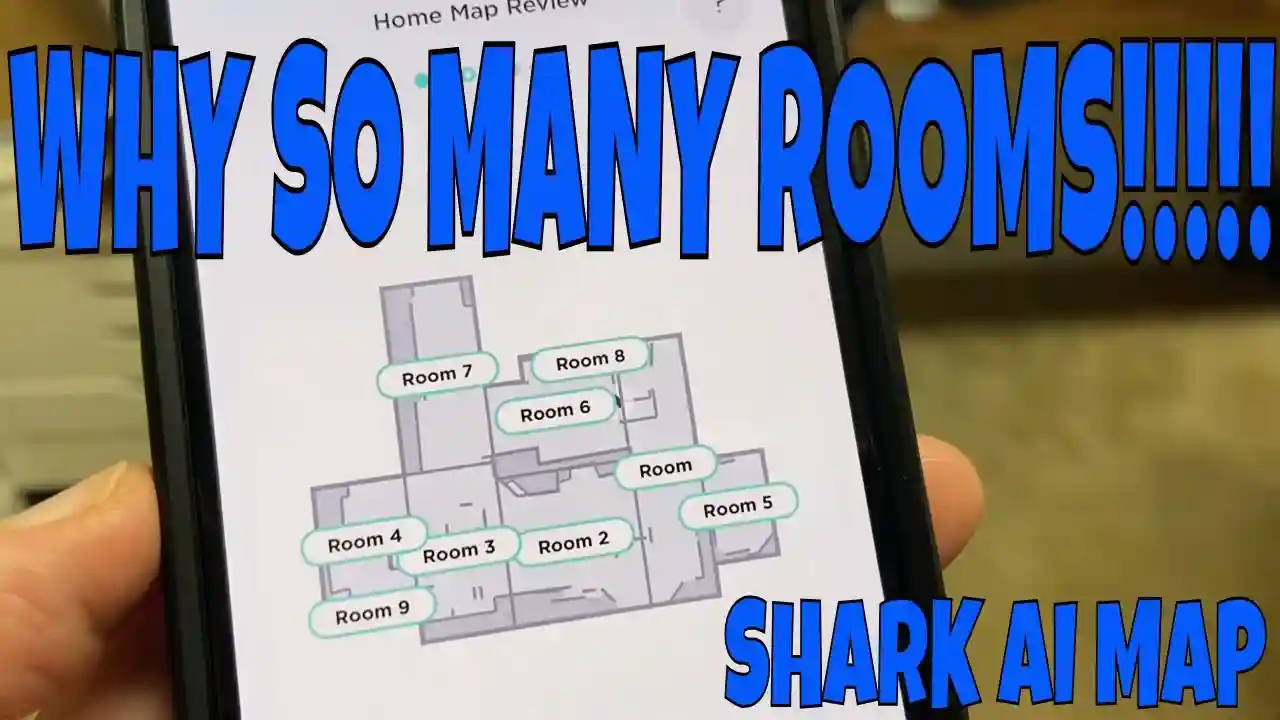
Sometimes, despite your best efforts, you might struggle to get your Shark robot to map your entire home. If you notice gaps in the map or incorrect room divisions, do not get discouraged. Most issues can be resolved with a simple reset or a tweak to your home layout.
One tip I often share is to check for mirror-like surfaces. Floor-to-ceiling mirrors can confuse the robot’s sensors. If your robot keeps creating a ghost room, try covering the bottom of the mirror with a towel during the mapping run. If the app shows the map is incomplete, try running a second Explore Run to help the robot fill in those missing gaps.

Frequently Asked Questions of how to Get Shark Robot To Map
How long does it take for a Shark robot to map a house?
The mapping process depends on the size of your home and how many obstacles are in the way. Generally, it takes between 30 to 60 minutes for a standard-sized home to be fully mapped.
Can I stop the robot while it is mapping?
It is highly recommended that you let the robot finish its mapping cycle without interruption. Stopping or picking up the robot can cause the map to save incorrectly or result in data loss.
What should I do if the robot fails to create a map?
First, check your internet connection to ensure the robot is still online. If it continues to fail, perform a hard reboot of the robot and clear any cached maps in your app settings before starting over.
Does my Shark robot need to be fully charged before mapping?
Yes, you should always start a mapping run with a full battery. If the battery dies mid-mapping, the robot may return to the base and fail to save the final portion of the map.
Can I edit the map after the robot finishes?
Yes, most Shark apps allow you to label rooms and create "no-go" zones once the initial map is saved. You can use these features to refine how the robot cleans specific areas of your house.
Conclusion
Getting your Shark robot to map your home correctly is the foundation of a truly automated cleaning routine. By clearing your floors, providing adequate light, and allowing the device to finish its work uninterrupted, you ensure the robot operates at its peak capacity. If you run into trouble, remember that a second attempt is often all it takes to get things right. Take the first step today by clearing your space and starting your robot’s discovery journey. If you found this guide helpful, feel free to share it with other smart home enthusiasts or leave a comment about your own mapping experience.