Replacing a vacuum cleaner cord may sound intimidating, but it’s a practical skill that can save money and extend the life of your vacuum. Many people throw away their vacuums just because of a damaged cord, but in most cases, you can fix this problem yourself.
The process requires only basic tools and a bit of patience. If you follow each step carefully, you’ll not only restore your vacuum but also learn how to handle similar repairs in the future. Whether your cord is frayed, broken, or simply not working, this guide will help you safely and confidently replace it.
Why Replace A Vacuum Cleaner Cord?
A damaged cord is more than just an inconvenience—it can be dangerous. Exposed wires may cause shocks or even fires. According to the National Fire Protection Association, household electrical equipment causes thousands of fires every year. A vacuum cleaner with a faulty cord may not work properly or could even harm you.
Instead of buying a new vacuum, replacing the cord is often the best solution. It’s cost-effective and environmentally friendly. The average vacuum cleaner cord replacement costs less than $20 in parts, compared to $100–$500 for a new machine. This repair also reduces electronic waste, helping protect the environment.
Signs Your Vacuum Cord Needs Replacing
Before you begin, confirm that the cord is the real problem. Here are some common signs:
- Visible damage: Cuts, fraying, or exposed wires.
- Intermittent power: Vacuum turns off and on when you wiggle the cord.
- Burn marks or melting: Signs of overheating or electrical shorts.
- Broken plug: The plug is loose, bent, or has missing prongs.
- Sparking or buzzing: Unusual sounds or sparks near the cord.
If you notice any of these issues, replacing the cord is necessary. Don’t ignore the problem, as it can get worse and put your safety at risk.

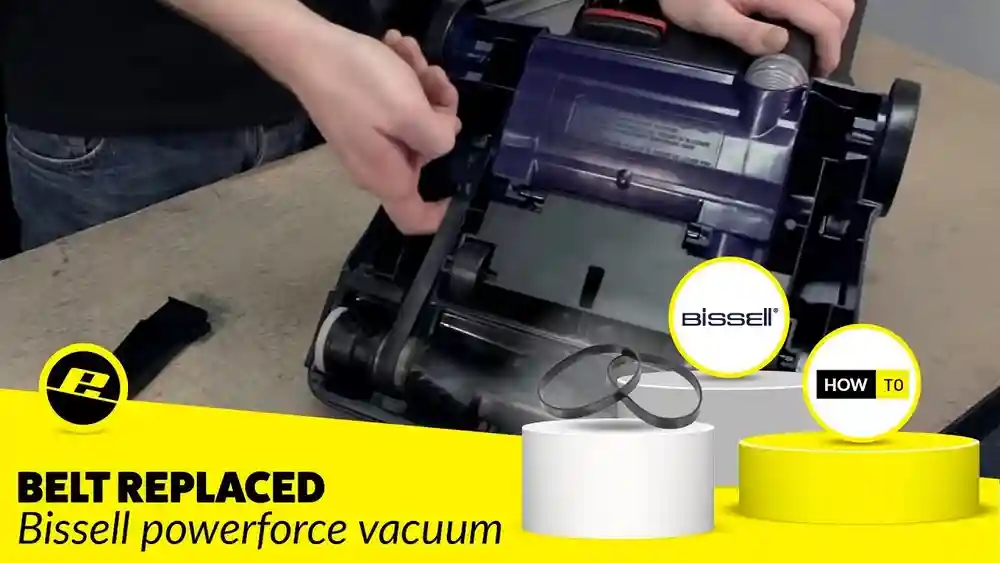
Credit: www.amazon.com
Tools And Materials Needed
You don’t need special skills or expensive tools for this job. Here’s what you’ll need:
- Replacement cord (make sure it matches your vacuum’s voltage and length)
- Screwdrivers (both flathead and Phillips)
- Wire cutters/strippers
- Electrical tape
- Needle-nose pliers
- Voltage tester (for safety)
- Zip ties (optional, for cable management)
- User manual (for your vacuum model, helps with disassembly)
Most of these tools are found in basic home toolkits. If you don’t have a voltage tester, you can find one at hardware stores for less than $15. Always use a replacement cord that matches your vacuum’s specifications. Using the wrong type can cause future problems or void your warranty.
Safety Precautions
Working with electrical cords is risky. Always take these safety steps:
- Unplug the vacuum before starting.
- Check that the vacuum is completely disconnected from power.
- Use a voltage tester to confirm there’s no live electricity.
- Wear insulated gloves if possible.
- Work in a well-lit area to avoid mistakes.
- Keep children and pets away during the repair.
Never skip these steps. Even a small mistake can lead to injury or damage to your vacuum.
Step-by-step Guide: Replacing The Cord
Replacing the cord can be broken down into clear steps. Follow them closely for a smooth process.
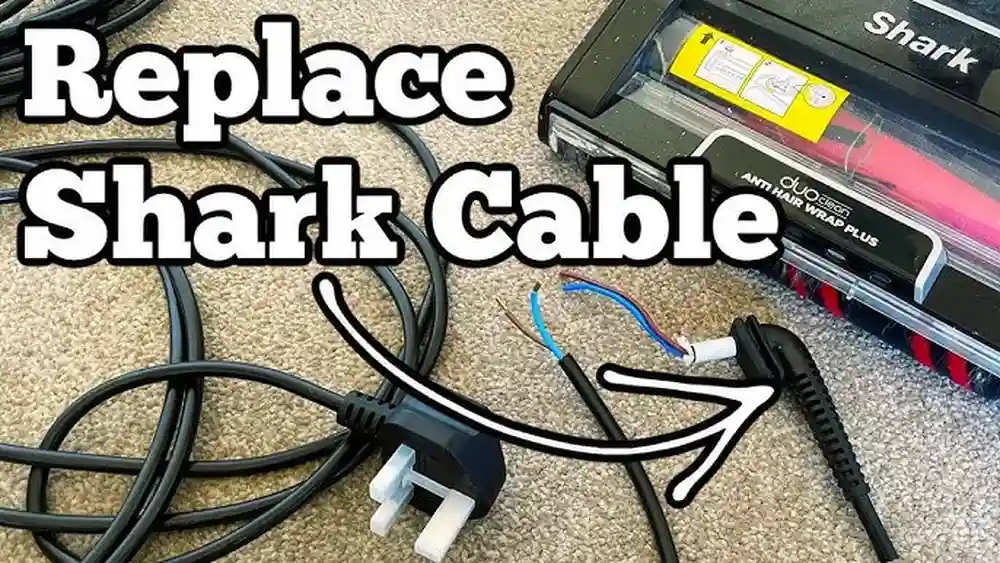
Step 1: Remove The Old Cord
- Unplug the vacuum and place it on a flat surface.
- Remove the screws holding the vacuum’s housing together. Usually, these are found at the bottom or under the dust bin.
- Carefully open the housing. Note how the cord connects to the internal wiring.
- Take photos or notes of the cord’s connections. This will help you reconnect the new cord correctly.
- Use pliers to disconnect the cord from the wiring terminals or connectors.
- Remove any clips or holders keeping the cord in place.
Step 2: Prepare The New Cord
- Check that the replacement cord matches the old one in length and thickness.
- Strip about 1 inch of insulation off the end of the new cord using wire strippers.
- Twist the exposed wires to prevent fraying.
- If your vacuum uses connectors, attach them to the new cord using pliers.
Step 3: Connect The New Cord
- Match the new cord’s wires with the internal terminals (usually color-coded: Black for live, white for neutral, green for ground).
- Insert the wires into the correct terminals and tighten the screws.
- Use electrical tape to cover any exposed wire areas.
- Secure the cord with clips or holders as before.
- Check your photos/notes to make sure the connections match.
Step 4: Reassemble The Vacuum
- Place the housing back together, making sure no wires are pinched.
- Screw the housing closed tightly.
- Tug gently on the cord to make sure it’s secure.
Step 5: Test The Vacuum
- Plug in the vacuum and turn it on.
- Check for normal operation.
- Look for any sparks, smells, or unusual sounds.
- If everything works, you’re done!
If the vacuum doesn’t work, double-check your connections. Sometimes, a loose wire or incorrect placement can cause problems.
Choosing The Right Replacement Cord
Not all cords are the same. Using the wrong cord can reduce performance or create safety risks. Here’s what you should check:
- Voltage rating: Match your vacuum’s voltage (usually 120V for US models).
- Length: Choose a cord that’s the same length or slightly longer.
- Thickness: Use a cord with the same gauge as the original (often 16 or 18 AWG).
- Plug type: Match the plug shape to your wall outlets.
Below is a simple comparison of common vacuum cord types:
| Cord Type | Voltage | Gauge | Typical Length | Use Case |
|---|---|---|---|---|
| Standard | 120V | 16 AWG | 20 ft | Home upright vacuums |
| Heavy-duty | 120V | 14 AWG | 30 ft | Commercial vacuums |
| Retractable | 120V | 18 AWG | 15 ft | Canister vacuums |
If you’re unsure, check your vacuum’s user manual or search the model online. Using the correct cord prevents overheating and improves safety.
Common Mistakes To Avoid
Many beginners make small errors when replacing vacuum cords. Here are some to watch out for:
- Wrong cord size: Using a cord that’s too thin or thick can cause overheating or poor performance.
- Incorrect wiring: Mixing up wires can cause the vacuum not to work or even damage the motor.
- Pinched wires: When reassembling, trapped wires may cause shorts or damage.
- Loose connections: Failing to tighten connections can lead to intermittent power.
- Skipping safety checks: Not testing for live wires can be dangerous.
Always double-check your work. Taking a photo of the wiring before removal helps ensure you reconnect everything correctly.
Example: Replacing A Cord On A Hoover Vacuum
Let’s look at a real-world example. The Hoover WindTunnel is a popular model. Its cord replacement process is typical for many vacuums.
- Remove the back cover using a Phillips screwdriver.
- Locate the cord terminals—usually near the motor.
- Disconnect the old cord (black, white, and green wires).
- Prepare the new cord, strip wires, and attach connectors.
- Connect each wire to its terminal. Black to black, white to white, green to ground.
- Reassemble the back cover, ensuring no wires are pinched.
- Test the vacuum by plugging it in.
This example shows that most vacuums follow a similar process. Always check your model for specific instructions, as some may require extra steps.

Credit: www.youtube.com
When To Call A Professional
Most people can replace a vacuum cord themselves, but sometimes it’s best to call a professional repair service. Consider help if:
- You’re unsure about wiring or electrical safety.
- Your vacuum has a complex or sealed design.
- The motor or other parts are damaged.
- You don’t have the right tools.
Professional repairs typically cost $50–$100 for cord replacement. This is still cheaper than buying a new vacuum. If you need help, look for certified technicians in your area.
Tips For A Long-lasting Repair
A good repair will keep your vacuum running for years. Here are some tips:
- Use high-quality cords from trusted brands.
- Avoid pulling or bending the cord while using the vacuum.
- Store the vacuum with the cord loosely coiled.
- Inspect the cord every few months for wear or damage.
- Use zip ties to keep the cord organized inside the housing.
Proper care prevents future problems. Many people overlook cord storage—don’t wind the cord too tightly, as this can cause internal breaks.
How Vacuum Cord Replacement Compares To Other Repairs
Cord replacement is one of the most common vacuum repairs. Let’s compare it with other typical fixes:
| Repair Type | Difficulty | Cost | Time Required | Tools Needed |
|---|---|---|---|---|
| Cord Replacement | Moderate | $10–$20 | 30–60 min | Basic tools |
| Belt Replacement | Easy | $5–$15 | 15–30 min | Screwdriver |
| Filter Change | Very easy | $10–$25 | 5–10 min | None |
| Motor Repair | Difficult | $50–$200 | 1–2 hr | Advanced tools |
Cord replacement is affordable and doesn’t require special skills. If you’re comfortable using basic tools, you can do it yourself.
Troubleshooting After Replacement
Sometimes, problems show up after replacing the cord. Here’s how to solve them:
- Vacuum won’t turn on: Check the cord connections and wiring. Make sure the wires are secure and match the original placement.
- Intermittent power: Look for loose connections or pinched wires inside the housing.
- Burning smell: Stop using the vacuum immediately. This often means wires are crossed or there’s a short circuit.
- Cord gets hot: The cord may be too thin for your vacuum’s power. Replace it with a correct gauge.
Most issues are caused by simple mistakes. Carefully review your work and fix any problems before regular use.

Credit: www.amazon.com
Environmental Impact Of Cord Replacement
Repairing instead of replacing your vacuum has a positive environmental impact. According to the Environmental Protection Agency, Americans discard millions of appliances each year. By fixing your vacuum, you reduce waste and save resources.
Manufacturing new vacuums uses energy, metals, and plastics. Cord replacement keeps your vacuum in use longer and prevents unnecessary disposal. It’s a small step, but collectively, these actions help the planet.
Where To Find Replacement Vacuum Cords
You can find replacement cords at:
- Local hardware stores
- Online retailers (Amazon, eBay, vacuum-specific shops)
- Manufacturer websites
- Repair shops
Always buy from reputable sources. If possible, order a cord made for your vacuum’s brand and model. Generic cords may work, but matching specifications is critical for safety.
For more details on electrical standards and safety, visit NFPA.
Data: Average Lifespan After Cord Replacement
Many people wonder if replacing the cord will extend the vacuum’s life. Here’s some data:
| Vacuum Model | Age Before Replacement | Average Lifespan After Cord Replacement | Typical Repair Cost |
|---|---|---|---|
| Hoover WindTunnel | 5 years | 3–5 years | $15 |
| Dyson Ball Animal | 4 years | 2–4 years | $20 |
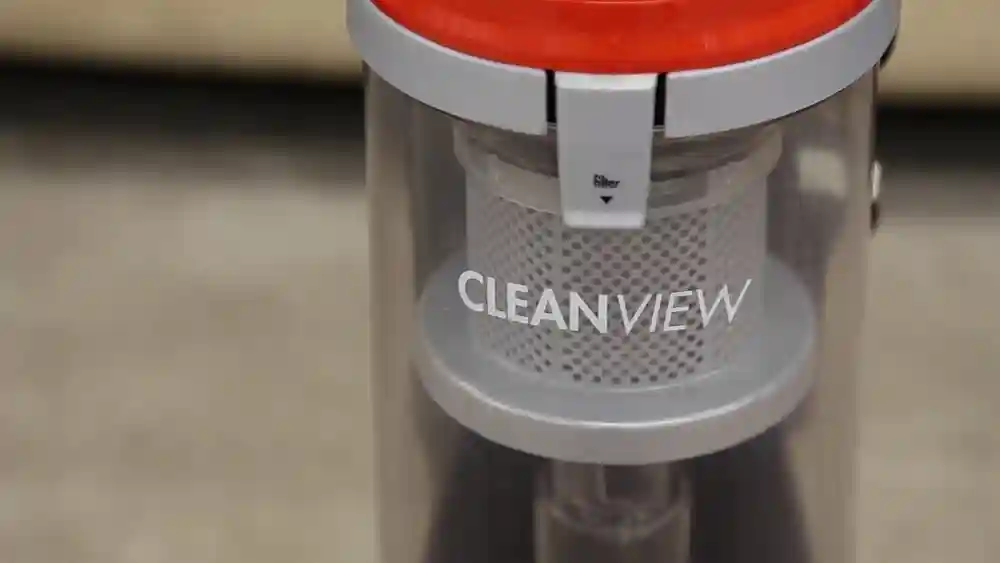
| Bissell CleanView | 6 years | 4–6 years | $18 |
Most vacuums last several more years after a cord replacement, making it a smart investment.
Frequently Asked Questions
How Do I Know Which Cord To Buy For My Vacuum?
Check your vacuum’s user manual or look for a label near the cord entry point. Match the voltage, length, gauge, and plug type. If unsure, search for your vacuum’s model online for recommended replacement cords.
Is It Safe To Replace The Cord Myself?
Yes, if you follow proper safety steps. Always unplug the vacuum, use a voltage tester, and wear insulated gloves. If you’re uncomfortable with electrical repairs, ask a professional for help.
Can I Use A Longer Cord For More Reach?
You can use a slightly longer cord, but make sure the gauge is correct. A thin cord over a long distance can overheat. Never use a cord shorter than the original, as this can restrict movement.
What If My Vacuum Has A Retractable Cord?
Retractable cords are harder to replace. You’ll need to open the retraction mechanism and follow similar steps, but extra care is needed. Sometimes, it’s better to call a professional for these repairs.
How Often Should I Check My Vacuum Cord?
Inspect your vacuum cord every 3–6 months for signs of wear, fraying, or damage. Early detection prevents bigger problems and keeps your vacuum safe to use.
Replacing a vacuum cleaner cord is a practical skill that saves money and reduces waste. With the right tools, careful attention, and safety steps, almost anyone can complete this repair. Avoid common mistakes and choose the correct cord for your vacuum.
If you run into trouble, don’t hesitate to ask a professional. By fixing your vacuum, you keep it running longer and help protect the environment.