A Shark vacuum is a trusted helper in many homes. It keeps floors clean, picks up dust, and helps with allergies. But after months of use, you might notice your vacuum is not working as well as before. Sometimes, the problem is a worn or broken belt. The belt is a small, but important part. It connects the motor to the brush roller, helping the brush spin and pick up dirt. If the belt breaks or stretches, your vacuum will lose power and cleaning performance drops fast.
Changing the belt in a Shark vacuum can feel scary if you have never opened your vacuum before. But with the right steps, a bit of patience, and some basic tools, almost anyone can do it. You do not need to pay for expensive repairs or buy a new vacuum.
Understanding how to change the belt also saves you time and money in the long run. And, you will feel confident about fixing small problems yourself.
This guide will show you everything you need to know about changing a Shark vacuum belt. You will learn to spot belt problems, get the right tools, and follow a clear, safe process. Along the way, you will also find tips, warnings, and answers to common questions.
By the end, you will be ready to handle this repair on your own—and keep your floors spotless.
Understanding The Shark Vacuum Belt
The belt in a Shark vacuum is a flexible rubber loop. Its main job is to transfer power from the vacuum’s motor to the brush roll (sometimes called the beater bar). When the motor spins, the belt moves the brush roll, which sweeps dirt and dust into the vacuum.
Over time, the belt can stretch, crack, or break. Dirt, hair, and string can also get wrapped around the brush roll, putting extra pressure on the belt. When the belt does not work well, the brush roll slows down or stops spinning.
This means your vacuum cannot pick up dirt as it should.
There are different types of belts in Shark vacuums. Most use a flat rubber belt, but some models use a toothed or geared belt. It is important to know your model and the correct belt type before buying a replacement.
Signs Your Shark Vacuum Belt Needs Changing
Many people do not notice belt problems right away. Here are some key signs the belt in your Shark vacuum might need replacing:
- Brush roll not spinning – The most obvious sign. If the brush roll does not turn when the vacuum is on, the belt could be broken or slipped off.
- Burning rubber smell – A stretched or jammed belt can overheat and create a burning smell.
- Loud or unusual noises – If you hear grinding or squeaking, the belt might be slipping.
- Poor cleaning performance – If your vacuum is leaving dirt behind or not picking up as well, a loose belt could be the cause.
- Physical inspection – If you open the brush roll area and see a cracked, stretched, or missing belt, it’s time for a change.
Don’t ignore these signs. Using a vacuum with a damaged belt can strain the motor and may lead to bigger (and more expensive) problems.
Tools And Materials Needed
Before you start, gather the tools and parts you will need. This will make the process faster and less stressful.
- Replacement belt (the right type for your Shark model)
- Screwdriver (usually Phillips, but some models use Torx or flathead)
- Scissors or utility knife (to cut hair or string from the brush roll)
- Small brush or cloth (to clean dust and debris)
- Needle-nose pliers (optional, for removing stubborn debris)
You can find the correct belt by checking your vacuum’s user manual or searching the model number online. Always buy a genuine or high-quality replacement. Cheap belts wear out quickly and can harm your vacuum.
Safety Precautions
Working with electrical appliances always comes with risks. Take these steps to stay safe:
- Unplug the vacuum before you begin. Never open or repair an appliance that is still connected to power.
- Let the vacuum cool down if you just used it. Some parts can get hot.
- Keep small parts away from children and pets.
- Work in a clean, well-lit area so you do not lose screws or parts.
If you are unsure about any step, check the manual or call Shark customer support. For some advanced models, the belt is not meant to be replaced by users. For those, professional service is best.
Step-by-step Guide: How To Change The Belt In A Shark Vacuum
Changing the belt is not the same for every Shark vacuum. But most models follow a similar process. Here is a clear, step-by-step guide you can adapt for your vacuum.
1. Identify Your Shark Vacuum Model
First, check which Shark model you have. The model number is usually printed on a sticker under the vacuum or inside the dust cup. Write it down. Search for the user manual online if you do not have one.
Knowing your model helps you buy the right belt and follow the correct steps.
2. Purchase The Correct Replacement Belt
Find a belt that matches your Shark vacuum’s model number. You can buy replacement belts online, at appliance stores, or from Shark’s official website. Avoid belts that claim to “fit all models”—these are often low quality.
Here’s a simple comparison of belt types for common Shark vacuums:
| Shark Vacuum Model | Belt Type | Replacement Interval |
|---|---|---|
| Navigator Lift-Away | Flat rubber belt | 6-12 months |
| Rotator Professional | Geared (toothed) belt | 12-24 months |
| Rocket Stick | Flat rubber belt | 6-12 months |
| IonFlex Cordless | Flat rubber belt | 6-12 months |
3. Prepare Your Workspace
Lay a towel or mat on the floor. This will protect your vacuum and catch any loose screws. Make sure you have enough light.
4. Unplug The Vacuum And Remove Accessories
Unplug your Shark vacuum. Remove the dust cup, attachments, and any accessories. Set them aside.
5. Access The Brush Roll
Turn the vacuum upside down or lay it on its side. Locate the screws that hold the bottom plate or brush roll cover in place. Most Shark vacuums have 4-8 screws.
Use your screwdriver to remove all screws. Place the screws in a bowl or container so you do not lose them. Carefully lift off the bottom plate.
Some models have a plastic cover with tabs or clips. Gently press the tabs to release the cover.
6. Remove The Brush Roll
Gently lift the brush roll out of its housing. Pay attention to how it sits inside the vacuum. Some brush rolls have end caps or washers—keep these safe.
Check for hair, string, or debris wrapped around the brush. Use scissors, a utility knife, or your fingers to remove anything stuck.
7. Remove The Old Belt
Look for the belt around the brush roll and the motor shaft. If the belt is broken, you may find it lying loose in the housing. If it is still in one piece, slide it off the motor shaft and then off the brush roll.
Examine the old belt. If it is cracked, stretched, or melted, this confirms you need a new one.
8. Install The New Belt
Take your new belt out of its package. Compare it to the old belt—they should be the same size and type.
Slide one end of the belt over the motor shaft. This part is usually a small, round metal rod near the brush roll area.
Then, stretch the other end of the belt over the brush roll’s belt groove. Some belts feel tight—this is normal. Use both hands and gentle pressure, but do not force it.
Set the brush roll back into its place, making sure the belt is aligned and not twisted. Spin the brush roll by hand to check it moves smoothly.
9. Reassemble The Vacuum
Replace the bottom plate or brush roll cover. Align it carefully, then put all the screws back in. Tighten each screw, but do not over-tighten (this can crack the plastic).
Double-check that the brush roll spins freely and the belt is seated correctly.
10. Test The Vacuum
Plug your Shark vacuum back in. Turn it on and watch the brush roll. It should spin smoothly and quietly. Check for unusual sounds or smells.
If everything works well, your vacuum is ready to use. If not, unplug it and check each step again.
Special Notes For Different Shark Models
Shark makes many vacuum types, and not all have the same belt system. Here are some key differences:
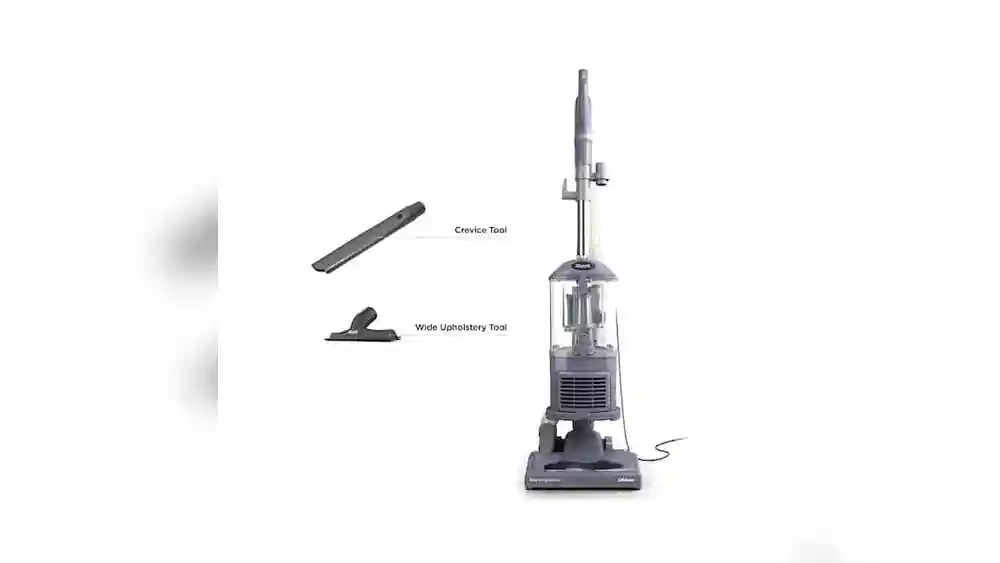
Shark Upright Vacuums
Most upright models, like the Navigator and Rotator series, use a simple belt that is easy to replace. The steps above work for most upright vacuums.
Shark Duoclean Models
Some DuoClean vacuums use two brush rolls and a more complex belt system. These often have a geared belt. You may need to remove extra covers or use special tools. Always check the manual first.
Shark Cordless And Stick Vacuums
Lightweight models like the Rocket or IonFlex use smaller belts. The process is similar, but parts are smaller and sometimes more delicate. Take care not to bend or break any clips.
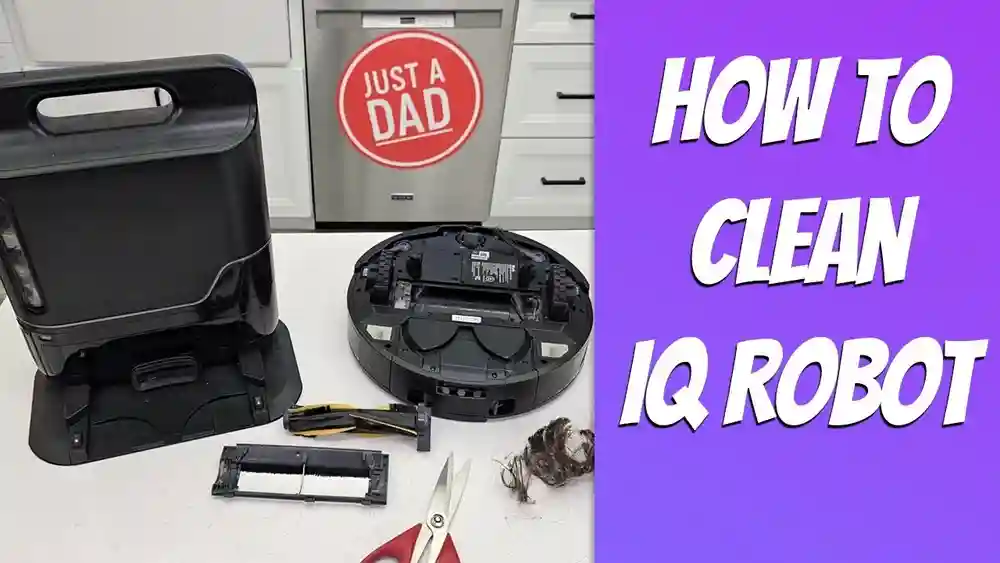
Shark Robot Vacuums
Robot models, like the Shark IQ Robot, do not use traditional belts. Their brush rolls are powered differently and are not user-replaceable in most cases.

Credit: www.youtube.com
Common Mistakes And How To Avoid Them
Changing a vacuum belt is simple, but small mistakes can cause problems. Here’s what to watch out for:
- Forgetting to unplug the vacuum – Always unplug before opening.
- Losing screws or small parts – Keep them in a container.
- Buying the wrong belt – Check your model number twice.
- Incorrect belt installation – Make sure the belt is not twisted or misaligned.
- Forcing parts together – If something does not fit, check the alignment.
- Not cleaning the brush roll – Remove all hair and debris before reassembly.
- Skipping a test run – Always check the vacuum before full use.
- Ignoring the manual – Some models have special steps.
- Not replacing worn end caps or bearings – If these are damaged, the brush roll will not spin well even with a new belt.
Practical Tips For A Smooth Belt Replacement
- Take a photo of each step as you go. This helps with reassembly.
- Label screws if different sizes are used.
- Replace the belt every 6–12 months, even if it is not broken. This keeps cleaning power strong.
- If the vacuum still does not work after changing the belt, check for blockages or other problems.
- Store spare belts in a cool, dry place. Heat and sunlight can damage rubber.

Credit: www.ifixit.com
Benefits Of Changing The Belt Yourself
Doing this repair on your own brings several benefits:
- Saves money – No need to pay for repairs or buy a new vacuum.
- Saves time – No waiting for service appointments.
- Extends vacuum life – A fresh belt reduces motor strain.
- Boosts cleaning power – Your vacuum works like new again.
- Builds confidence – Simple home repairs become less scary.
Many people are surprised how much better their Shark vacuum cleans after just a belt change. It is one of the most effective maintenance steps you can do at home.
When To Call A Professional
Not every belt problem can be solved at home. Call a professional if:
- You hear grinding or electrical noises after belt replacement.
- The vacuum smells like burning plastic or smoke.
- Parts are melted, broken, or missing.
- You cannot remove the brush roll or access the belt.
- Your model is a sealed unit (check the manual).
Shark customer service can help with advice or recommend a repair center. For the latest support and warranty info, visit the official Shark website.
Comparing Shark Vacuum Belt Replacement To Other Brands
People often ask if Shark vacuums are harder to fix than other brands. Here’s a quick comparison:
| Brand | Average Belt Change Time | Replacement Cost | User Difficulty |
|---|---|---|---|
| Shark | 15–30 minutes | $8–$15 | Easy–Moderate |
| Dyson | 20–40 minutes | $12–$20 | Moderate–Difficult |
| Hoover | 10–25 minutes | $5–$12 | Easy |
| Bissell | 10–30 minutes | $6–$14 | Easy–Moderate |
Shark vacuums are designed for easy belt changes on most models. The process is similar to Hoover and Bissell, and usually easier than Dyson.
Extra Care For Your Shark Vacuum After Belt Replacement
Once you have a new belt, keep your vacuum working well with these habits:
- Clean the brush roll every month.
- Check for wrapped hair or string after every few uses.
- Empty the dust cup before it gets too full.
- Wash or replace filters every 1–3 months.
- Store the vacuum in a cool, dry place.
Regular care means fewer repairs and a longer-lasting vacuum.
Troubleshooting After Belt Replacement
What if your vacuum still does not work? Here are common issues and fixes:
- Brush roll not spinning – Check if the belt is installed correctly and not too loose.
- Loud noises – Remove the brush roll and check for misaligned parts.
- Vacuum shuts off – Make sure the brush roll and end caps are clean and move freely.
- Poor suction – Clean filters and check for hose blockages.
- Belt keeps breaking – Look for sharp objects or broken brush roll parts.
If you fix these small problems, your vacuum should work like new.
Real-life Example: Replacing The Belt On A Shark Navigator
Here’s how a real user changed the belt on a Shark Navigator Lift-Away:
- Unplugged the vacuum and flipped it over.
- Removed six screws holding the bottom plate.
- Lifted out the brush roll and cut off hair with scissors.
- Found the old belt melted and broken.
- Bought a new belt online for $10.
- Slipped the new belt over the motor shaft and brush roll.
- Put the brush roll back and checked the alignment.
- Replaced the cover and screws.
- Plugged in the vacuum, and it worked perfectly.
The whole process took 25 minutes. The vacuum picked up dirt much better, and the owner was happy to avoid a costly repair.

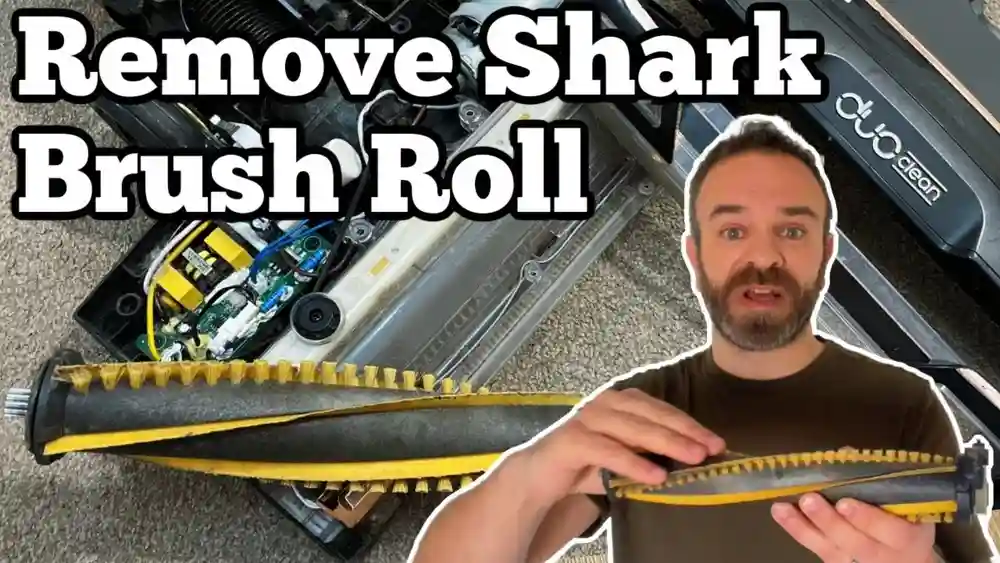
Credit: www.youtube.com
Long-term Belt Care And Maintenance
To get the most from your Shark vacuum belt:
- Do not use the vacuum on wet surfaces.
- Avoid vacuuming large objects that can jam the brush roll.
- Replace the belt before it snaps to avoid motor damage.
- Buy a spare belt so you can fix problems right away.
These habits help keep your vacuum cleaning at its best for years.
Frequently Asked Questions
How Often Should I Replace The Belt In My Shark Vacuum?
Most Shark vacuum belts last 6 to 12 months with regular use. Heavy use, lots of pet hair, or thick carpets may wear the belt faster. Check the belt every few months and replace it if you see cracks, stretching, or other damage.
Can I Use A Non-shark Brand Belt As A Replacement?
It’s best to use a genuine Shark belt or a high-quality replacement made for your exact model. Generic belts may not fit well, can wear out quickly, or even damage your vacuum. Always match the part number and check reviews before buying.
What Should I Do If The New Belt Keeps Breaking?
Repeated belt breaks often mean there is a problem with the brush roll or housing. Check for sharp objects, jammed hair, or broken parts. Make sure the brush roll spins freely before installing the new belt. If problems continue, contact Shark support or a repair center.
Is Changing The Belt The Same On All Shark Models?
No, some Shark vacuums have different belt systems or sealed designs. Upright and stick models usually allow easy belt changes, but some robot and high-end models do not. Always check your vacuum’s manual before starting.
Can I Prevent Belt Problems In The Future?
Yes! Regular cleaning of the brush roll, removing hair and string, and replacing the belt before it breaks will keep your Shark vacuum running well. Avoid vacuuming large objects or wet materials, and empty the dust cup often.
Changing the belt in your Shark vacuum is a practical skill that saves money and keeps your home clean. With the steps and tips in this guide, you can handle this repair with confidence—and enjoy the full power of your Shark vacuum for years to come.