Dealing with robot vacuums can be both helpful and frustrating. When your Shark Robot displays “Error 6,” it can feel like your cleaning plans are suddenly on hold. If you rely on your Shark Robot to keep your floors clean, understanding and fixing this error is important. Many users search for solutions online but find the advice unclear or incomplete. This article gives you clear, step-by-step guidance to fully solve Error 6 on your Shark Robot, so you can get back to a cleaner home with less stress.
You’ll discover what Error 6 really means, why it happens, and how to fix it. We’ll explore each cause in detail, show you how to prevent it in the future, and explain the differences between related errors. Whether you’re a first-time Shark Robot owner or have used one for years, you’ll find practical, easy-to-understand help in the sections below.
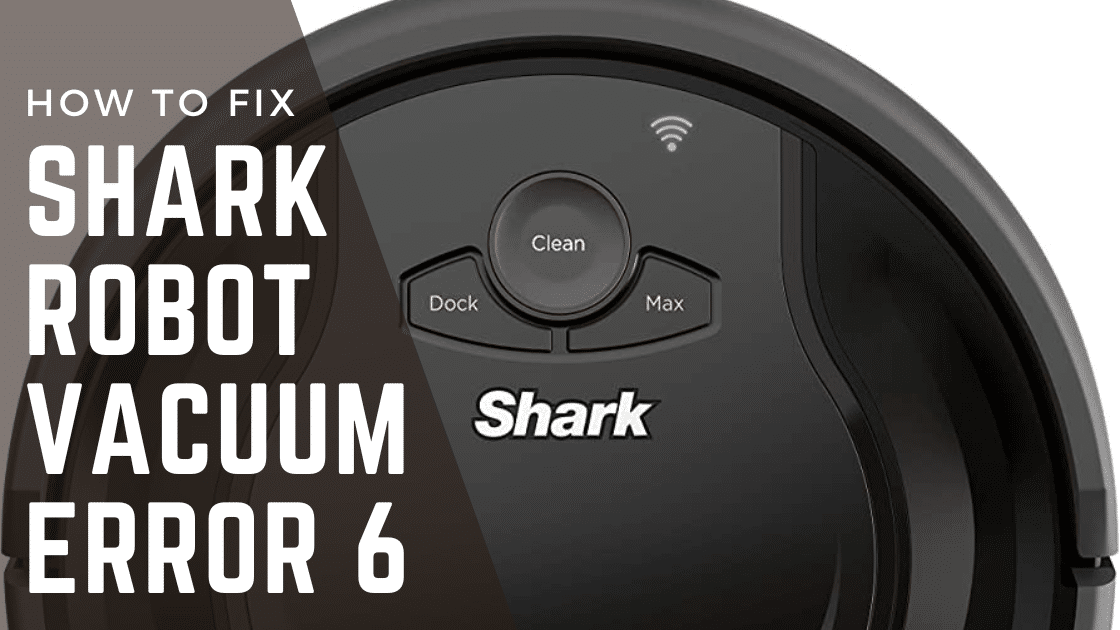
What Is Error 6 On Shark Robot?
Error codes are your Shark Robot’s way of telling you something is wrong. Error 6 usually means the robot is stuck or the side brushes are jammed. Sometimes, it’s also caused by the robot being unable to move because something is blocking its wheels or sensors. This error is common, but it’s fixable with the right steps.
When Error 6 appears, your robot will either beep or show the code on its display or app. The robot often stops moving and may play a warning sound. Understanding the causes helps you fix it quickly and avoid bigger problems.
Often, the robot will not continue cleaning until you clear the error. On some models, you may also see flashing indicator lights or hear a repeating tone. The robot’s cleaning schedule may pause, and you will usually get a notification in the SharkClean app if you use it.
If you don’t fix the issue, the robot will return to its dock or stay in place until the error is resolved. This can be especially frustrating if you have a busy home or pets, as messes can build up quickly.
Extra tip: If you notice Error 6 happening more often in certain rooms or at certain times, pay attention to what’s on the floor or if the lighting is different (for example, very dark corners can confuse sensors). These details can help you track down the cause faster.
Why Error 6 Happens
There isn’t one single reason for Error 6. The Shark Robot can trigger this error in several situations:
- Brushes are blocked by hair, string, or debris.
- Wheels are jammed by an obstacle or dirt.
- Sensors are dirty or covered.
- Motor or internal parts are overheated or faulty.
- Navigation problems, such as getting stuck under furniture.
- Software glitches or outdated firmware.
Each cause needs a different solution. Fixing Error 6 means checking all these areas step by step, so you can be confident the problem is really gone.
It’s important to know that sometimes more than one problem happens at the same time. For example, a robot might have dirty sensors and a small thread around the wheel. If you only fix one, Error 6 can keep coming back.
That’s why a careful, thorough check is better than a quick fix.
Some users notice Error 6 after moving furniture or changing the floor layout. This is because the robot’s navigation relies on remembering the room. If the robot suddenly finds a new obstacle, it might get confused and trigger an error.
Understanding the connection between your room’s layout and the robot’s path can help prevent future issues.
Extra insight: If your robot only shows Error 6 on certain floor types (like going from carpet to tile), the sensors or wheels may be extra sensitive to those surfaces. Try watching your robot for a few minutes to spot exactly when the error happens.
Step 1: Clear And Clean The Side Brushes
The side brushes on your Shark Robot help sweep dust and dirt into the suction path. If these get tangled with hair or thread, the robot can stop and show Error 6.
How To Clean The Side Brushes
- Turn off the robot using the main power switch. This keeps you safe.
- Flip the robot upside down on a soft surface.
- Pull off the side brushes gently. Most Shark models let you pop these off with your fingers or a small screwdriver.
- Remove hair and debris from the brushes and their connection points.
- Check for stubborn tangles. Use scissors or tweezers if needed.
- Wipe the brush holders with a dry cloth.
- Reattach the brushes and make sure they spin freely.
If you have pets with long hair or if your home has a lot of carpet, you may need to clean the side brushes more often. Some users find that winding a small piece of tape (sticky side out) around their finger helps pull hair from tight spots.
For Shark robots with screw-on side brushes, use a small Phillips screwdriver. Be careful not to lose the screw or overtighten when putting the brush back.
Why This Step Matters
Even a small amount of hair wrapped around the side brushes can cause the motor to stall, leading to Error 6. Clean brushes not only prevent errors but also improve cleaning performance.
Non-obvious insight: Many users forget that even invisible dust inside the brush holder can block the sensor. Make sure you clean the holder, not just the brush bristles.
Extra detail: If your brushes look bent or worn out, replace them. Bent brushes can put extra strain on the motor and make the robot less effective at cleaning corners.
Step 2: Inspect And Free The Wheels
Wheels are essential for the Shark Robot’s movement. If the wheels are blocked, the robot thinks it’s stuck and triggers Error 6. This can happen if small objects, cords, or even buildup of dust get caught around the wheels.
How To Check The Wheels
- Lift the robot and gently spin each wheel by hand.
- Look for stuck objects like threads, rubber bands, or crumbs.
- Clean around the wheels with a dry brush or compressed air.
- Check the wheel movement. Each wheel should spring up and down and rotate smoothly.
If a wheel doesn’t move easily, it might be blocked underneath by hair or debris. You can use a flashlight to look more closely. If your model allows, you can remove the wheel module for deeper cleaning (see your manual).
Common Wheel Issues
- Main wheels may get jammed by carpet edges or toys.
- Caster (front) wheel can fill with hair and debris.
- Wheel sensors can get covered with dust, confusing the robot’s navigation.
A stuck caster wheel is a frequent cause of Error 6, especially if you have rugs with tassels or lots of crumbs on the floor. If your robot spins in circles or moves unevenly before showing Error 6, the problem is likely with the wheels.
Practical Tip
If the wheels feel stiff, remove them (most caster wheels pop out) and clean the axle area. This is a spot many users miss.
Non-obvious insight: Sometimes, the wheel sensors get dirty. Use a Q-tip to gently clean the sensor window near the wheel for better robot movement.
Extra: If you notice squeaking or rough movement, add a tiny drop of silicone oil (never WD-40 or cooking oil) to the wheel axle. This can make the wheels last longer and move more smoothly.
Step 3: Clean The Sensors
Your Shark Robot uses cliff sensors, wall sensors, and navigation sensors to move around safely. If these sensors are blocked by dust or smudges, the robot may stop and show Error 6, thinking it’s stuck even when nothing is in the way.
Sensor Cleaning Steps
- Identify the sensors on your model. Usually, they are small black circles or windows on the underside and sides.
- Use a soft, dry cloth to wipe each sensor gently.
- For stubborn dirt, use a lightly dampened microfiber cloth. Never use soap or harsh chemicals.
- Dry the sensors with a clean, dry cloth before turning the robot back on.
Some sensors are more sensitive than others. Cliff sensors (which stop the robot from falling down stairs) can get confused by dark or patterned floors, especially if dirty. Wall sensors help your robot follow edges and avoid bumping into things.
How Dirty Sensors Cause Errors
Dirty sensors can’t “see” the floor or obstacles correctly. The robot may stop in open space or avoid areas for no reason. Regular cleaning prevents these problems.
Pro tip: Clean the sensors every week, especially if you have pets or a dusty home.
Extra advice: If you have a lot of glass or mirrors near the floor, sometimes the sensors can get confused by reflections. Try moving mirrors or using boundary strips if the robot keeps stopping in the same spot.
Step 4: Check For Obstructions In The Suction Path
A blocked suction path can also cause Error 6. If the robot detects that it cannot move dirt through the vacuum, it might stop itself to avoid damage.
What To Do
- Remove the dustbin and empty it completely.
- Inspect the suction opening for any clogs or large debris.
- Look inside the robot where the bin attaches for blockages.
- Check the filter for excessive dust or dirt.
- Clean or replace the filter according to the manual.
If your model uses a HEPA or foam filter, rinse it under cold water and let it dry for at least 24 hours before reinstalling. Never use the robot with a wet filter.
Why Obstructions Matter
If the robot can’t pick up debris, it might overheat or sense too much resistance. The vacuum system is connected to the motor, so a blockage can trigger Error 6 even if the brushes and wheels are fine.
Expert tip: Always let the filter dry fully after washing, or you could cause moisture-related errors.
Extra: Check for pet hair or bits of paper stuck in the suction tube. Even small blockages can make a big difference. If your robot suddenly gets louder, it may be a sign of a partial clog.
Step 5: Let The Motor Cool Down
Overheating is a common but overlooked reason for Error 6. If the robot has been running for a long time or is trying to clean thick carpets, the motor can get too hot and shut down as a safety feature.
Signs Of Overheating
- Robot feels warm to the touch.
- Error 6 appears after long cleaning sessions.
- Robot stops in the middle of a room, not near obstacles.
If you live in a hot climate or run your robot during the hottest part of the day, overheating is more likely. Using the robot on thick rugs or in rooms with poor airflow can also make overheating worse.
Cooling Down Steps
- Turn off the robot completely.
- Unplug the charging base if it’s connected.
- Let the robot sit for 30–60 minutes in a cool, dry place.
- Avoid using the robot on thick carpets or for extra-long sessions until it cools.
Avoiding Overheating In The Future
- Clean the robot regularly to avoid motor stress.
- Run shorter cleaning sessions.
- Make sure air vents are not blocked by dust.
Real-world example: Owners with pets often find their robots overheat more because pet hair clogs the filters faster.
Extra insight: If your robot always overheats in the same spot, check for hidden heat sources like sunbeams on the floor, or vents blowing hot air.
Step 6: Update Firmware And Reset The Robot
Sometimes, Error 6 is caused by a software glitch rather than a hardware issue. Shark releases updates to fix bugs and improve robot performance. Resetting the robot can also clear temporary errors.
How To Update Firmware
- Connect the Shark Robot to your home Wi-Fi through the SharkClean app.
- Open the app and check for firmware updates.
- Follow the prompts to install the latest update.
- Restart the robot after updating.
Firmware updates can add new features, improve navigation, or solve known errors. If your robot is more than a year old, check for updates every few months.
How To Reset The Robot
- Hold down the power button for 10 seconds (check your model’s manual for the exact method).
- Wait for the lights to flash or hear a beep.
- Release the button and let the robot reboot.
Some models have a reset hole you press with a paperclip. If your robot connects to Wi-Fi, you may need to reconnect it after a reset.
When To Use Reset
- After trying all other fixes with no luck.
- If Error 6 happens often with no clear cause.
- After a firmware update, to refresh the system.
Caution: A full factory reset will erase your Wi-Fi settings and cleaning schedules. Only do this if nothing else works.
Extra: After a reset, run a short cleaning cycle while you watch. This helps you spot if the error returns right away.
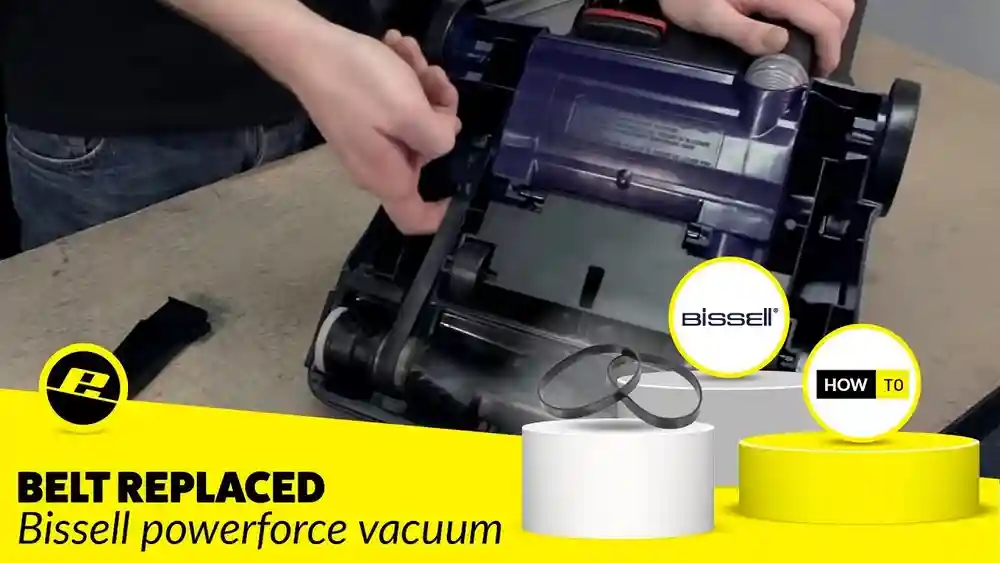
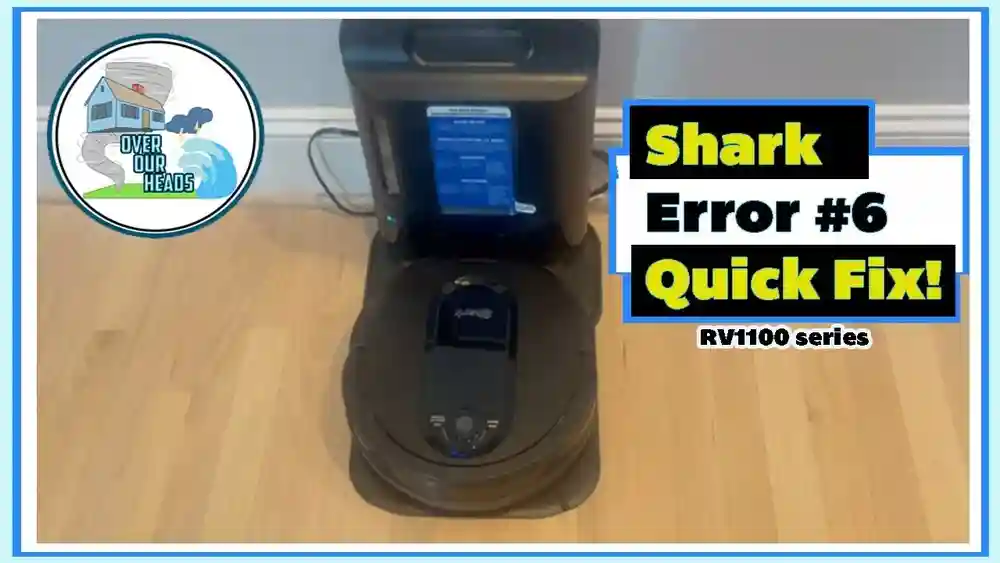
Credit: support.sharkninja.com
Comparing Shark Robot Error Codes
It’s easy to confuse Error 6 with other Shark Robot error codes. Here’s a quick comparison so you know what you’re dealing with:
| Error Code | Main Cause | Typical Fix |
|---|---|---|
| Error 2 | Cliff or drop sensor issue | Clean sensors |
| Error 6 | Stuck brushes or wheels | Clean, remove obstructions |
| Error 9 | Bumper or navigation problem | Clean bumpers, reset robot |
| Error 10 | Overheating motor | Let cool, clean filters |
This table helps you quickly tell if you’re really seeing Error 6 or a different issue. If you see a different code, use the suggested fix for that error.
Extra: Some Shark robots show error codes as a series of beeps or flashing lights. Check your manual or the app for the code translation if you’re unsure.
Preventing Error 6 In The Future
Fixing Error 6 is important, but preventing it is even better. Here are the best ways to keep your Shark Robot running smoothly.
Regular Maintenance Tips
- Clean side brushes and wheels weekly to stop hair and dust buildup.
- Wipe sensors every week for clear navigation.
- Empty the dustbin after each use to avoid clogs.
- Wash or replace filters monthly (more often with pets).
Regular maintenance not only prevents errors but helps your robot clean more efficiently and last longer. Set a reminder on your phone or use the SharkClean app’s maintenance alerts.
Home Preparation Steps
- Pick up cords and small objects from the floor before running the robot.
- Block off problem areas with boundary strips if your robot gets stuck often.
- Avoid thick rugs that can trap wheels.
If you have children, check for small toys or building blocks that can get caught. Move lightweight furniture (like chairs) out of tight areas where the robot could get wedged.
Using The App For Reminders
The SharkClean app lets you set cleaning schedules and get alerts for maintenance. Use these features to keep your robot in top shape.
Smart tip: Set a calendar reminder to clean your robot every Sunday. This habit prevents most common errors.
Extra: In the app, you can often see cleaning history and error logs. If Error 6 happens at the same time or place, use this info to change your room setup or schedule.

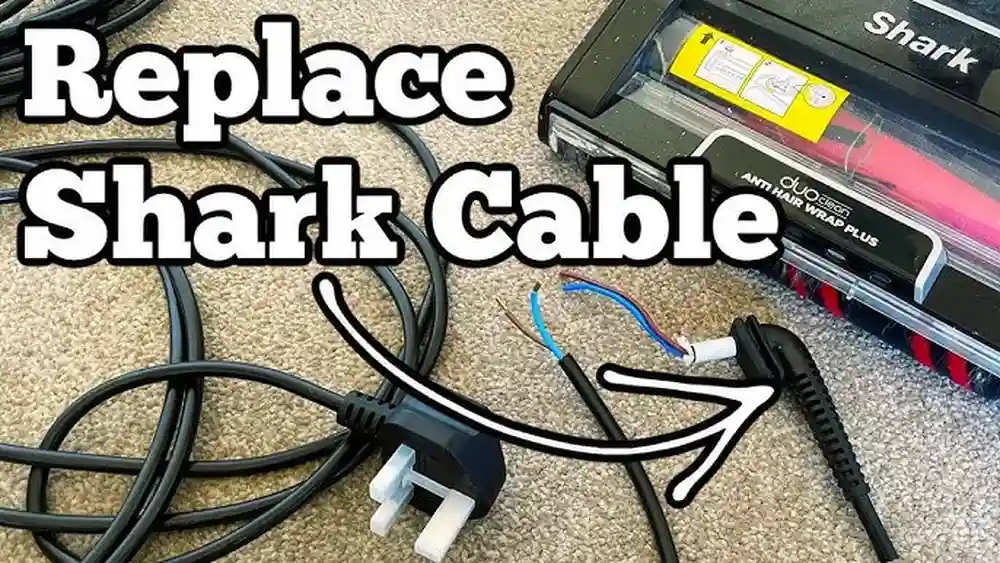
Credit: www.youtube.com
Common Mistakes When Fixing Error 6
Many users try to fix Error 6 but make simple mistakes that waste time or make things worse. Here’s what to avoid:
- Forgetting to turn off the robot before cleaning. This can cause injury or damage.
- Only cleaning visible debris. Always check inside holders and around axles.
- Using water on sensors. Always use a dry or just damp cloth.
- Skipping firmware updates. Updates often fix bugs that cause error codes.
- Not letting the motor cool fully before restarting.
Some users also ignore the “replace filter” warning, thinking it’s not important. Dirty filters can cause errors and reduce cleaning power.
Extra: Don’t force parts if they feel stuck. Look for hidden screws or check the manual for the proper way to remove and clean parts.
When To Contact Shark Support
If you’ve tried all the steps above and Error 6 still appears, it might be a sign of a deeper problem. Here’s when you should contact Shark support:
- The robot shows Error 6 with no physical blockage.
- The error comes back immediately after cleaning and resetting.
- There are strange noises or burning smells from the robot.
- The robot is still under warranty.
Shark’s customer service can help with further troubleshooting or arrange repairs. Keep your model number and purchase details ready when you call.
For more details, you can visit the official Shark Support Center.
Extra: If your robot needs repair, ask Shark support about loaner units or repair timelines. Some users get a replacement robot if their model can’t be fixed under warranty.
Credit: www.fuer-schwerte.de
Advanced Troubleshooting For Persistent Error 6
Sometimes, Error 6 is caused by less obvious issues. If you’re comfortable with a little DIY, you can try these advanced steps.
Checking The Drive Motor
- Listen for clicking or grinding when the robot tries to move.
- Remove the bottom plate (if your model allows) and check for loose wires.
- Contact Shark if you suspect a motor failure. Don’t open sealed parts if under warranty.
If you find burnt smells, melted wires, or broken parts, stop and contact Shark support for next steps.
Inspecting Internal Gears
- Gears can wear out or get debris inside.
- If your robot is out of warranty, you can open the wheel assembly and clean gears with a dry brush.
- Lubricate gears with a small amount of silicone grease if they look dry.
Internal gear problems are rare, but they can happen with older robots or those used on rough surfaces. Gears that skip or jam will cause repeated Error 6 codes.
Testing Battery Health
- Old batteries can cause inconsistent movement or weak cleaning.
- Check the app for battery health status.
- Replace the battery if it no longer holds a charge.
If your robot shuts down before finishing a cleaning cycle, or if it struggles to dock, the battery might be the cause. Shark sells replacement batteries for most models.
| Maintenance Task | Frequency | Time Required |
|---|---|---|
| Clean side brushes | Weekly | 5 minutes |
| Clean sensors | Weekly | 2 minutes |
| Replace filters | Monthly | 3 minutes |
| Update firmware | As needed | 10 minutes |
Extra: Keep a small cleaning kit (brush, cloth, screwdriver) near your robot’s charging dock. This makes quick maintenance easier.
Shark Robot Models And Error 6
Not all Shark Robot models behave the same. Here’s a quick comparison of how Error 6 appears on popular models:
| Shark Model | Error 6 Display | Reset Method |
|---|---|---|
| Shark ION Robot (RV750/761) | Blinking lights + beep | Power switch off/on |
| Shark IQ Robot (RV1001AE) | App notification + lights | Hold dock button 10s |
| Shark AI Robot (RV2001) | App notification + voice | Hold power button 10s |
Check your model’s manual for details if you’re not sure which reset method to use.
Extra: Newer models are more likely to give details in the app, including where the robot got stuck or what part needs cleaning. Use this info to target your fix.
Real-world User Stories
To give you more confidence, here are examples from Shark Robot owners who fixed Error 6:
- Maria from Texas: “My robot stopped every day with Error 6. I found a tiny rubber band in the wheel. After removing it, the error never came back. I now check the wheels every week.”
- James from the UK: “Error 6 kept showing up until I cleaned the sensors with a microfiber cloth. I didn’t realize how much dust was there. Now my Shark works perfectly.”
- Sophie from Australia: “The app said Error 6. I updated the firmware, and the error disappeared. It was a software bug!”
- Chen from Singapore: “My robot would stop on dark tiles. Support told me to wipe the cliff sensors and avoid cleaning in the dark. Problem solved.”
- Lucas from Brazil: “I cleaned the brushes but missed the small axle. Once I used tweezers to pull out hair, Error 6 was gone.”
These stories show that careful cleaning and checking each part can solve the error for good.
Frequently Asked Questions
What Does Error 6 Mean On My Shark Robot?
Error 6 means your Shark Robot is stuck or the side brushes, wheels, or sensors are blocked. The robot stops to avoid damaging itself. Cleaning and removing obstructions usually fix this error.
How Often Should I Clean My Shark Robot To Avoid Error 6?
You should clean the side brushes and wheels every week, and wipe the sensors at least once a week. Empty the dustbin after each use and replace filters every month or as needed.
Can Error 6 Be Caused By Software Problems?
Yes, sometimes software glitches or outdated firmware cause Error 6. Updating the robot’s firmware and resetting it often solve these issues if there’s no physical blockage.
What Should I Do If Error 6 Keeps Coming Back?
If Error 6 returns after cleaning and resetting, check for hidden blockages in the wheels, brushes, and suction path. If the problem continues, contact Shark support, especially if your robot is under warranty.
Where Can I Find Official Shark Support For Error 6?
You can visit the Shark Support Center for official troubleshooting guides, FAQs, and customer service contact details.
Is Error 6 Dangerous For My Robot?
No, Error 6 is a safety feature that stops the robot before damage happens. However, ignoring the error for too long can lead to more wear on the motor or brushes.
Should I Use Third-party Parts Or Accessories?
It’s best to use Shark-branded parts when possible. Some third-party brushes or filters might not fit perfectly and could cause extra errors or reduce cleaning quality.
Keeping your Shark Robot in top condition means less time fixing errors and more time enjoying clean floors. With these steps, you’ll be able to fix Error 6 confidently and prevent it from slowing you down in the future.