Many people rely on their Shark Professional vacuum to keep homes clean and dust-free. But after months of use, you might notice the brush roll stops spinning or the vacuum doesn’t clean as well. A worn or broken belt is a common cause. While replacing the belt may sound technical, it’s a manageable job—even for someone without repair experience. Understanding how to change the belt on your Shark Professional can save you time, money, and the hassle of visiting a service center.
This guide explains everything you need to know: how the belt works, signs it needs changing, the tools required, step-by-step instructions, safety tips, and even troubleshooting advice. Whether you’ve never opened a vacuum before or you’re just looking for best practices, you’ll find clear, practical guidance here. By the end, you’ll not only know how to change the belt, but also how to keep your vacuum running smoothly for years.
Understanding The Belt On A Shark Professional
Before you start the replacement process, it's helpful to know what the belt does and why it's important.
The belt is a key part of your Shark Professional vacuum. It connects the vacuum’s motor to the brush roll. As the motor spins, the belt turns the brush roll, which sweeps dirt and debris into the vacuum. Without a working belt, the brush roll won’t spin, and your vacuum loses much of its cleaning power.
There are two main types of belts in Shark vacuums:
- Flat rubber belts – Simple, common, and flexible. They wear out faster.
- Toothed (cogged) belts – Have grooves or teeth. Last longer and give better grip.
Most Shark Professional models use a flat rubber belt, but some advanced models use a toothed belt for better performance. Always check your user manual or the old belt before buying a replacement.
How Often Should You Change The Belt?
On average, the belt needs replacing every 6-12 months, depending on how often you use the vacuum and the type of surfaces you clean. If you vacuum thick carpets, pet hair, or use the brush roll a lot, expect the belt to wear out sooner.
Signs Your Shark Professional Belt Needs Changing
A worn or broken belt can cause several symptoms. If you notice any of these, it's probably time for a replacement:
- Brush roll isn’t spinning even when the vacuum is on.
- Burning rubber smell while vacuuming.
- Loud or unusual noises from the brush area.
- Poor cleaning performance (dirt left behind).
- Physical signs: Belt looks stretched, cracked, or broken when you check it.
Don’t ignore these signs. Running your vacuum with a broken belt can damage the brush roll or motor, leading to more expensive repairs.
Tools And Materials Needed
You don’t need special tools for this repair, but having the right items ready makes the job faster and safer.
You’ll need:
- Replacement belt (compatible with your Shark Professional model)
- Phillips screwdriver (sometimes a flat-head if your model uses different screws)
- Small bowl or tray for screws (so you don’t lose them)
- Scissors (to cut away tangled hair or debris)
- Clean cloth (to wipe down parts)
- Vacuum user manual (for quick reference—optional but helpful)
- Gloves (if you prefer to keep your hands clean)
Many beginners forget to place screws in a bowl, then lose them on the floor. This simple step saves frustration.
Safety Precautions
Safety is important when working with any electrical appliance. Protect yourself and your vacuum by following these steps:
- Unplug the vacuum before you start. Never work on a plugged-in vacuum.
- Let the vacuum cool down if it was just used.
- Work on a clean, flat surface with good lighting.
- Keep small children and pets away from your work area.
- Handle screws and small parts carefully—they’re easy to drop and hard to find later.
Taking these steps prevents electric shock, accidental startups, and lost parts.

Credit: www.ifixit.com
Step-by-step Guide: How To Change The Belt On Shark Professional
Let’s walk through the process. The instructions here fit most Shark Professional models, but always check your manual for specific notes.
1. Prepare Your Workspace
Lay a towel or mat on the floor to protect both your vacuum and the surface. Gather all the tools and parts you’ll need. Take a photo of the vacuum base before you start—this helps you remember how everything fits together.
2. Unplug And Disassemble The Vacuum
- Make sure the vacuum is unplugged.
- Remove the dust cup and set it aside.
- Turn the vacuum over so the bottom faces up.
- Locate the screws that hold the bottom plate or brush cover in place. Most Shark Professional models have 4–8 screws.
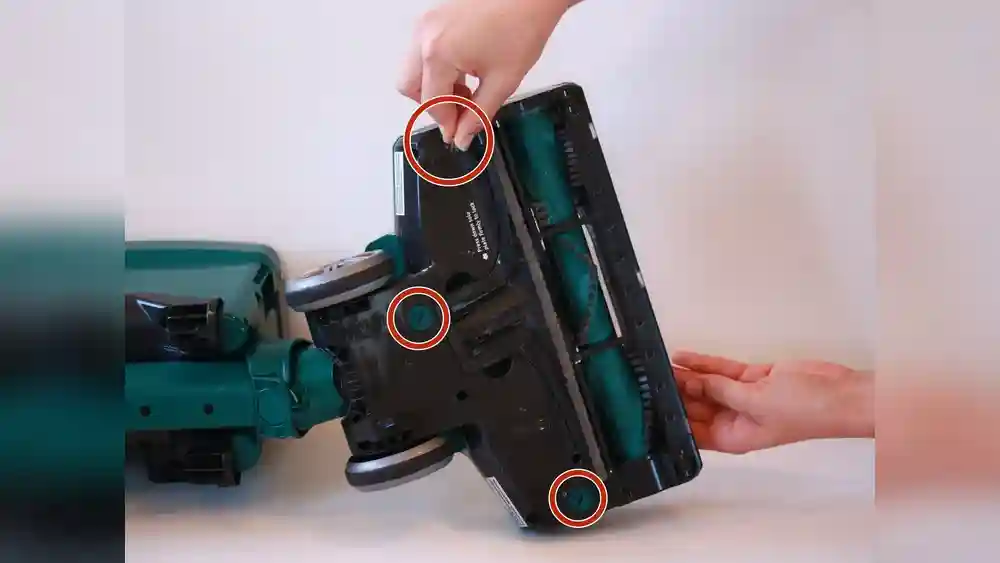
3. Remove The Bottom Plate
- Use the screwdriver to remove all screws. Place them in your bowl or tray.
- Carefully lift off the bottom plate. If it sticks, gently pry it loose with the screwdriver.
- Set the plate aside.
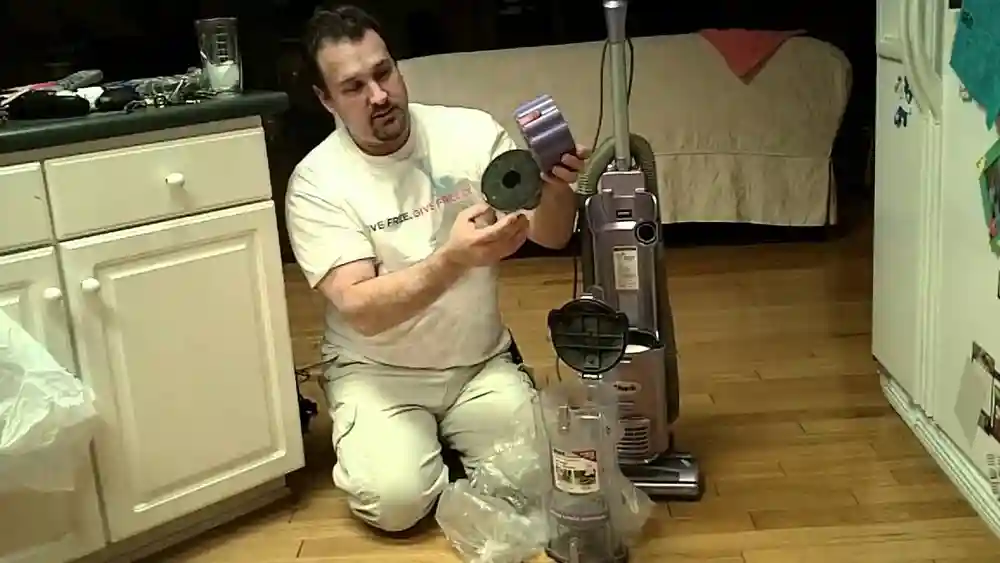
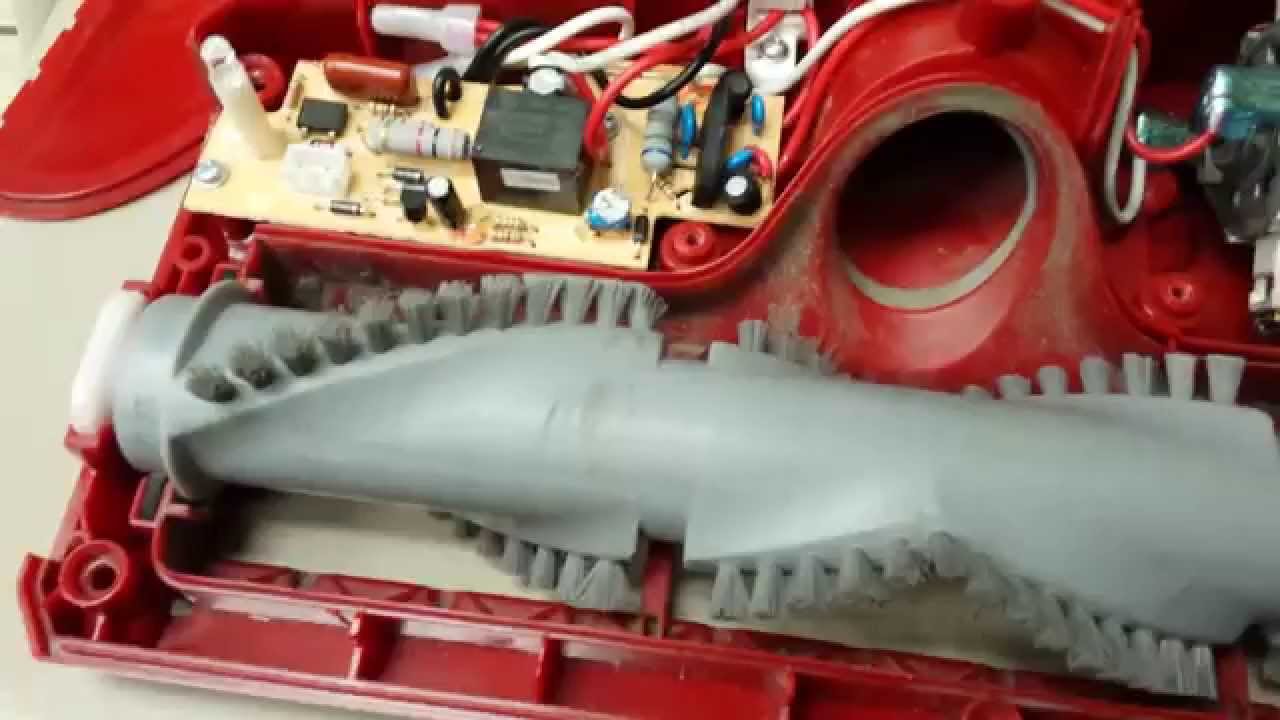
4. Check And Remove The Old Belt
- Locate the belt. It connects the motor shaft to the brush roll.
- Check the belt for signs of wear: Cracks, stretching, or breakage.
- If the belt is broken, remove any loose pieces.
- To remove an intact belt, slide it off the motor shaft and brush roll.
Tip: If there’s tangled hair or debris around the brush roll, use scissors to cut it away before proceeding. Keeping this area clean extends the life of your new belt.
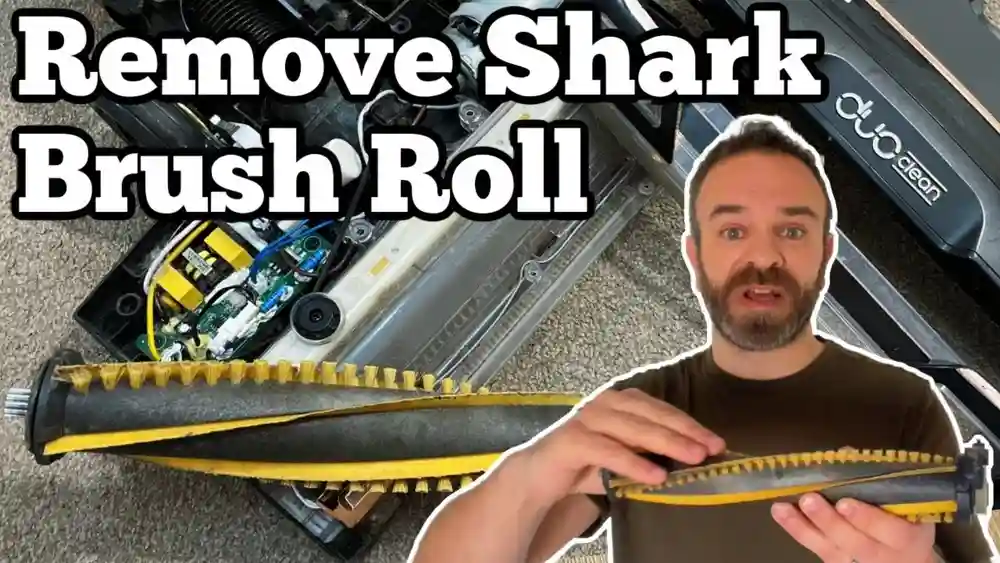
5. Remove The Brush Roll (if Needed)
Some Shark models require you to take out the brush roll to change the belt.
- Gently lift the brush roll out of its slot. Notice how it fits—take a photo if needed.
- Clean off any dirt or hair.
6. Install The New Belt
- Take your new belt out of its packaging.
- Loop the belt over the motor shaft first.
- Then, stretch the belt and slide it onto the brush roll.
- If you removed the brush roll, place it back into its slot. Make sure the ends fit snugly into their holders.
Insight: New belts are tighter than old ones. That’s normal—stretching helps the brush roll spin properly. If it feels too loose, it’s likely the wrong belt.
7. Reassemble The Vacuum
- Replace the bottom plate.
- Align the screw holes and insert all screws. Tighten them evenly, but don’t overtighten (you could strip the threads).
- Turn the vacuum right side up.
8. Test The Vacuum
- Plug in the vacuum.
- Turn it on for a few seconds to check that the brush roll spins and there are no unusual noises.
- If everything works, you’re done!
If the brush roll doesn’t spin, unplug the vacuum and check your assembly. Make sure the belt is seated correctly and nothing blocks the brush roll.
Shark Professional Belt Replacement: Model-specific Tips
Shark makes several Professional models, each with small differences. Here are some tips for popular models:
Shark Navigator Professional (nv356e, Nv370)
- The bottom plate has both screws and small tabs. Release tabs gently to avoid breaking them.
- The brush roll sits in a removable frame—lift the frame out before replacing the belt.
Shark Rotator Professional (nv500, Nv501)
- The belt is usually visible once the bottom plate is off.
- Some models use a toothed belt—make sure you buy the right type.
- The brush roll may be spring-loaded. Press gently when reassembling.
Shark Professional Lift-away (nv355, Nv360)
- The belt may be partially hidden by a plastic guard. Remove the guard if needed.
- The bottom plate often has more screws; keep track of all hardware.
Non-obvious insight: Some users try to force the wrong belt onto their model. Always match the replacement belt to your exact Shark Professional vacuum. The wrong size will slip or break quickly.
Common Mistakes To Avoid
Replacing a vacuum belt is straightforward, but these mistakes can cause trouble:
- Not unplugging the vacuum: This creates a serious electrical risk.
- Using the wrong belt type: Leads to poor performance or damage.
- Losing screws: Keep them in a bowl or tray.
- Forgetting the order of reassembly: Take photos as you go.
- Not cleaning the brush roll: Dirt and hair can cause the new belt to fail faster.
- Overtightening screws: Can crack the vacuum’s plastic housing.
Avoiding these mistakes saves time and ensures your repair lasts.
What To Do If The Belt Breaks Again Quickly
Sometimes, a new belt fails soon after replacement. This usually means there’s an underlying problem:
- Brush roll is jammed: Remove and clean it.
- Wrong belt type or size: Double-check the model compatibility.
- Motor shaft is damaged: If it’s bent or loose, contact Shark support.
- Debris trapped in belt path: Clear the area before installing the new belt.
If the belt keeps breaking, stop using the vacuum and seek professional repair. Forcing a fix may damage the motor.
Credit: www.youtube.com
How To Choose The Right Replacement Belt
Selecting the correct belt is key. Here’s what to check:
- Model number: Find it on the vacuum label (often on the bottom or back).
- Belt type: Flat or toothed? Match the old belt or user manual.
- Length and width: Belts look similar but differ in size.
- Brand: Use original Shark belts for best results. Generic belts sometimes fit poorly.
Always check product reviews and model compatibility before buying. You can find original Shark belts online or at major retailers.
Where To Buy Shark Professional Replacement Belts
You have several options:
- Official Shark website: Guaranteed compatibility.
- Major online retailers: Amazon, Walmart, and others.
- Home improvement stores: Lowe’s, Home Depot, etc.
- Vacuum repair shops: Usually carry a range of belts.
- Specialty parts websites: For older or hard-to-find models.
Pro tip: Always keep a spare belt on hand. They’re inexpensive, and you’ll avoid downtime if the belt breaks unexpectedly.
Maintenance Tips For A Longer-lasting Belt
Proper maintenance extends the life of your belt and vacuum:
- Clean the brush roll regularly: Remove hair, string, and debris.
- Avoid vacuuming large objects: Coins, rocks, and toys can jam the brush roll.
- Check the belt every few months: Replace at the first sign of wear.
- Don’t force the vacuum on thick carpets: This strains the belt.
- Store the vacuum properly: Keep it in a dry place to prevent belt cracking.
Non-obvious insight: Many users overlook the effect of pet hair. If you have pets, check and clean the brush roll more often—pet hair can cause belt slip and early failure.
Troubleshooting: If The Brush Roll Still Won’t Spin
If you replaced the belt and the brush roll isn’t working, try these steps:
- Double-check assembly: Is the belt installed correctly? Are all screws tight?
- Inspect the brush roll: Is it aligned and spinning freely by hand?
- Check for blockages: Remove any remaining debris.
- Examine the motor shaft: Make sure it turns when the vacuum is on.
- Reset the vacuum: Some Shark models have a reset button near the brush roll.
If the problem remains, the motor or electronics may be faulty. In this case, contact Shark customer support or a professional repair service.
Cost Comparison: Repairing Vs. Replacing The Belt
Is it worth fixing your Shark Professional, or should you buy a new vacuum? Here’s a quick comparison.
| Option | Average Cost | Time Required | Recommended For |
|---|---|---|---|
| Replace Belt Yourself | $5–$15 | 20–40 minutes | Most users |
| Professional Repair Shop | $30–$60 | 1–3 days | Users uncomfortable with DIY |
| Buy New Vacuum | $150–$350 | Immediate | Old or damaged vacuums |
For most people, replacing the belt yourself is the best value—quick, cheap, and effective.
Step-by-step Timeline: How Long Each Part Takes
If you’re planning your repair, here’s how much time to expect for each step.
| Step | Time Estimate | Difficulty |
|---|---|---|
| Preparation & setup | 5 minutes | Easy |
| Disassembly | 10–15 minutes | Moderate |
| Belt replacement | 5–10 minutes | Easy |
| Reassembly | 10–15 minutes | Moderate |
| Testing | 5 minutes | Easy |
Most users can complete the whole process in under an hour.

Credit: www.youtube.com
Real-world Example: Changing The Belt On A Shark Professional
Let’s see how this works in practice. Anna owns a Shark Rotator Professional NV501 and notices her vacuum isn’t picking up dirt. She checks and finds the brush roll doesn’t spin.
- Anna unplugs the vacuum, turns it over, and removes eight screws.
- She takes off the bottom plate and sees a broken belt.
- Anna removes the brush roll, cleans out pet hair, and installs a new belt.
- She reassembles the vacuum, plugs it in, and the brush roll spins smoothly.
- The vacuum works like new—problem solved in 35 minutes.
Anna’s experience shows that even beginners can handle this task with patience and care.
Comparing Shark Professional To Other Brands
How does changing the belt on a Shark Professional compare to other vacuums?
| Brand | Belt Replacement Difficulty | Parts Cost | Common Issues |
|---|---|---|---|
| Shark Professional | Moderate | Low | Hidden screws, tight belts |
| Dyson | Hard | Medium–High | Complex assembly |
| Hoover | Easy | Low | Loose brush roll |
| Bissell | Easy–Moderate | Low | Frequent belt slips |
Shark Professional vacuums are known for durability and easy access to parts, but some models have more screws and tighter fits, making the process slightly more involved than with brands like Hoover.
Expert Tips For First-time Diyers
If this is your first time repairing a vacuum, keep these tips in mind:
- Watch a video before starting—visual guides can help.
- Take your time. Rushing leads to mistakes.
- Lay out screws in the order you remove them.
- Don’t force parts. If something won’t move, double-check for hidden screws.
- Ask for help. If you’re unsure, a friend or family member can lend a hand.
Non-obvious insight: Most first-timers underestimate how much dirt is stuck under the brush roll. Cleaning this area during belt replacement can significantly improve suction and cleaning results.
When To Call A Professional
Some repairs are best left to the experts. Call a repair shop if:
- The motor makes grinding or burning noises.
- The vacuum still doesn’t work after belt replacement.
- You can’t remove the bottom plate, or screws are stripped.
- There’s visible damage to wiring or electronics.
Attempting repairs beyond your skill level can cause more harm than good.
Environmental Impact: Repair Vs. Replace
Repairing your vacuum is more eco-friendly than replacing it. Every year, millions of vacuums end up in landfills. By replacing the belt, you extend the life of your machine and reduce waste.
According to the Environmental Protection Agency, small repairs like belt changes can reduce electronic waste by up to 30%. That’s good for your wallet and the planet.
Final Thoughts
Changing the belt on your Shark Professional vacuum is a practical way to restore cleaning performance and extend the life of your appliance. With basic tools, a little patience, and careful attention to detail, most people can do this repair in under an hour. Remember to use the correct replacement belt, clean the brush roll, and reassemble everything carefully.
Regular maintenance and quick action when problems arise will keep your Shark Professional working at its best. And if you ever feel stuck, resources like user manuals, video guides, and official support are just a click away. For more model-specific details, you can visit the official Shark Support Center.
Frequently Asked Questions
How Often Should I Replace The Belt On My Shark Professional Vacuum?
Most belts last 6–12 months with regular use. If you notice reduced cleaning power, a burning smell, or the brush roll stops spinning, replace the belt sooner.
What Type Of Belt Does My Shark Professional Use?
Most Shark Professional vacuums use a flat rubber belt. Some advanced models use a toothed belt. Always check your vacuum’s model number and user manual to buy the correct type.
Can I Use A Generic Belt Instead Of An Official Shark Belt?
While some generic belts fit, it’s best to use official Shark belts for proper fit and durability. Generic belts may slip, break, or wear out faster.
What If The Brush Roll Still Doesn’t Spin After Changing The Belt?
Double-check your assembly. Make sure the belt is seated correctly, the brush roll spins freely, and there are no blockages. If the problem continues, the motor or electronics may need professional repair.
Is It Safe To Change The Belt Myself?
Yes, as long as you unplug the vacuum and follow the steps carefully. This is a common DIY repair. If you feel uncomfortable, a repair shop can do the job quickly.
Replacing the belt on your Shark Professional isn’t just maintenance—it’s a smart way to save money, reduce waste, and keep your home clean. With the guidance above, you’re ready to tackle the task with confidence.