Keeping your Shark Navigator vacuum in top shape is not just about emptying the dust cup. Over time, the wheels can collect dirt, hair, and debris, making your vacuum harder to push and less effective. If you’ve noticed your vacuum dragging or leaving marks, it’s probably time to clean the wheels.
Many owners forget this step, but a clean wheel can extend your vacuum’s life and make cleaning your floors much easier.
Cleaning the wheel of a Shark Navigator vacuum might sound simple, but there are a few steps people often miss. Doing it right will help your vacuum glide smoothly and protect your floors from scratches. Let’s walk through the process, clear up common mistakes, and share tips that even experienced users sometimes overlook.
Why Clean The Wheels Of Your Shark Navigator Vacuum?
The wheels on your Shark Navigator touch every part of your floor. They pick up dust, hair, and sometimes sticky residues. If left uncleaned, these particles can harden and reduce wheel movement. This makes your vacuum harder to steer and can even scratch delicate flooring.
Regular cleaning:
- Keeps your vacuum easy to push
- Prevents floor damage
- Reduces noise from stuck debris
- Extends the life of the vacuum
Most users focus on filters and dust cups, but clean wheels are just as important for performance.
Tools And Supplies You’ll Need
You don’t need any special equipment, but having the right tools makes the job easier.
- Screwdriver (usually Phillips head)
- Soft brush (an old toothbrush works)
- Cotton swabs
- Microfiber cloth
- Mild detergent or dish soap
- Tweezers or needle-nose pliers
- Small bowl of warm water
- Paper towels
Having these items ready will save time and prevent you from missing any steps.
Step-by-step Guide To Cleaning The Wheel
Let’s break the process into clear steps so you don’t miss anything.
1. Unplug And Prepare The Vacuum
Safety first. Always unplug your vacuum before cleaning. Lay it down on a soft towel to avoid scratching the body.
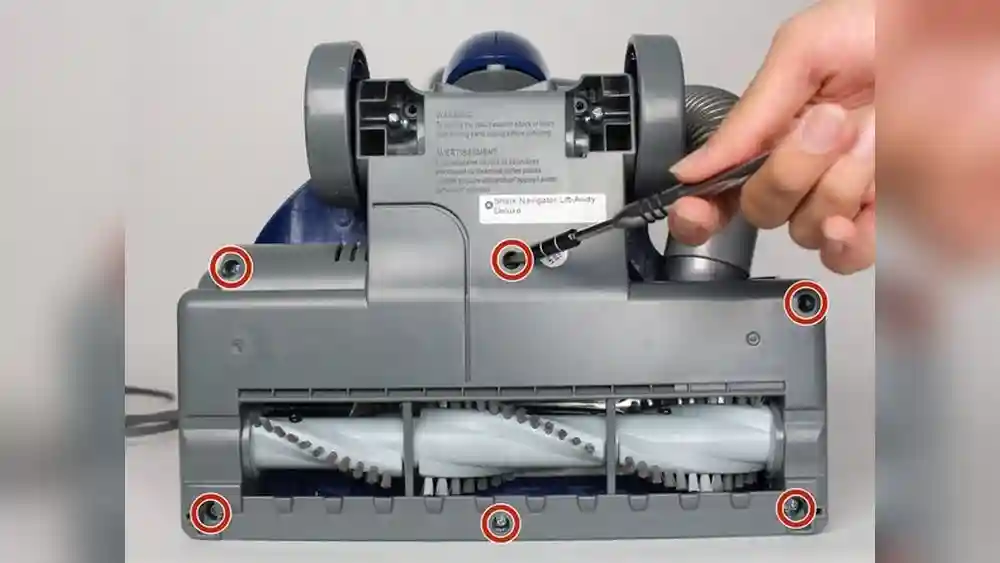
2. Remove The Wheel
Most Shark Navigator wheels are attached with a simple screw. Use your screwdriver to remove the screw and gently pull out the wheel. If your model’s wheels don’t come off, you can still clean around them.
Tip: Take a quick photo of the wheel assembly before removing anything. This helps during reassembly.
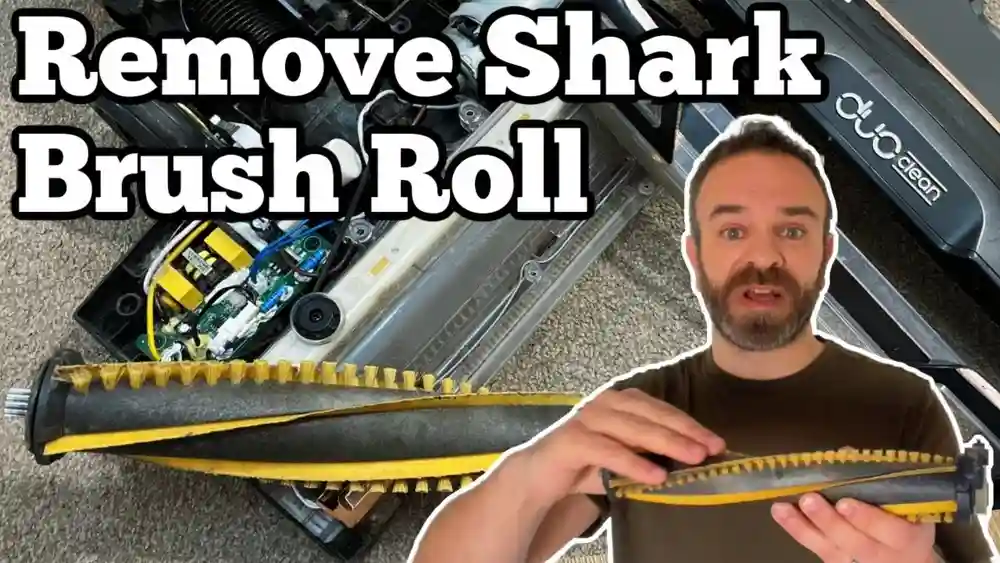
3. Clear Away Hair And Debris
Use tweezers or your fingers to pull off any hair or string wrapped around the wheel. Even a small amount can cause problems.
4. Scrub The Wheel Surface
Dip your brush in warm soapy water and scrub the wheel, especially the edges and grooves. For stubborn grime, use a cotton swab to reach tight spots.
5. Clean The Wheel Housing
The area where the wheel sits can collect fine dust. Use a damp microfiber cloth to wipe this space. If there’s sticky residue, use a drop of mild detergent.
6. Dry Everything Completely
Water left inside the wheel area can cause rust or mold. Dry the wheel and housing with a paper towel and let them air dry for a few minutes.
7. Reassemble And Test
Put the wheel back in place and secure the screw. Make sure the wheel spins freely. Plug the vacuum back in and roll it on a hard surface to check for smooth movement.
Common Mistakes To Avoid
Even careful users miss these points:
- Skipping deep cleaning: Wiping the outside isn’t enough. Debris inside the housing can still affect movement.
- Using harsh chemicals: Strong cleaners can damage plastic and rubber. Stick to mild soap.
- Not drying fully: Moisture can cause long-term damage. Always dry before reassembling.
- Forcing the wheel: If it doesn’t come off, don’t force it. Some models have fixed wheels—just clean what you can reach.
How Often Should You Clean The Wheels?
Frequency depends on your home. Homes with pets, carpets, or lots of dust need more frequent cleaning. A good rule:
- Every 2-3 months for average homes
- Monthly if you notice hair or dirt buildup
Some users wait until the vacuum becomes hard to push, but regular cleaning prevents problems before they start.
Comparing Shark Navigator Wheel Maintenance To Other Vacuums
How does caring for a Shark Navigator’s wheels compare to other popular vacuums? Here’s a quick look:
| Vacuum Brand | Wheel Removal | Cleaning Frequency | Difficulty |
|---|---|---|---|
| Shark Navigator | Usually removable | 2-3 months | Easy |
| Dyson Ball | Not removable | 1-2 months | Moderate |
| Bissell Upright | Removable (some models) | 3-4 months | Easy |
This shows the Shark Navigator is user-friendly for wheel maintenance compared to some other brands.

Credit: www.youtube.com
Signs Your Shark Navigator Wheel Needs Cleaning
Not sure when to clean? Watch for these signs:
- Hard to push or pull: Wheels feel stuck or drag on the floor.
- Strange noises: Clicking or squeaking when moving.
- Visible dirt: Dust or hair wrapped around the wheel.
- Floor marks: Scratches or streaks on hard floors.
If you notice any of these, it’s time for a cleaning.
Extra Tips For Long-lasting Wheels
Go beyond just cleaning:
- Vacuum regularly: Less dirt on the floor means less on the wheels.
- Check for cracks: Damaged wheels can scratch your floors—replace if needed.
- Store properly: Don’t leave your vacuum sitting on wet or dirty floors.
- Lubricate (if allowed): A tiny drop of silicone spray can help, but only if the manual allows it.
These small habits can make your Shark Navigator last for years.

Credit: www.youtube.com
Cost And Time: What To Expect
Cleaning your vacuum’s wheel is quick and cheap.
| Item | Estimated Cost | Time Needed |
|---|---|---|
| Cleaning supplies | $0-$5 (if you have basics at home) | 10 minutes |
| Replacement wheel (if needed) | $10-$20 | 5 minutes extra |
Most people spend less than 15 minutes and no extra money.
What If The Wheel Won’t Spin After Cleaning?
Sometimes, after cleaning, a wheel may still feel stuck. Here’s what to try:
- Double-check for hidden debris inside the housing.
- Make sure the screw is not too tight.
- Test the wheel before reattaching to the vacuum.
If it still doesn’t spin, the axle might be bent or the wheel worn out. Replacement parts are available online or from Shark’s support team.
When To Replace Instead Of Clean
Cleaning solves most problems, but sometimes you need a new wheel. Replace the wheel if you see:
- Cracks or chips
- Warped shape
- Deep scratches
Replacement wheels are easy to find, and installing them is similar to cleaning.
Environmental Impact: Why Cleaning Matters
A well-maintained vacuum lasts longer, which means fewer appliances end up in landfills. By cleaning your wheels, you reduce waste and save money. It’s a small effort with a big environmental benefit.
For more details on vacuum maintenance, you can check the Wikipedia vacuum cleaner page.

Credit: www.amazon.com
Frequently Asked Questions
How Do I Remove Stuck Hair From The Vacuum Wheel?
Use tweezers or needle-nose pliers to gently pull out hair. For tight spots, a toothpick can help break up the tangle without damaging the wheel.
Can I Use Wd-40 Or Oil To Make The Wheel Spin Better?
It’s best to avoid oils like WD-40. Use a small amount of silicone spray if the manufacturer allows. Regular oils can attract dust and cause more buildup.
Is It Okay To Submerge The Wheel In Water?
Yes, you can soak the wheel itself, but never submerge the wheel housing attached to the vacuum. Make sure the wheel is fully dry before reattaching.
What Should I Do If The Wheel Squeaks After Cleaning?
A squeak usually means a small amount of debris is left or the axle is dry. Check for leftover dirt and use a tiny bit of silicone spray if needed.
How Often Should I Clean The Wheels If I Have Pets?
If you have pets, clean the wheels at least once a month. Pet hair builds up faster and can cause wheels to jam if not removed regularly.
Caring for your Shark Navigator vacuum’s wheels is simple, but it makes a big difference. With these steps, your vacuum will stay smooth, efficient, and floor-friendly for years to come.