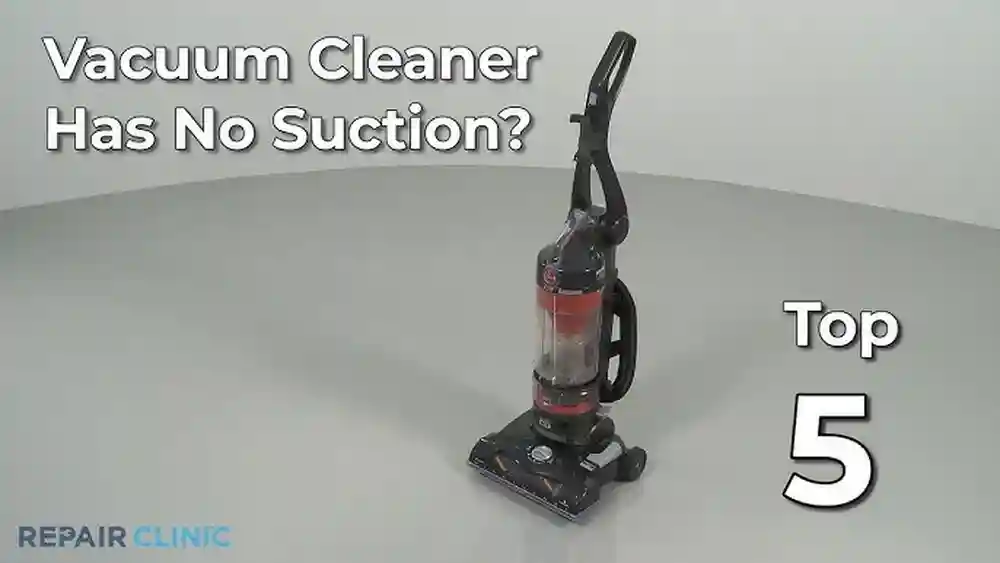
When your vacuum cleaner suddenly stops picking up dirt, frustration can set in quickly. A loss of suction is one of the most common problems with home vacuums. The good news? Most of the time, you can fix it yourself without calling a repair service. Whether you have a bagged upright, a bagless stick, or a canister vacuum, the steps to restore strong suction are usually similar. This guide will walk you through every possible reason for a vacuum cleaner with no suction, show you how to diagnose the issue, and explain how to fix each one. Even if you’re not handy, you can follow these instructions and get your vacuum working like new.
Understanding Why Suction Fails
A vacuum’s main job is to create airflow that pulls in dirt and dust. If anything blocks the air path or damages the system, suction drops or disappears. The most common causes are:
- Blockages in hoses, tubes, or filters
- Full dust bags or bins
- Dirty or clogged filters
- Worn or broken belts
- Leaky seals or cracks
- Motor problems
Knowing these, you can approach the repair step by step. Let’s break down each area and how to fix it.
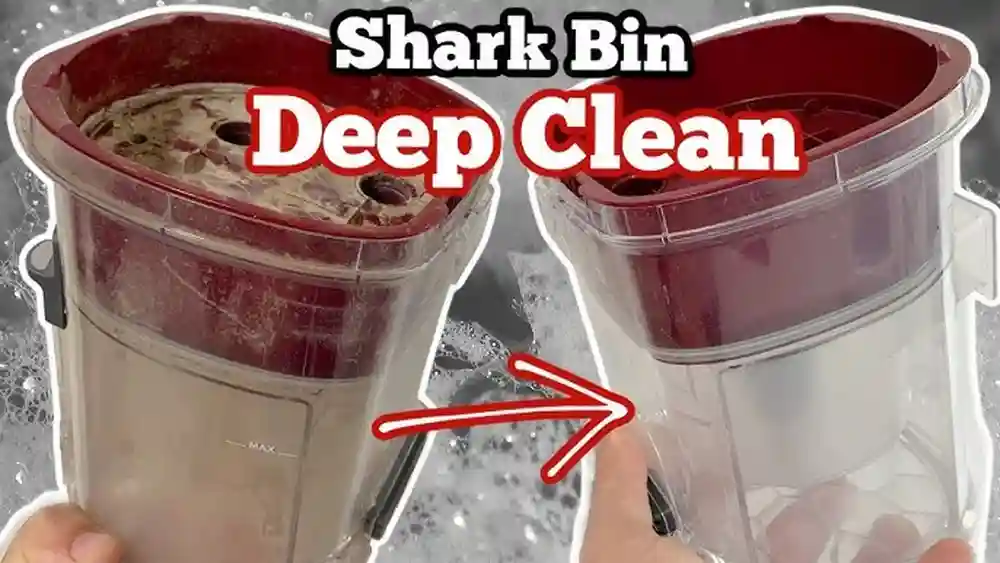
Step 1: Check The Dust Bag Or Bin
The simplest reason for no suction is a full dust bag (for bagged vacuums) or dirt bin (for bagless models). When these fill up, airflow is blocked, and suction drops fast.
- Bagged Vacuums: Open the compartment and feel the bag. If it’s more than two-thirds full, replace it with a new one. Some bags can get blocked at the opening even if not totally full. If you see a lot of dust at the entrance, change the bag.
- Bagless Vacuums: Remove the bin and empty all dust and debris. Tap the bin gently to knock out fine dust. Wipe the inside with a dry cloth before replacing.
Pro tip: Always check the bag or bin first. Even a small blockage here can cause total suction loss.
Step 2: Inspect For Blockages
A clog in the vacuum’s air path is the next common reason for no suction. Dirt, hair, and objects can get stuck anywhere from the brush head up to the hose.
How To Find And Remove Blockages
- Unplug the vacuum for safety.
- Detach the hose and check inside. Use a torch to see if anything is stuck.
- Flex the hose gently. If it feels stiff or heavy, a clog may be inside.
- Push a broom handle or straight wire through the hose to dislodge debris.
- Check the wand, brush roll, and all tubes for blockages. Remove any hair or strings wrapped around the brush.
Non-obvious insight: Sometimes, blockages are hidden where the hose connects to the body. Pull off both ends and check these joints closely.
Step 3: Clean Or Replace Filters
Vacuum cleaners have one or more filters to trap fine dust. When these get clogged, suction power drops dramatically.
Types Of Filters
Most vacuums have:
- Pre-motor filter: Protects the motor from dust
- HEPA or exhaust filter: Cleans the air before it leaves the vacuum
Cleaning Steps
- Remove all filters (check your manual for their locations).
- If washable, rinse under cold water until the water runs clear. Let them dry for at least 24 hours.
- If not washable, tap gently to remove dust or replace with a new filter.
Important: Never run a vacuum without its filters. This can damage the motor and send dust back into your room.

Credit: www.youtube.com
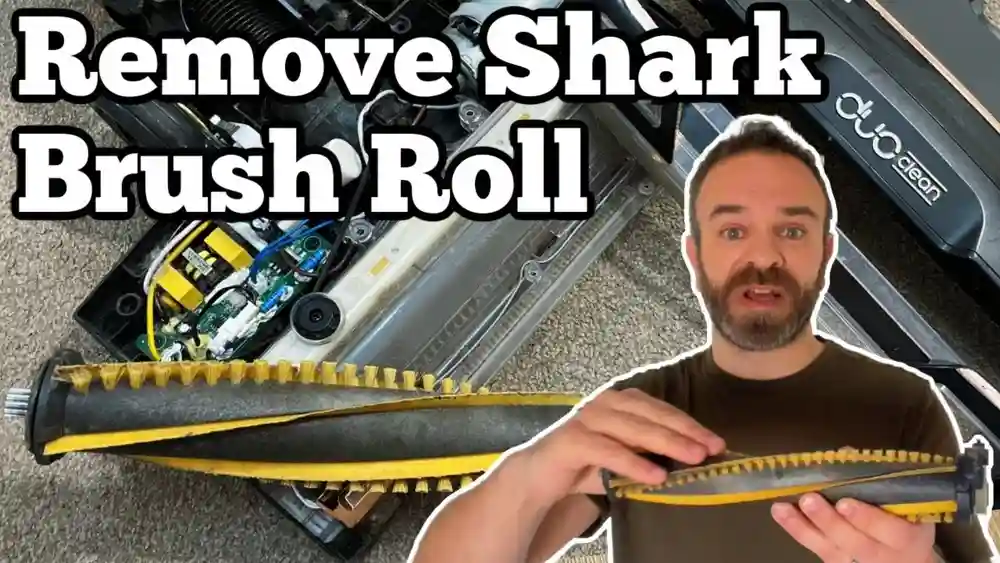
Step 4: Inspect The Brush Roll And Belt
A spinning brush roll lifts dirt into the airflow. If it’s jammed, tangled, or the belt is broken, suction at the floor drops.
How To Check
- Turn the vacuum upside down.
- Remove the base plate (usually a few screws).
- Pull out the brush roll and clear any hair, string, or debris.
- Check the belt. If it’s loose, broken, or cracked, replace it.
Pro tip: Belts lose tension over time. Even if not broken, an old belt can slip, reducing suction and cleaning power.
Step 5: Examine The Hose And Seals
A vacuum relies on airtight seals. If there are cracks or leaks in the hose or around the connections, suction escapes before it reaches the floor.
- Stretch out the hose and look for splits or holes. Even a small crack can ruin performance.
- Check where the hose connects to the body and the floor head. Make sure seals and gaskets are in place and not worn out.
- Replace any damaged hoses or seals. Temporary fixes like tape don’t last and can reduce suction further.
Non-obvious insight: Some hoses can collapse inside from heavy blockages or old age. If you notice the hose feels “soft” or airflow is poor even after cleaning, it may need a full replacement.
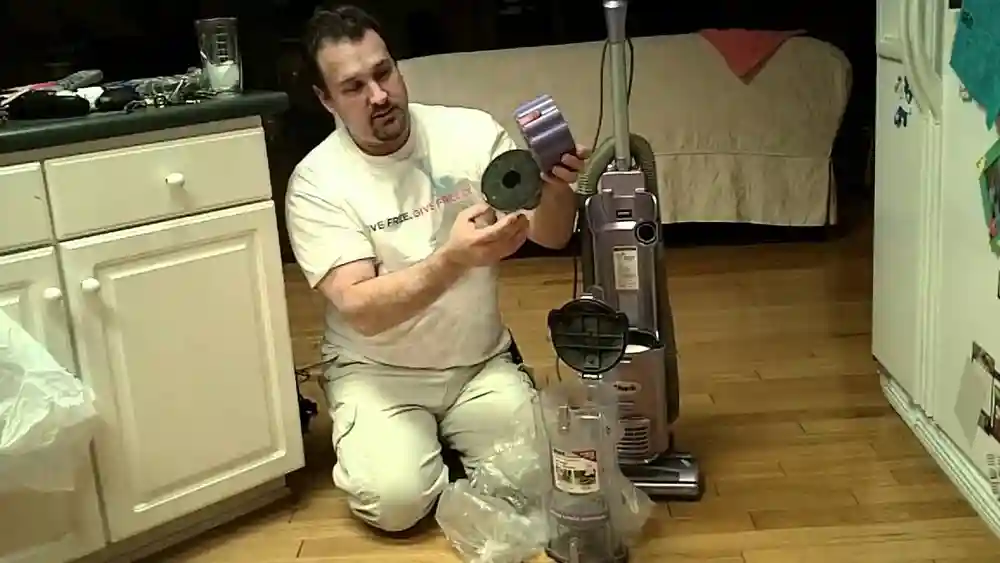
Step 6: Test The Motor
If you’ve checked bags, filters, blockages, and belts but still have no suction, the issue may be the motor.
- Listen when you turn on the vacuum. A healthy motor sounds smooth. Grinding, burning, or clicking noises mean trouble.
- Some vacuums have thermal cutoffs and shut down if overheated. Let the vacuum cool for an hour and try again.
- If the motor does not run or smells burnt, professional repair may be needed. Motors are hard to fix at home and may not be cost-effective to replace in cheaper models.
Comparing Vacuum Issues And Solutions
Here is a helpful comparison to understand which problems are most common and how difficult they are to fix:
| Problem | Frequency | DIY Fix Difficulty | Parts Needed |
|---|---|---|---|
| Full Bag/Bin | Very Common | Easy | Bag (if needed) |
| Blocked Hose | Common | Easy | None |
| Clogged Filter | Very Common | Easy | Filter (maybe) |
| Broken Belt | Occasional | Moderate | Belt |
| Cracked Hose | Less Common | Moderate | Hose |
| Motor Failure | Rare | Hard | Motor |
Step 7: Check For Air Leaks And Assembly Errors
After every repair, it’s important to reassemble your vacuum correctly. Even a small gap can cause loss of suction.
- Make sure all clips, latches, and covers are fully closed.
- Double-check that filters and bags are seated properly.
- Listen for any hissing sounds when the vacuum is on—this can signal a leak.
Experience-based tip: Sometimes, people forget to put the filter back in, or install it backwards. Always check your manual for the right order.
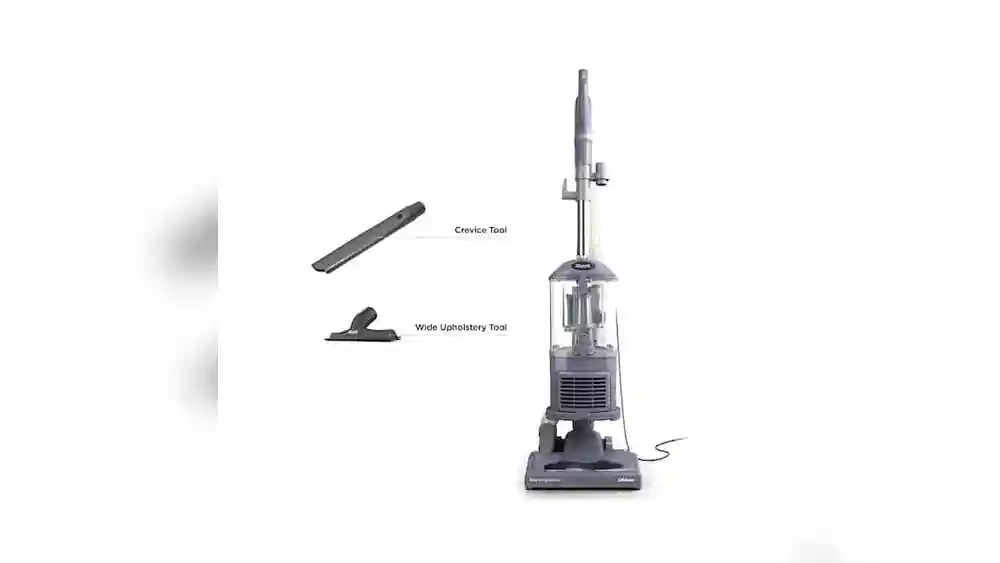
Step 8: Clean The Attachments
Blocked tools like the crevice tool or upholstery brush can also restrict suction.
- Inspect each attachment for blockages.
- Use a straight wire or chopstick to clear out any stuck debris.
- Rinse if the tools are washable, and let them dry before use.
Step 9: Test The Suction After Each Fix
After working on each part, turn on your vacuum and test the suction by placing your hand over the hose or nozzle. Good suction should feel strong and steady. If it’s still weak, continue with the next step.
Pro tip: Test suction both at the hose and at the floor head. This helps you know where the problem lies.
Step 10: Maintenance To Prevent Future Problems
Regular care keeps your vacuum working well and avoids future loss of suction.
- Empty the dust bin or change the bag before it’s full.
- Clean filters every month (or as often as your manual recommends).
- Check belts and brush rolls every few months.
- Inspect hoses for cracks or splits regularly.
If you follow these steps, your vacuum should last longer and work better.

Credit: inselife.com
Quick Troubleshooting Table
Use this quick guide to match your symptom to the likely cause and fix:
| Symptom | Likely Cause | Solution |
|---|---|---|
| No suction at all | Full bag/bin or major blockage | Empty bag/bin, clear hose |
| Weak suction | Dirty filters or minor blockage | Clean/replace filters, check tubes |
| Brush not spinning | Broken or loose belt | Replace belt |
| Air blowing out | Missing or poorly fitted filter | Re-fit or replace filter |
| Hissing sound | Leaky hose or seal | Replace or repair hose/seal |
When To Call For Professional Repair
If you’ve tried every step and your vacuum still has no suction, the problem may be inside the motor, wiring, or circuit board. These repairs are more complex and can cost a lot. For expensive or new vacuums, it’s worth contacting the manufacturer or a certified repair shop.
For older or budget models, replacing the vacuum might be more practical.
For more detailed advice on vacuum technology and repair, the Wikipedia page on vacuum cleaners covers technical aspects and history.
Credit: www.aspiron.co
Extra Tips Most People Miss
- Check for tiny obstructions in swivel joints or telescoping wands. Even a pen cap or coin can block airflow.
- Store your vacuum in a dry place. Moisture can damage filters and promote mold, which clogs the system.
- Use genuine parts when replacing filters, bags, or belts. Off-brand parts might not fit well and can cause leaks.
Frequently Asked Questions
Why Does My Vacuum Lose Suction So Quickly After Cleaning It?
If your vacuum loses suction again soon after cleaning, you may have missed a hidden blockage or need to replace old filters or belts. Sometimes, fine dust gets into places like hose joints or the motor housing. Double-check all parts and consider changing the filters if they look worn.
How Often Should I Change My Vacuum Filter?
Most filters should be washed or replaced every 1-3 months, depending on use and the manufacturer’s instructions. HEPA filters can last longer but lose efficiency if not cleaned regularly.
Can I Use My Vacuum Without A Filter Temporarily?
No, running a vacuum without a filter can damage the motor and blow dust back into the air. Always use the correct filter, and let washable ones dry fully before reinstalling.
What Should I Do If My Vacuum Smells Burnt?
A burnt smell often means a stuck brush roll, broken belt, or motor issue. Unplug the vacuum, check for blockages or tangled debris, and inspect the belt. If the smell continues, consult a repair service.
Is It Worth Repairing An Old Vacuum Cleaner?
If your vacuum is more than 7-8 years old and needs a new motor or major part, it may be cheaper to replace it. However, minor fixes like new belts, hoses, or filters are usually affordable and can extend your vacuum’s life.
Fixing a vacuum cleaner with no suction is usually straightforward if you follow these steps and pay attention to less obvious areas. Regular maintenance and quick action when problems start will keep your vacuum running efficiently for years.